18
LAUNCH
CRP 429HD User's Manual
• Tap
“Combine”
, a pull-down list of the data stream items appears on the
screen. Select the necessary items and the screen will display the waveforms
corresponding to these items immediately.
• Tap
“Report”
to save the current data as a diagnostic report. All diagnostic
reports can be accessed from “Data” -> “Diagnostic Report”. CRP 429HD
logs the Date of Report (the date and time at which the report was created)
and assigns a unique Report #.
• Tap
“Record”
to record and save Live Data. Recorded Live Data can serve
as valuable information to help you in troubleshooting and diagnosing vehicle
problems. The saved file follows the naming rule: It begins with vehicle
type, and then the record starting time and ends with .x431 (To differentiate
between files, please configure the accurate system time). All diagnostic
records can be viewed by tapping “Data” -> “Diagnostic Record”.
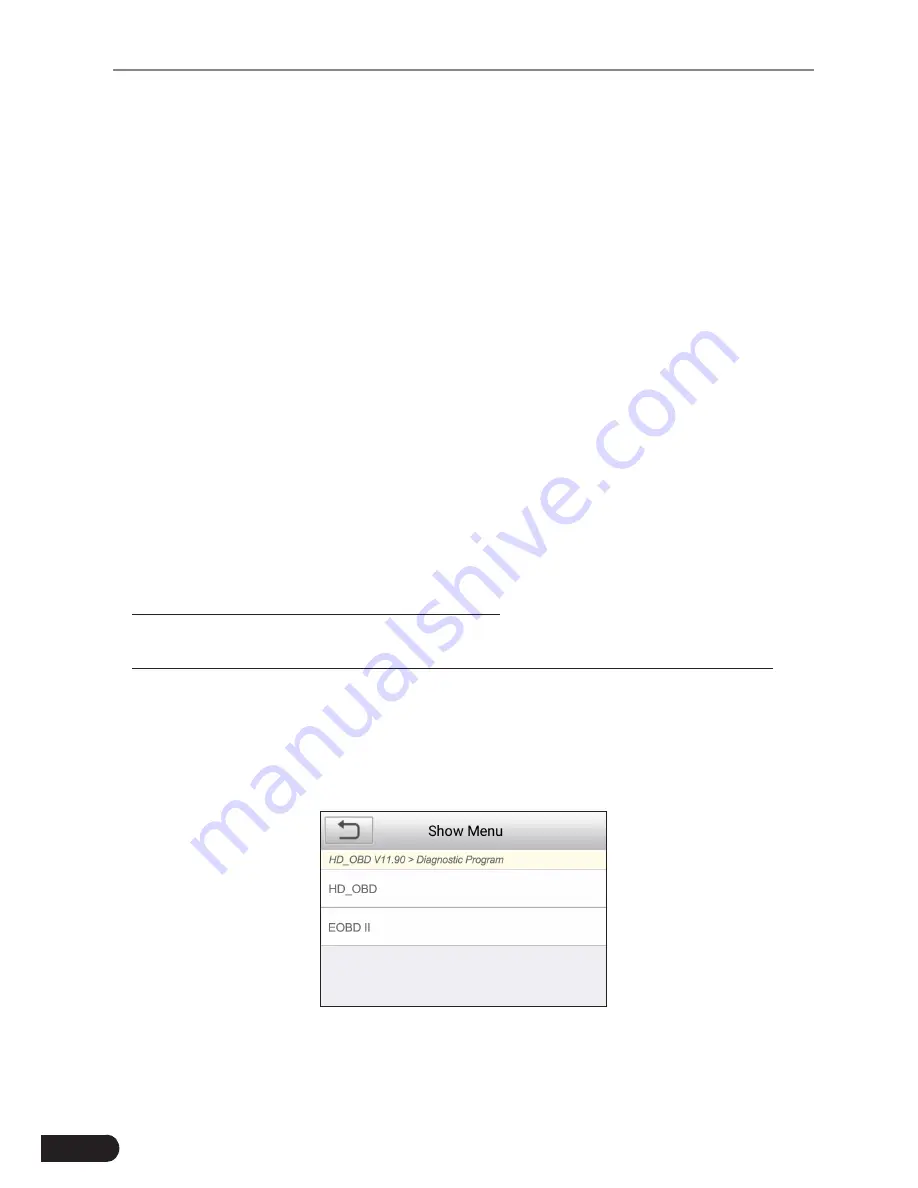
5.3 HD OBD Diagnosis
This option presents a quick way to check for DTCs, isolate the cause of the
illuminated Malfunction Indicator Lamp (MIL), check monitor status prior to
emissions certification testing, verify repairs, and perform a number of other
services that are emission-related.
If a vehicle equipped with OBD II is tested, the system will enter the function
selection screen once scanning has finished successfully. See Chapter 5.3.2.
If a vehicle equipped with non-OBD II management system is diagnosed, the
system will continue scanning the protocols the vehicle supports and then enter
the system selection screen.
5.3.1 HD OBD Diagnosing
If scanning failure occurs, the system will enter a screen similar to the following:
Figure 5-5
In this case, follow the diagnosis flowchart shown as below to proceed:


