background image

BLUETOOTH

Pairing

1.  Press the   button to switch to Bluetooth 

mode.

2. Enable Bluetooth on your connecting device. It 

will search for nearby Bluetooth devices.

3. Select “SPK-WCALC-118”. 

NOTE:

 If “SPK-WCALC-118” does not appear 

on your connecting device’s screen, try again 

from the beginning of step 1.

4. 

Confirm Bluetooth pairing request on your 

connecting device.

5. 

Now, audio you play on your connected device 

should come through the clock’s speakers.

NOTE:

 The clock only connects to one device at 

a time.

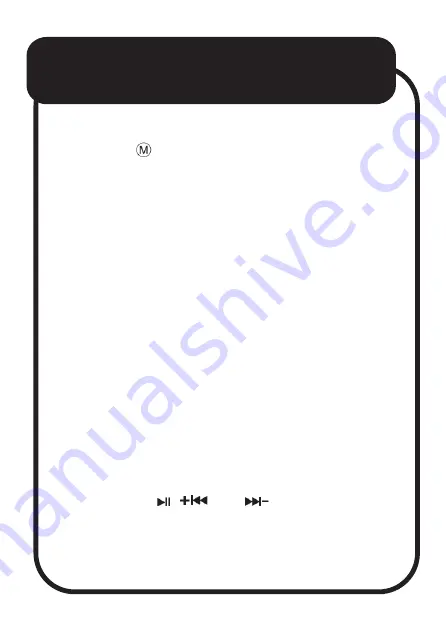
Use your device to control music playback and 

volume, or use  , 

 and 

 buttons on the 

clock.

Содержание SPK-WCALC-118

Страница 1: ...Clock Radio with Wireless Charging SPK WCALC 118 User Manual...

Страница 2: ...WHAT S IN THE BOX Clock radio 240V Wall power charger USB A to USB C charging cable 3 5mm to 3 5mm audio cable Clamp and screw to secure the power cable User manual...

Страница 3: ...t Media 18 Micro SD card slot 19 AUX port 20 Wireless charging area 1 Mode 2 Clock 3 Alarm 4 Snooze Brightness adjustment 5 Vol Previous track 6 Vol Next track 7 Play Pause 8 Bluetooth 9 TF USB Micro...

Страница 4: ...charger to power Wireless Charging Place your phone on the wireless charging area of the clock NOTE The clock must be powered by the mains power for wireless charging to work Set Time 1 Press the butt...

Страница 5: ...d the button to start setting the alarm 3 Press the button to switch between hour minute On Off ringtone volume snooze duration settings 4 Use and buttons to adjust values 5 Press and hold the button...

Страница 6: ...Micro SD USB AUX modes Adjust the display brightness Press the Snooze button to adjust the brightness between Off Low Medium and High The default is High Control the volume Hold down the button to in...

Страница 7: ...stations Press and buttons to select preset stations USB Micro SD Mode Insert a USB flash drive or Micro SD card to switch to the TF mode or press the button to switch Aux Mode 1 Connect the supplied...

Страница 8: ...WCALC 118 does not appear on your connecting device s screen try again from the beginning of step 1 4 Confirm Bluetooth pairing request on your connecting device 5 Now audio you play on your connecte...

Страница 9: ...n there is an incoming call hold down the button to reject the call Disconnecting Unpairing To disconnect turn off the connected device s Bluetooth To unpair remove the connection entirely go to the c...

Страница 10: ...p and screw to secure the power cable 1 Run the supplied USB A to USB C cable through the clamp 2 Plug in the cable to the clock s USB C port 3 Attach the cable to the clock by placing the screw throu...

Страница 11: ...f the display The built in battery is completely discharged Plug the clock to power Wireless charging is not working Make sure your phone supports wireless charging Make sure the clock is plugged into...

Страница 12: ...e is out of range Bring the device closer to the clock Make sure the clock is in Bluetooth mode If not press the button to switch to Bluetooth mode If the clock s Bluetooth name is not found on the Bl...

Страница 13: ...g power 5 W 7 5 W 10 W Built in battery 1 200 mAh Max USB Micro SD capacity 32 GB Supported media formats in TF USB Micro SD mode MP3 Power adaptor Input AC 100 240V 50 60Hz Output 5VDC 3A 9VDC 2A 12V...

Страница 14: ...stralian owned operated To get the most out of your product please read the user manual carefully and keep for future use For specific information relating to your product such as Spare Parts FAQs War...

Страница 15: ...Visit our website www laserco com au Check us out at www youtube com lasercoau...

Отзывы: