


Larson Electronics, LLC
Phone: (877) 348-9680
Fax: (903) 498-3364
www.larsonelectronics.com
6
of 11
1.
https://www.alibisecurity.com/media/docs/AlibiVigilantToolbox-
2.
Un-zip the file on a computer with Microsoft Windows that is connected to the LAN where
your camera is
connected.
3.
Run the
setup
file contained in the zip f
ile
. Follow the on-screen instructions to install the file.
NOTE : Be sure to allow the software
administrative
access or it will not work properly.
4.
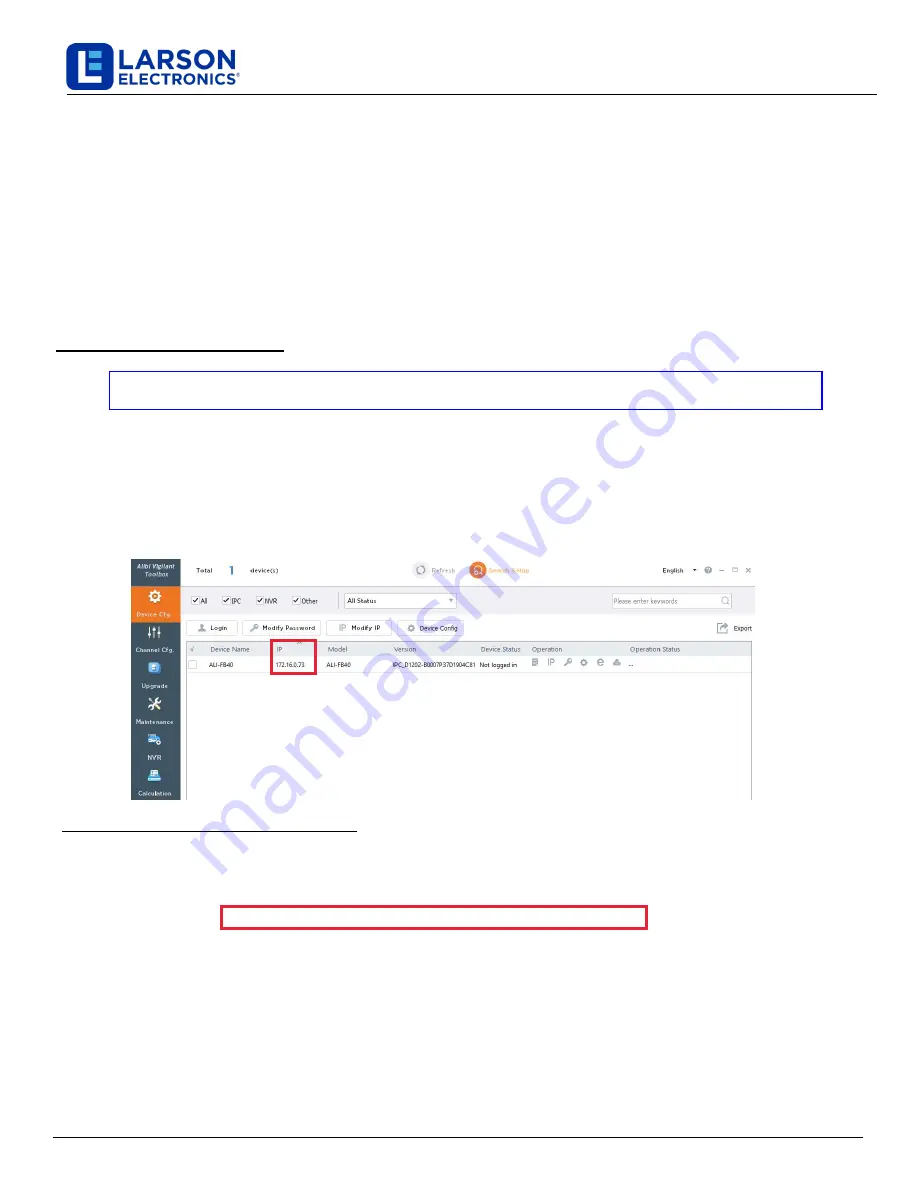
Open the
Vigilant Toolbox
application. When the application opens, it automatically “discovers” and lists all
compatible
devices on the LAN.
The discovery of devices can take several minutes.
Take note of the IP
address of your camera as you will need this to log into and activate it.
See below.
Step 2. “Activate” Inactive Camera
NOTE: Cameras are shipped with the default IP Address of 1
72.16.0
.
xxx
.
The last set of numbers in your IP
address will be random, but will always be in the 1
72.16.0
.xxx subnet.
See
"
Step 3. Modify Network
Parameters
" for more information on how to change these.
DEFAULTS: Username: admin
Password:
12345
6
When a camera is first installed, or reset to its factory configuration, it must be “Activated” before it can be used.
A
device is “Activated” when a password is assigned to the
admin
username of the device.
To do this you will need to
login to the camera through a browser.
In the
following steps
, a camera is activated and configured for its network
using Microsoft Edge
.
IP Camera Network Setup Guide
This guide provides generic instructions for activating and setting up the network parameters for new
NDAA
cameras
Connected
to
a
network
switch
with PoE
using the
Vigilant Toolbox
.
The examples shown herein activate a
n NDAA
camera
and configure its network
settings.
About the
Vigilant Toolbox
The
Vigilant Toolbox
is a PC-based network utility for discovery of compatible devices on an IP network. It provides an
easy way to configure camera
s,
record network configuration settings, and set device passwords. It can be installed on a
Microsoft Windows operating system that has access to the IP network where your devices are installed.
Step 1. Install the Software


