Lanzar SD34MIP Скачать руководство пользователя страница 8

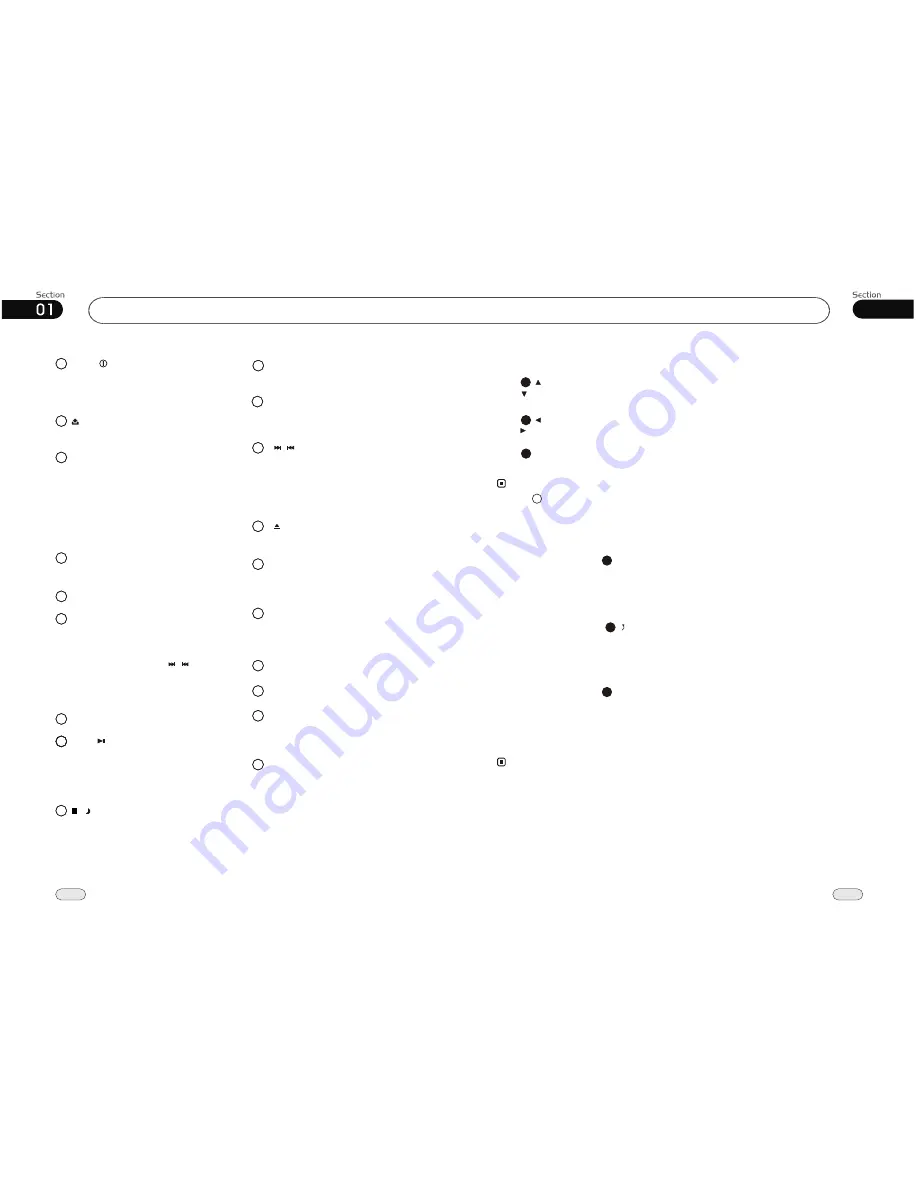
Press this button to turn on  the unit, 
when the unit on, briefly press it to 
set mode, hold and press it to turn off.
 

MOD/      button

1

1

Rotate (VOL) button clockwise to incr-
ease the volume level; and rotate(VOL) 
button anticlockwise to decrease the 
volume level. Briefly press it to set the 
volume characteristics; press and hold 
it to show the system menu;rotate it to 
set the item.

VOL button

3

USB Socket

5

9

4

To display current status.

LCD (LIQUID CRYSTAL DISPLAY)

7

Infrared Sensor

Press to release the front panel.

2

(REL) button

During radio mode, briefly press it to
adjust the storaged stations; press and 
hold it to memory stations automatically.
First press it, then press           to select 
stations.
During playback, press it to activate the
repeat play function. 

AMS button

6

/

8

8

During radio mode, press it to select 
different bands.
During playback, press it to play or 
pause play, press and hold to stop play.

BND/       (BAND/PAUSE,PLAY button

07

37

Before You Start

8

IPOD

During IPOD mode, press      

Root

 to go 

back to the root directory.

Back to Root Directory

4

During IPOD mode, press            to go back 
to the previous directory.

Back to the Previous Directory

5

During IPOD mode, press      

Video

 to 

select video or audio. Video and picture can
be played at this time.
The unit and the remote control can not be
operated in this mode, you can just operate
IPOD to select video and picture.

Video or Picture Mode

6

*   This function is operated by using remote 
     control only.

Note: 

*   The IPOD TV should be set ON in this 
     function.

During IPOD mode, to take IPOD out, the 
main unit will switch to radio mode.
During other mode, to take IPOD out, the 
main unit will keep the original mode.

Exit IPOD

Note: 

Press           to select the previous track,
press     to select the next one, then press 
ENTER to play. 

Tracks Selector

Press       

GOTO 

to display :

 ---

, input the 

numbers to play the desired track. 

22

Press           to select the previous 5 tracks,
press     to select the next 5 tracks, then press 
ENTER to play. 

22

2

*    Press       button on the head unit also performs 
      the same function.

12

    /     (Stop/Mode display)

Briefly press it to stop playing; press
and hold it to select the day mode or
night one.

Press to set the unit to initial status.

10

RESET button

13

Press it to eject the disc.

EJECT button

12

During radio mode, press it to select
the stations; during playback mode,
press it to select tracks; during IPOD
mode press it to select the previous or
next 5 tracks.

  button

/

Disc Loading Slot

16

11

Briefly press it to select the different 
frequency automatically.

EQ button

A/V In

17

14

During radio mode, press it to select
the distant or local station.

LOC button

15

LOUD(loudness)button

Briefly press it to activate LOUD fun-
ction.

Press it to switch the audio between 
mobile phone and main unit. 

MUT button

18

19

SD Card Socket

Содержание SD34MIP

Страница 1: ...SD34MIP R CAR DVD VCD CD MP3 MPEG 4 PLAYER WITH USB PORT I POD AND AM FM TUNER...

Страница 2: ...n 18 Force Disc Out 18 18 Main Menu Main Menu Setup 19 Audio Adjust 19 Video Adjust 20 Source Setup 21 Others 22 DVD Basic Operation of DVD Playing the Previous Next Track Playing the Track F F F REW...

Страница 3: ...ng the Station DX LOC Selector MO ST Selector On screen Display Scanning Memorizing Stations Automatically Number Buttons Selecting Station Directly 38 38 38 38 38 38 39 39 39 Radio Menu 40 8 9 Additi...

Страница 4: ...ated by the remote control there are also functions can be operated by the buttons provided for the main unit 41 Additional Information Simple Troubleshooting Guide No power Check and make sure whethe...

Страница 5: ...button the monitor shows the radio setup menu you can press to select your desired item then press ENTER on the remote control Press or to select EXIT then press ENTER to exit the setup 22 21 Note Ro...

Страница 6: ...rownintoafire This function is only operated by using rem ote control Scanning Memorizing Stations Automatically During radio status you can press AMS button on the remote control to scan each stored...

Страница 7: ...rol Mono mode or Stereo to select mode DX LOC Selector During radio status press LOC button on the remote control to select or weak station reception strong Notes MO ST Selector Stereo reception is ch...

Страница 8: ...can not be operated in this mode you can just operate IPOD to select video and picture Video or Picture Mode 6 This function is operated by using remote control only Note The IPOD TV should be set ON...

Страница 9: ...Note This function is operated by using the remote control only Repeat Playing During playback press Press it again to cancel this function RPT to track repeat disc repeat off Pressing AMS on the head...

Страница 10: ...OUD loudness button 0 9 number button CLEAR clear button LOC SUB T long distant or local station in radio mode back to last level in IPOD mode subtitle display button ZOOM briefly press it to zoom in...

Страница 11: ...ack Number and then press to move the cursor to START press ENTER to start program playing move the cursor to EXIT and press ENTER to exit the program playing Move the cursor to and press ENTER to the...

Страница 12: ...ction with the button 22 On screen display During VCD CD playback briefly press OSD the monitor shows This function is operated by using remote control the Note 8 Single elapsed time Total elapsed tim...

Страница 13: ...tion performs Playing the Previous Next Track 12 Note Press or toplaythetrackfastforward orfastrewind Eachpressing willchange as following Playing Track F F F REW 20 Note 2X Stop the playback DuringMP...

Страница 14: ...2 places on each side And then fasten them to the car screw become aligned tighten the 4 Outer Trim Frame Hook Mounting Sleeve are not used and for installa tion method 5 1 9 2 NOTE Bracket supplied t...

Страница 15: ...edMenuLanguage TVType Audio Subtitle DiscMenu Parental Password Default Auto Eng Eng Eng PreferencePage TVType Audio Subtitle DiscMenu Parental Password Default Auto Eng Eng Eng Parental Example showi...

Страница 16: ...dio Subtitle DiscMenu Parental Password Default Auto Eng Eng Eng PreferencePage TVType Audio Subtitle DiscMenu Parental Password Default Auto Eng Eng Eng PAL Auto Audio Example showing how to set Audi...

Страница 17: ...ly start playing Keep pressing it to turn off the unit completely the the 1 During waiting status briefly press PWR on the head unit to turn on the unit press and hold it to turn off the unit Note 15...

Страница 18: ...LEAR to clear the mistake input CLEAR Note This function is operated by using the remote control only 23 Turning Loudness On Off Witheout bluetooth briefly press LOUD activate LOUD function You can th...

Страница 19: ...D BASS TREBLE AUDIO SETUP EQUALIZER BACK LOUDNESS 00 00 00 FLAT OFF 00 Example showing howto set picture mode Press Press or thenpressENTER Captions OSDLang OSDLang AngleMark TVDisplay GeneralSetupPag...

Страница 20: ...o can set it as needed by moving he cursor and using buttons and then press ENTER to t execute the selecting or enter ing item The selections are the preferred options that will be chosen if they are...

Страница 21: ...r pause is canceled and normal playback resumes but the viewing angle does not change Press and hold this button to display the current source information Setting the Playing Time During DVD mode pres...

Страница 22: ...head unit also performs the same function 25 Note DuringDVDplayback firstpress to returntothebeginningofthecurrenttrack press againwithin3secondstoplay previoustrack press toplaynexttrack Briefly pre...

Отзывы: