background image

Lantronix 


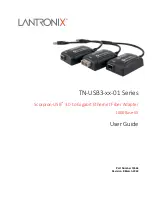
          TN-USB3-xx-01Series User Guide 

33644 Rev. E 


https://www.lantronix.com


Page 

10

 of 

27


Connecting the TN-USB3-xx-01 

This section describes how to connect the TN-USB3-xx-01 to a PC/Notebook/Tablet. The TN-USB3-xx-01 can be 

used to allow a portable device, like a laptop or tablet computer, to connect to a fiber based Gigabit Ethernet 

network, via its USB 3.0 port, providing secure network access over a fiber infrastructure. 


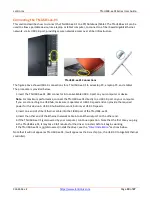
TN-USB3-xx-01 Connections 

The figure above shows USB 3.0 connections for a TN-USB3-xx-01 to a desktop PC, a laptop PC, and a tablet.  

The procedure is provided below.  

1.


Insert the TN-USB3-xx-01 USB connector into an available USB 3.0


port on your computer or device. 

Note

: For maximum performance, connect the TN-USB3-xx-01 directly to a USB 3.0 port on your computer.  

If you are connecting to a USB hub, make sure it operates at USB 3.0 speed and can provide the required 

power for this device. A USB 2.0 hub will also work, but only at USB 2.0 speeds.  
2.


Insert one end of a fiber Ethernet cable into the FIBER port of the TN-USB3-xx-01. 

3.


Insert the other end of the Ethernet network cable into an Ethernet port on the other end.  

4.


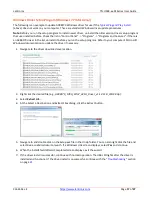
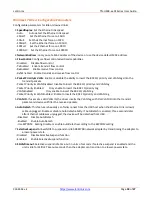
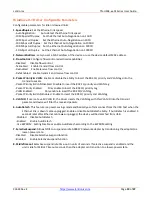
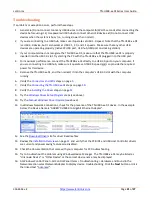
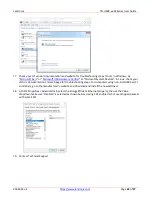
If the TN-USB3-xx-01 is discovered by your computer, continue operation.  Note that the first time you plug 

in the TN-USB3-xx-01, it may take 2 full minutes for the driver to install, before it begins working. 

If the TN-USB3-xx-01 is not discovered, install the driver; see the “

Driver Installation

” sections below.  

Note that it will not appear as TN-USB3-xx-01; it will appear as the Asix chip (i.e., the USB 3.0 to Gigabit Ethernet 

controller).   


Содержание TN-USB3-01 Series

Страница 1: ...TN USB3 xx 01 Series Scorpion USB 3 0 to Gigabit Ethernet Fiber Adapter 1000Base SX User Guide Part Number 33644 Revision E March 2022...

Страница 2: ...ales Offices For a current list of our domestic and international sales offices go to the Lantronix web site at www lantronix com about contact Disclaimer All information contained herein is provided...

Страница 3: ...B3 xx 01 10 Installation Overview 11 Driver Installation 11 Available Drivers 11 Installing the Driver 12 Typical Plug and Play Install 12 Uninstall the Driver Package 16 Windows Driver Setup Program...

Страница 4: ...xx 01 was designed with these features USB 3 0 5Gbit s 625MB s peripheral device 1000Base X 100 1000 Base X for SFP version SFP fiber interface MSA compliant supporting up to a 1W module Fixed optic...

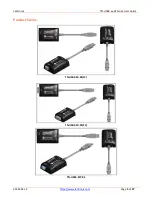
Страница 5: ...Lantronix TN USB3 xx 01Series User Guide 33644 Rev E https www lantronix com Page 5 of 27 Product Views TN USB3 SX 01 LC TN USB3 SX 01 SC TN USB3 SFP 01...

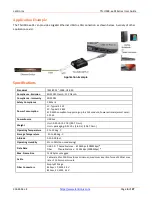
Страница 6: ...W SC Typical 2 18W SFP MSA compliant supporting up to a 1W module Power estimate worst case 3 15 W Power Source USB bus Weight Unit 0 20 Lb 3 2 Oz 90 7 Gms Unit packaging 0 35 Lbs 5 6 Oz 158 7 Gms Op...

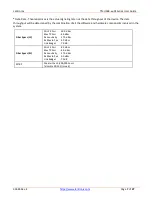
Страница 7: ...will be determined by the combination of all the software and hardware components involved in the system Fiber Specs LC Min TX Pwr 10 0 dBm Max TX Pwr 4 0 dBm Rx Sensitivity 17 0 dBm Rx Max In Pwr 3...

Страница 8: ...s product during an electrical storm There may be a remote risk of electric shock from lightning Warning This product contains lead known to the State of California to cause cancer and birth defects o...

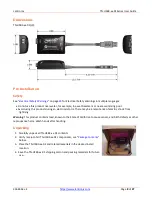
Страница 9: ...Gbps USB 3 0 type A connector Fiber 1000Mbps Fiber Port Connector MM LC MM SC or empty SFP cage Modes 100 1000Base X LEDs USB Status Green Yellow Green USB 3 0 Yellow USB 2 0 OFF USB down SFP LC TP Li...

Страница 10: ...ote For maximum performance connect the TN USB3 xx 01 directly to a USB 3 0 port on your computer If you are connecting to a USB hub make sure it operates at USB 3 0 speed and can provide the required...

Страница 11: ...Lantronix Scorpion drivers page and the ASIX Drivers Download site provide the driver packages From the ASIX webpage choose Downloads then Software Tools to locate the driver for your OS Select the ap...

Страница 12: ...lly recognized use one of the procedures in this section Typical Plug and Play Install below Standard Windows Driver Update on page 16 Windows 7 Driver Configurable Parameters on page 18 or Windows 8...

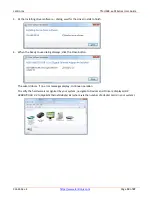
Страница 13: ...ver install to finish 4 When the Ready to use dialog displays click the Close button The wizard closes If no error messages display continue operation To verify the hardware is recognized by your syst...

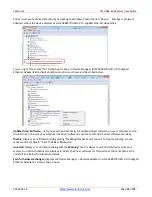
Страница 14: ...pdated driver software on your computer and on the Internet or browse your computer for driver software and locate and install driver software manually Disable displays a confirmation dialog stating D...

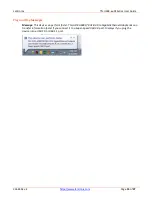
Страница 15: ...Page 15 of 27 Plug and Play Messages Message This device can perform faster This ASIX AX88179 USB 3 0 to Gigabit Ethernet Adapter x can transfer information faster if you connect it to a Super Speed...

Страница 16: ...network adapters in your system 3 Select the TN USB3 xx 01 device listed as ASIX AX88179 USB 3 0 to Gigabit Ethernet Adapter x 4 Select Action Uninstall 5 At the confirmation dialog check or uncheck t...

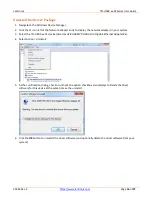
Страница 17: ...efer to your computer s Microsoft Windows documentation to update the driver if necessary 1 Navigate to the driver download save location 2 Right click the desired file e g AX88179_178A_Win7_32bit_Dri...

Страница 18: ...acket Priority Enabled Only enable to insert the 802 1Q priority tag VLAN Enabled Only enable to insert the 802 1Q VLAN tag Packet Priority VLAN Enabled Enable to insert the 802 1Q priority and VLAN t...

Страница 19: ...led Disable to insert the 802 1Q priority and VLAN tag Packet Priority Enabled Only enable to insert the 802 1Q priority tag VLAN Enabled Only enable to insert the 802 1Q VLAN tag Packet Priority VLAN...

Страница 20: ...ate Obtaining device driver software from Windows Update might take a while Skip obtaining device driver software from Windows Update Meaning Windows Informational message only Recovery None required...

Страница 21: ...and can provide the required power for this device 5 Remove the TN USB3 xx 01 and then reinsert it into the computer s USB 3 0 slot with the computer running 6 Verify the Connectors and LEDs steps on...

Страница 22: ...estore In Linux check your distro s documentation and web page for troubleshooting steps For computers using non Intel USB 3 xHCI controllers go to the manufacturer s website and download and install...

Страница 23: ..._____________________________________________________ Driver modifications ________________________________________________________________ LED status _________________________________________________...

Страница 24: ...terference to radio or television reception which can be determined by turning the equipment off and on the user is encouraged to try to correct the interference by one or more of the following measur...

Страница 25: ...In Wohnbereichen k nnen bei Betrieb dieses Ger tes Rundfunkst rungen auftreten In diesem F ll ist der Benutzer f r Gegenma nahmen verantwortlich Attention Ceci est un produit de Classe A Dans un envi...

Страница 26: ...chriften worden ge nstalleerd S curit lectrique IMPORTANT Cet quipement doit tre utilis conform ment aux instructions de s curit S hk turvallisuus T RKE T m laite on asennettava turvaohjeiden mukaises...

Страница 27: ...rvine Center Drive Suite100 Irvine CA 92618 USA Toll Free 800 526 8766 Phone 949 453 3990 Fax 949 453 3995 Technical Support 1 952 358 3601 1 800 260 1312 or techsupport transition com Sales Offices F...

Отзывы: