LANIER
– 1.20 Edge 540T ARF -
INSTRUCTIONS
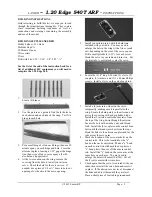
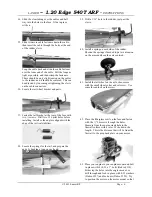
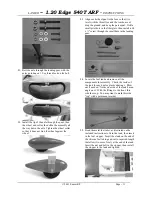
86. Slide the tank in the fuselage through the cut
opening with the metal lines out through the
firewall. Secure in place with a drop of goop or
foam.
87. Install your fuel line on the end of the tank lines
to the muffler pressure and carburetor fittings.
Make sure to allow enough extra line to the
needle valve line to give access for filling.
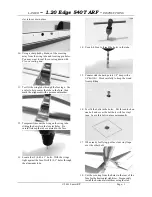
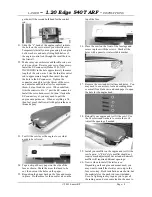
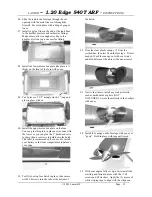
88. Install the lower motor box plate (the plate is ¼
thick) on the front of the fuse with epoxy.
89. Cut 2 pieces of 3/8” triangle stock, 3” long and
glue in place with ca.
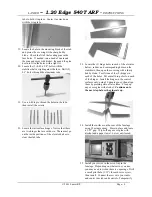
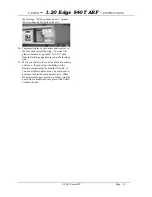
90. Install the upper motor box plate on the fuse.
You can glue this plate in place as was done with
the lower, or you can glue the 3” hardwood rails
in place, then use screws to hold down the hatch.
The latter is recommended if you need to install
your battery in the front compartment to balance
your edge.
91. Test fit your top fuse hatch in place, then secure
with 2 #4 screws into the tabs at the bottom of
the hatch.
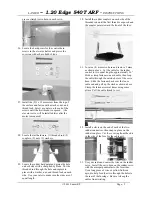
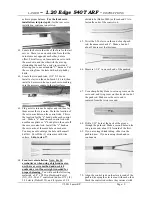
92. Trim the clear plastic canopy ¼” from the
scribed line, then test fit on the fuselage. Trim if
needed. Wash the canopy out with cool water
and dish detergent, then dry with a paper towel.
93. Now is the time to install any cockpit details,
such as dashboards or pilots (NOT
INCLUDED). Secure them firmly in the cockpit
with epoxy.
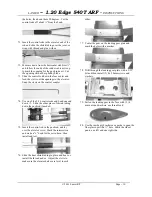
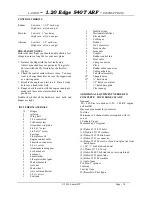
94. Install the canopy on the fuselage with epoxy or
“goop”. Hold in place with tape until cured.
95. With your engine fully set up, now reinstall the
cowling and fasten in place with the ½” #4
screws and #4 washers. Apply the (2) pieces of
white striping tape to align with the stripes on
© 2001 Lanier R/C
Page - 12


