


Warbird Combat
Assembly instructions
11
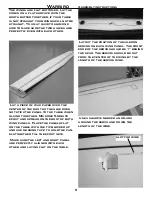
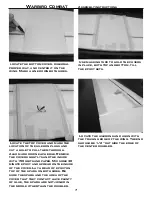
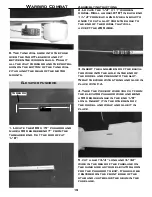
start the next row by overlapping
about 1/4” to 3/8” of the row you
just put down. Continue on to the
leading edge.
it is best to cover the bottom in a
contrasting color for better visibili-
ty.
If you plan to paint the tape you must
first sand it lightly with 220 grit
paper to break the glaze on the tape.
Wipe the surface down with lacquer
thinner after sanding. You can now
use one of the model paints like
Luster Coat or Rustoleum enamel
works fine. I have used krylon
Camouflage paint and it is fuel proof
and works fine.
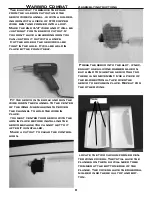
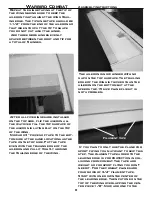
After the wing is covered, drill a
9/64” hole in the aileron in line with
the servo output arm. Drill the hole
3/8” back from the leading edge on
the top of the aileron so it will be
just at the rear of the tapered sec-
tion on the bottom. Run thin CA into
the hole to harden the balsa. Install
the 6-32x1-1/2” bolt with washers
top and bottom and the nut on top.
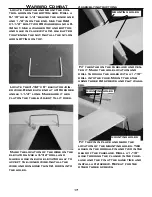
Install the nylon pushrod end on
top. Use one of the 2-56x10”
pushrods, golden clevis and 2-56 jam
nut and attach to the servo output
arm. Center the servo and the
aileron. Mark the location of the
aileron horn and bend the pushrod
90 degrees Retain with one of the
nylon snap-r-keepers. Repeat for the
other aileron.
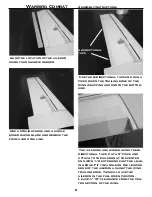
On the top, start at the trailing edge
of the aileron and simply pull a piece
from the tip to the center section.
Have the aileron in the full down
position. The tape is 2” wide, so let it
cover the aileron hinge line and it
will seal the gap.
Содержание BF109
Страница 22: ...BF109 tip P 51 tip ...


