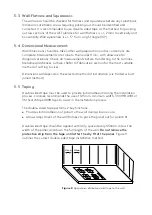
Figure 10:
Gap allowance for dry fit sheet –
butt join method
1. Butt joins to allow 3mm corner gap
2.
*
Folded corner has no gap
5.7 Final Fitting
5.7.1 Silicone Adhesive Application
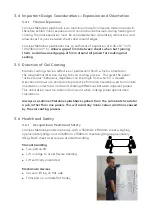
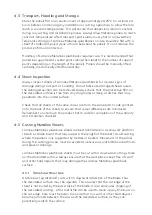
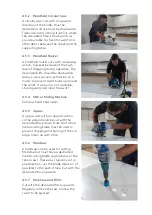
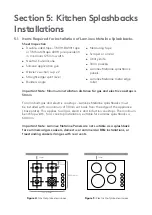
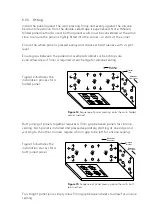
A 5mm bead of Laminex Metaline neutral cure silicone adhesive should be applied
to the wall using a zigzag pattern between the strips of double-sided tape. Figure
11 shows the recommended application pattern.
Ensure an even coverage of
the silicone to ensure wall
flatness. DO NOT use dollops
of adhesive as they can create
an uneven wall finish. The
use of zigzag type patterns
ensures an even bond of the
Metaline splashback panel to
the wall.
5.6 Dry Fit
Laminex Metaline Splashbacks should be dry fitted to the wall to check dimensional
accuracy. The use of glazier’s suction cups will assist in the handling of the Metaline
panels. Once a satisfactory fit is achieved, the panel should be removed to allow for
silicone application.
Once the dry fit is deemed satisfactory, remove the protective film to check for
surface defects before final installation. Extreme care must be taken from this point
to ensure the decorative surface is not damaged in the final stages of installation.
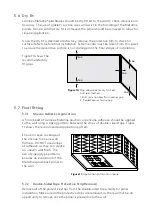
Figure 10 shows the
recommended dry
fit gaps.
450mm
450mm
Work away
from corner
7
8
5
6
1
2
3
4
9
10
Work away
from corner
Fit corner
first
Work away
from corner
5
6
3
4
1
2
7
8
9
10
Work away
from corner
3mm gap
in corner
Figure 11:
Application pattern for silicone
3mm
3mm
3mm
3mm
3mm
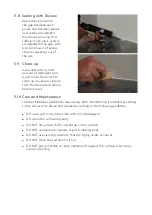
5.7.2 Double-Sided Tape Protective Strip Removal
Remove all of the protective strips from the double-sided tape, ready for panel
installation. Make sure all the protective strips are removed, as there will not be an
opportunity to remove once the panel is pressed onto the wall.
*


