3. Select
Erase
.
4. A dialog box opens. Enter a name for the drive. This will be the name displayed when the drive mounts.
5. For Format, select
OS X Extended (Journaled)
.
6. For Scheme, select
GUID Partition Map
.
7. Click
Erase
.
8. Disk Utility formats the drive. When it’s finished, click
Done
.
Windows
1. Make sure the storage device is connected to and mounted on the computer.
2. Go to Search and then type
diskmgmt.msc
. In the search results, double-click
Disk Management
.
3. From the list of storage devices in the middle of the Disk Management window, locate your LaCie
device.
4. The partition must be available to format. If it is currently formatted, right click on the partition and then
choose
Delete
.
5. To create a new partition, right click on the volume and select
New Simple Volume
. Follow the on-screen
instructions when the New Simple Volume Wizard appears.
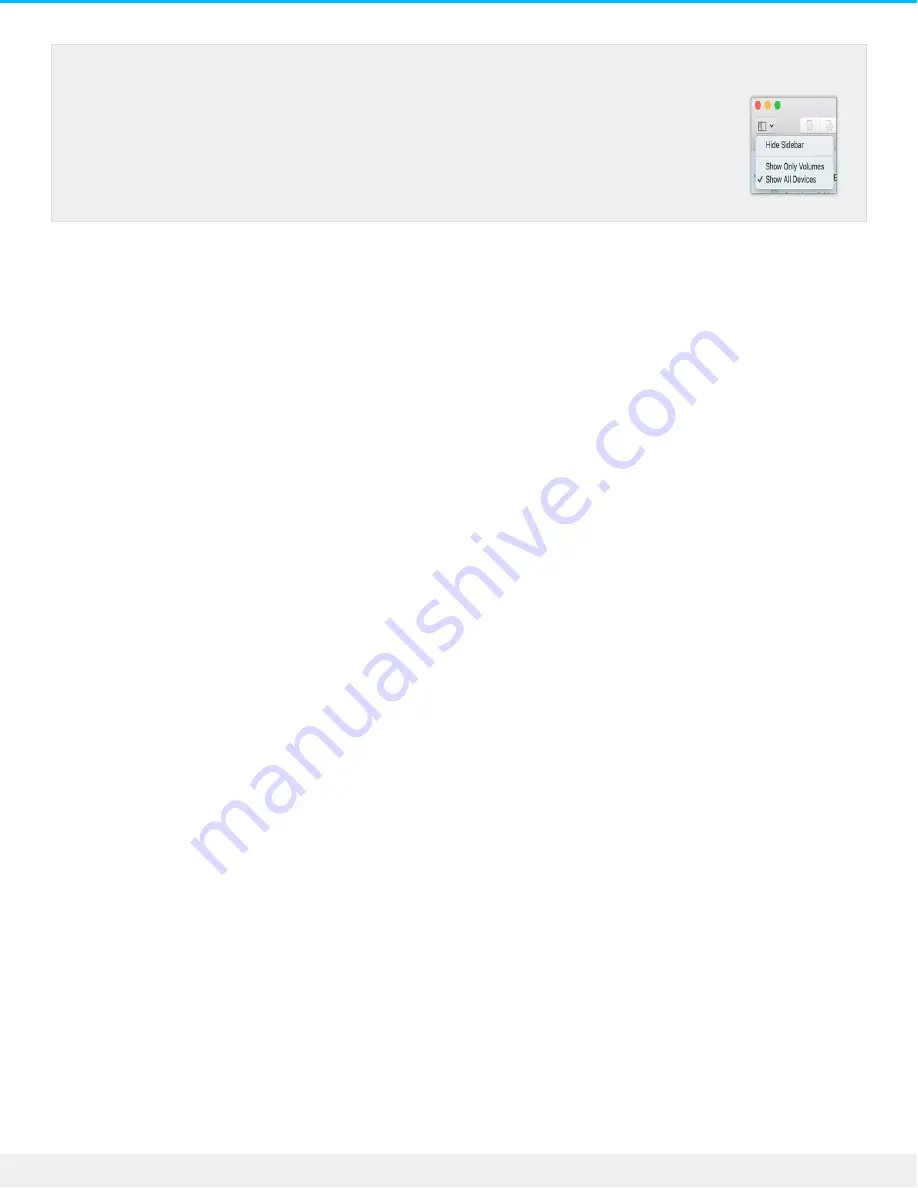
macOS starting version 10.13—Make sure to select the disk and not just the
volume. If you don’t see two entries listed in the sidebar, change the view in
disk utility to show both the drive and the volume. The view button is in the
upper left side of the Disk Utility window. Change the view to Show All Devices.
This feature was introduced in macOS 10.13 and is not available in 10.11 or
10.12.
12
LaCie USB 3.0 Drive
5/14/19
Содержание USB 3.0 Drive
Страница 20: ...20 LaCie USB 3 0 Drive 5 14 19 ...


