LaCie hard disk MAX
• DESIGN BY NEIL POULTON
Getting Connected
User Manual
page 11
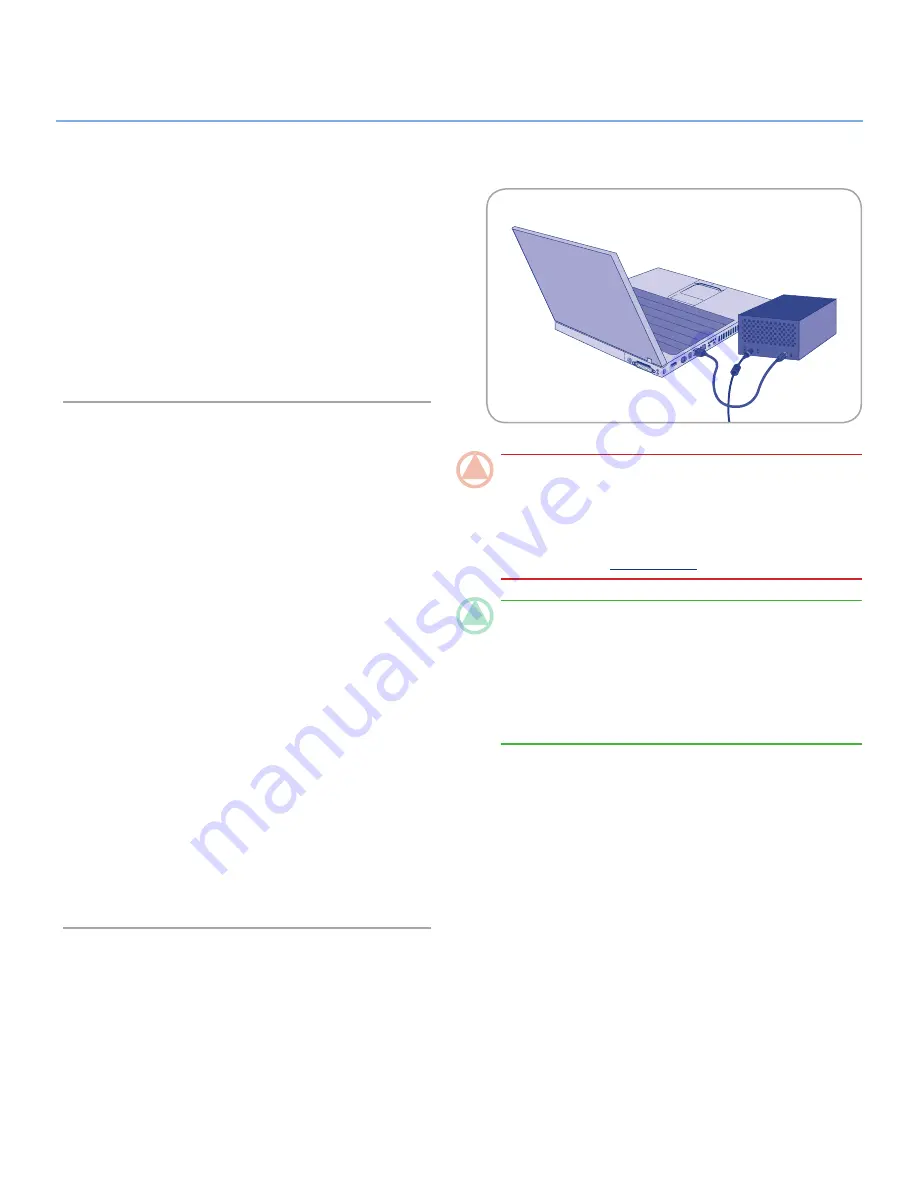
2.2. Connecting the USB cable
1. Attach the small end of the USB cable to an available USB
2.0 port on your computer.
2. Connect the other end of the USB cable to the USB 2.0 port
on the back of the hard disk MAX.
3. After a few seconds, the hard disk will mount on your com-
puter and appear in My Computer/Computer (Windows us-
ers) or on your desktop (Mac users).
4. Proceed to section
2.3. Launching LaCie Setup Assistant
.
2.3. Launching LaCie Setup
Assistant
Before using your drive, LaCie Setup Assistant software must be
launched to format your drive.
Do not change the RAID mode
before running the Setup Assistant.
The Setup Assistant will:
✦
Optimize your drive according to your needs
✦
Copy the manual and utilities from your drive onto your
computer
It is highly advised to copy the user manual and utilities
onto your computer’s internal hard drive or other medium.
To launch LaCie Setup Assistant:
Windows users:
double click on the LaCie drive icon in “My
Computer” and then double click the LaCie Setup Assistant icon.
Mac users:
double click on the “LaCie Setup Assistant” icon
appear on your desktop and then double click the LaCie Setup
Assistant icon.
The LaCie Setup Assistant will guide you through the process of
optimizing your LaCie hard disk MAX for your needs.
IMPORTANT INFO:
If you do not launch LaCie Setup As-
sistant or if you quit LaCie Setup Assistant after the formatting
has begun, your drive will not be ready to use and will require
manual formatting. The user manual and utilities will not be
available on your drive and will have to be downloaded from
the LaCie website:
www.lacie.com
TECHNICAL NOTE:
The LaCie Setup Assistant does not pre-
vent you from using your computer’s native disk utility program
to format or partition your LaCie drive. Simply follow the Setup
Assistant through completion, then use your computer’s native
disk utility (Disk Management for Windows or Disk Utility for
Mac) to reformat your drive. See section
3. Optional Formatting
& Partitioning
for more information.
Fig. 2.2


