


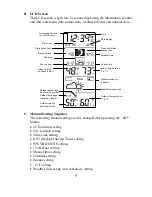


6
DETAILED SET-UP GUIDE
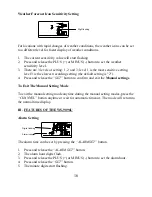
I.
Battery Installation
A.
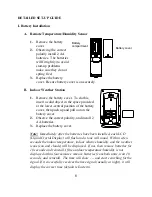
Remote Temperature/Humidity Sensor
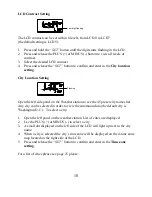
1.
Remove the battery
cover.
2.
Observing the correct
polarity install 2 AA
batteries. The batteries
will fit tightly (to avoid
start-up problems
make sure they do not
spring free).
3.
Replace the battery
cover. Be sure battery cover is on securely.
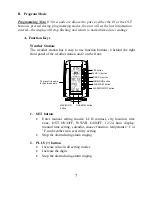
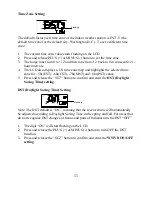
B.
Indoor Weather Station
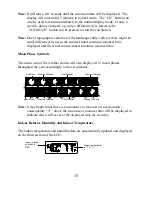
1.
Remove the battery cover. To do this,
insert a solid object in the space provided
at the lower-central position of the battery
cover, then push up and pull out on the
battery cover.
2.
Observe the correct polarity, and install 2
AA batteries.
3.
Replace the battery cover.
Note: Immediately after the batteries have been installed, each LCD
(Liquid Crystal Display) will flash and a tone will sound. Within a few
seconds the indoor temperature, indoor relative humidity and the weather
icons (sun and clouds) will be displayed. If not, then remove batteries for
10 seconds and reinstall. If the outdoor temperature/humidity is not
displayed within four minutes, remove batteries from both units, wait 10
seconds, and reinstall. The time will show -:-- and start searching for the
signal. If it successfully receives the time signal (usually at night), it will
display the correct time (default is Eastern).
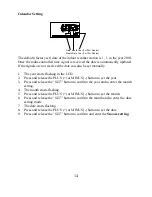
Battery cover
Battery
compartment