3. When the battery is inserted, all the segments of the LCD will light up briefly and
alarm beeps once.
4. The time (hour, minutes and seconds) will be represented by “--:-- -- “. The DCF
reception tower at the top of the seconds will start flashing and the alarm times
will be shown at the preset time of 6:00.
5. The clock
will now
start receiving the DCF time signal. After approximate 3 to 5
minutes, the DCF time will be displayed.
6. If reception is not successful within approximately 7-10 minutes, it will attempt to
receive the signal in the next following hour (
DCF time reception is every full
hour
). The reception is temporarily terminated. Your alarm clock is now
operational.
IMPORTANT!
•
It is recommended to place the alarm clock under any source of light
daily for 12 hour to allow sufficient charging time for the rechargeable
alkaline battery. Under this recommended condition, the rechargeable
alkaline battery life can be used up to 5 years. Otherwise the life
expectancy of the battery is approximately 2 years, depending on alarm
activation times and backlight usage.
•
Do not use any normal Ni-Cd or NiMH or Lithium battery charger to
recharge the rechargeable alkaline battery. Only use a charger unit
designed for this specific type of battery and purpose.
•
Do not insert any other kind of battery other than the 1,5V rechargeable
alkaline battery in the battery compartment as they may cause damage
to the clock and may result to cause an explosion!
Note:
If the low battery indicator is displayed on the LCD, position the alarm clock under
any source of light or place the rechargeable battery into an appropriate Alkaline
charger to charge up its rechargeable alkaline battery.
Unless the alarm clock is manually reset, the low battery indicator will remain
displayed.
BATTERY CHANGE:
Please help in the preservation of the environment. Return used
batteries to an authorised depot.
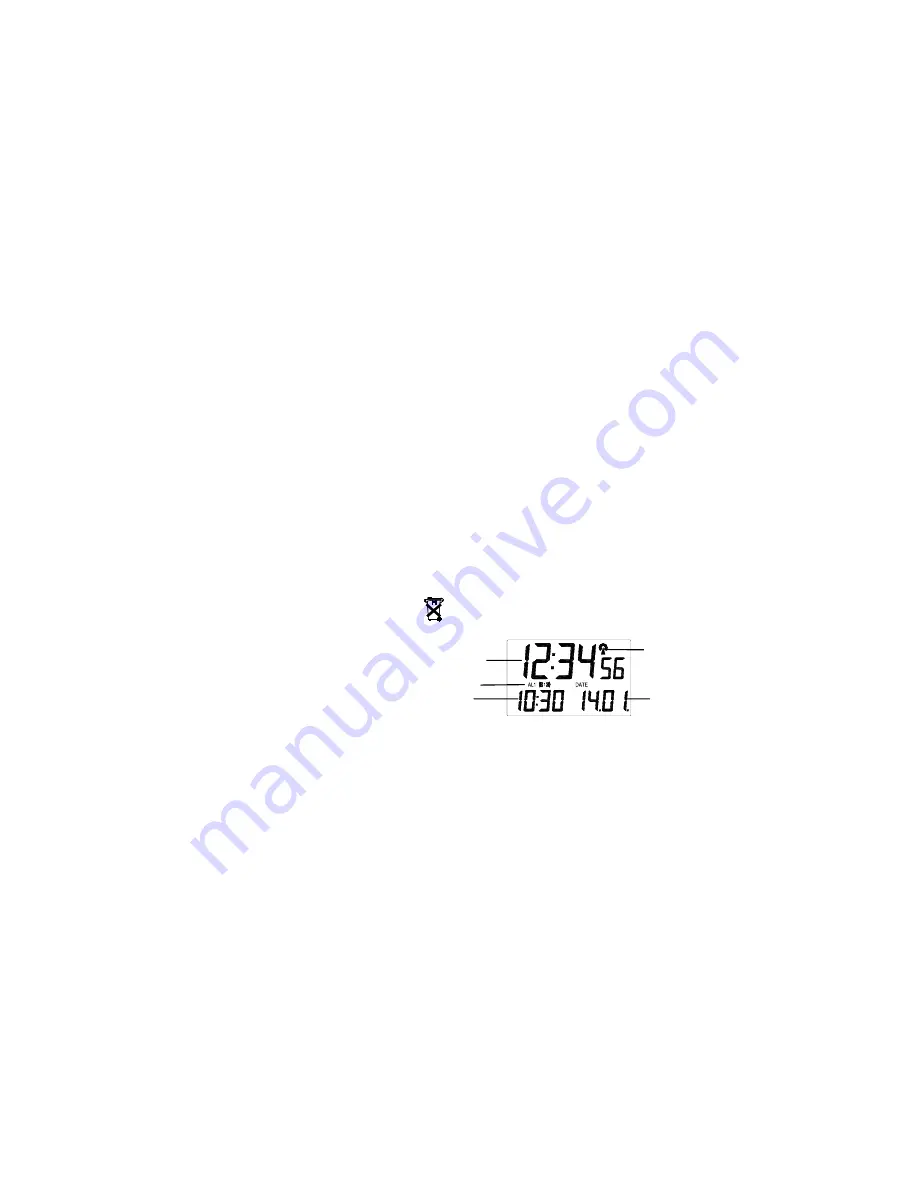
LCD SCREEN
DCF-77 Tower Icon
Time
Calendar display
(date and month),
alternatively ALARM 2
Alarm time
Alarm 1 Icon


