


5-12
Operation on the Machine > Application
2
Install the application.
1
Press [Add].
2
Insert the removable memory containing the application to be installed into the USB Port (A1).
3
Select the application to be installed and press [Install].
You can view detailed information on the selected application by pressing [Detail].
4
Press [Yes] in the confirmation screen.
Installation of the application begins. Depending on the application being installed, the installation
may take some time.
Once the installation ends, the original screen reappears.
Activating/Deactivating Application
The procedure is as follows.
1
Display the screen.
1
Press the [
System Menu
] key.
2
Press [ ] and then [Application].
NOTE
When the message "Removable Memory was recognized. Displaying files. Are you sure?"
is displayed, press [No].
NOTE
To install another application, repeat steps 2-3 and 2-4.
To remove the removable memory, press [Remove Memory] and wait until the message
"Removable Memory can be safely removed." appears. Then remove the removable
memory.
NOTE
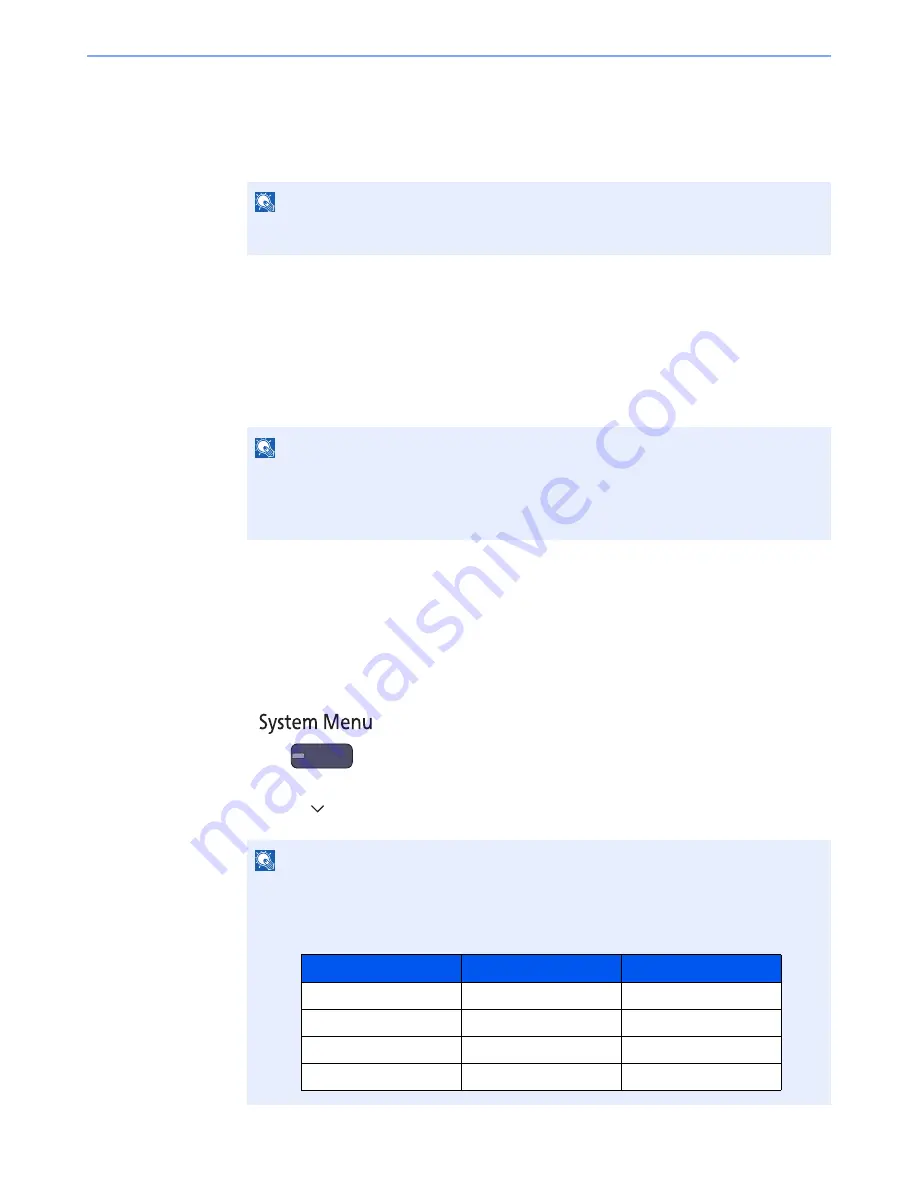
If the user authentication screen appears, enter your login user name and login password
and press [Login]. For this, you need to login with administrator privileges. The factory
default login user name and login password are set as shown below.
Model Name
Login User Name
Login Password
3051ci
3000
3000
3551ci
3500
3500
4551ci
4500
4500
5551ci
5500
5500
Содержание TASKalfa 3051ci
Страница 1: ...3051ci 3551ci 4551ci 5551ci OPERATION GUIDE ...
Страница 17: ...xvi About the Operation Guide this Guide ...
Страница 44: ...xliii Menu Map ...
Страница 62: ...1 18 Legal and Safety Information Notice ...
Страница 108: ...2 46 Installing and Setting up the Machine Transferring data from our other products ...
Страница 164: ...3 56 Preparation before Use Registering Destinations in the Address Book ...
Страница 182: ...4 18 Printing from PC Printing Data Saved on the Printer ...
Страница 459: ...10 7 Troubleshooting Regular Maintenance 3 4 5 6 CLICK ...
Страница 462: ...10 10 Troubleshooting Regular Maintenance 4 5 6 7 1 2 CLICK CLICK ...
Страница 500: ...10 48 Troubleshooting Troubleshooting Optional Cassettes 3 and 4 Paper Feeder 500 sheet x 2 1 2 3 1 2 ...
Страница 502: ...10 50 Troubleshooting Troubleshooting Large Capacity Feeder 1 500 sheet x 2 1 2 3 4 1 2 B1 B2 ...
Страница 503: ...10 51 Troubleshooting Troubleshooting Multi Purpose Tray 1 2 3 4 ...
Страница 505: ...10 53 Troubleshooting Troubleshooting Duplex unit 1 2 ...
Страница 506: ...10 54 Troubleshooting Troubleshooting Duplex Unit and Cassette 1 1 2 3 CLICK ...
Страница 508: ...10 56 Troubleshooting Troubleshooting Fixing unit 1 2 3 A1 ...
Страница 510: ...10 58 Troubleshooting Troubleshooting Optional Job Separator Inner Job Separator 1 2 3 A1 ...
Страница 511: ...10 59 Troubleshooting Troubleshooting Right Job Separator 1 2 3 Bridge Unit Option A1 1 2 ...
Страница 512: ...10 60 Troubleshooting Troubleshooting 1 000 Sheet Finisher Option 1 2 3 D1 D2 2 1 D3 ...
Страница 513: ...10 61 Troubleshooting Troubleshooting 4 000 Sheet Finisher Option Coupling Section 1 2 Tray A 1 2 D1 D6 ...
Страница 515: ...10 63 Troubleshooting Troubleshooting Tray B 1 2 3 Tray C 1 D2 D3 ...
Страница 516: ...10 64 Troubleshooting Troubleshooting Conveyor 1 2 Mailbox Option 1 D2 D3 1 2 ...
Страница 517: ...10 65 Troubleshooting Troubleshooting Center Folding Unit Option Ejection Section 1 2 3 2 1 2 1 2 1 D9 D9 ...
Страница 519: ...10 67 Troubleshooting Troubleshooting 5 Cassette 5 Option Side Feeder 3 000 sheet 1 2 2 1 ...
Страница 524: ...10 72 Troubleshooting Troubleshooting Clearing a Staple Jam 1 000 Sheet Finisher 1 2 3 2 1 CLICK ...
Страница 525: ...10 73 Troubleshooting Troubleshooting 4 000 Sheet Finisher Staple cartridge holder A 1 2 3 2 1 CLICK ...
Страница 526: ...10 74 Troubleshooting Troubleshooting Staple cartridge holder B C 1 2 3 4 2 1 CLICK ...
Страница 574: ...Index 10 ...
Страница 575: ......
Страница 578: ...Rev 1 2013 6 2N4KDEN101 ...