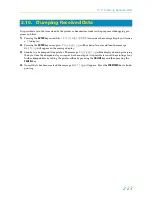
2.8. Setting the Paper Type
2-21
3.
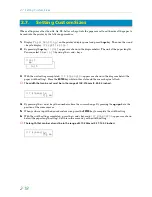
Press the
key after selecting the paper type you want to customize. Pressing the
+
and
–
keys will
cycle through a display of the submenus given in the table below.
Display the submenu to be set and press the
ENTER
key. A
ý"
will flash. Press the
+
and
–
keys to select
the desired parameter.
Press the
CANCEL
key if you want to cancel the setting. The
ý"
will disappear.
4.
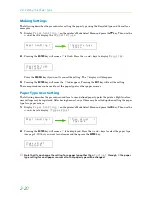
Pressing the
ENTER
key will cause the
ý"
to disappear. Pressing the
EXIT
key will exit the setting.
The same procedure can be used to set the parameters on other submenus.
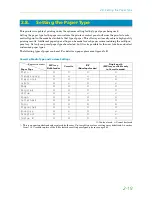
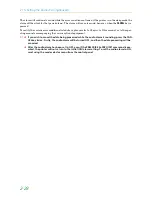
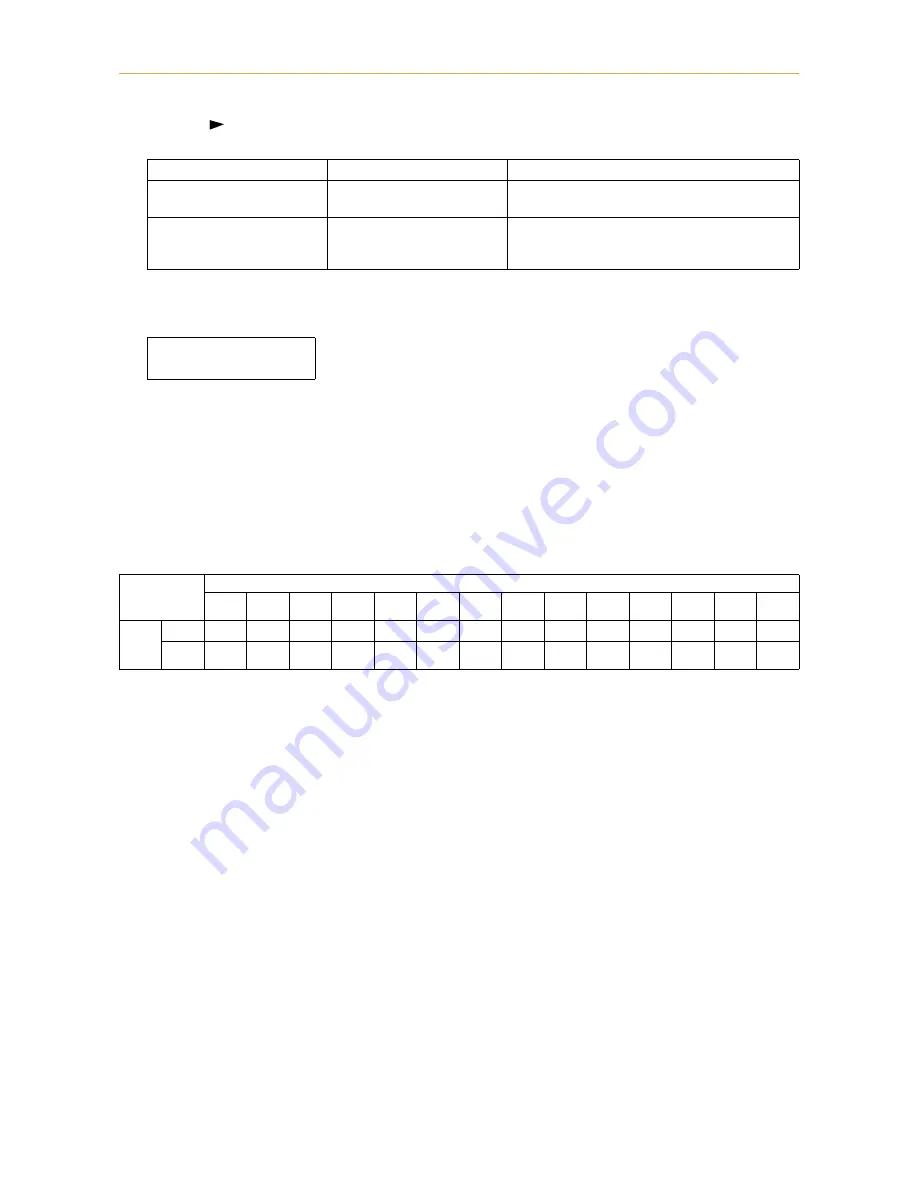
Note that the setting status for paper weight and fuser mode used for each paper type is as given in the table
below. In addition, all paper type settings made using
ý7\SHýDGMXVW
can be reset to the default values
shown in the table below using the
ý!5HVHWýW\SHýDGMXVW
menu.
*
: These cannot be selected when the paper source is EF-1.
**
: These paper types will cause slower printing when the paper is fed from the MP tray.
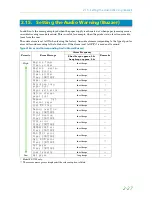
Submenus displayed
Selection parameters
Description
!!3DSHUý ZHLJKW
1RUPDOý
(default)
+HDY\ý õ7KLFNô
Sets the paper thickness
!!'XSOH[ý SDWK
(only when the paper type
is
&XVWRPý ú
)
(QDEOHý
(default)
'LVDEOH
Selects duplex printing on/off when an optional
duplexer is installed (setting active only for the
selected paper type)
!!3DSHUý ZHLJKW
"ý 1RUPDO
(Example: Setup menu for Paper weight)
Paper Type
Plain
Trans-
parency*
Pre-
printed
Labels**
Bond
Recycled Vellum* Rough**
Letter-
head
Color**
Pre-
punched
Enve-
lope**
Card
stock**
Custom
Paper
weight
Normal
O
×
O
O
O
O
O
O
O
O
O
O
×
O
Heavy
(Thick)
×
O
×
×
×
×
×
×
×
×
×
×
O
×


