5-4
Using Convenient Fax Functions > Forward Settings
5
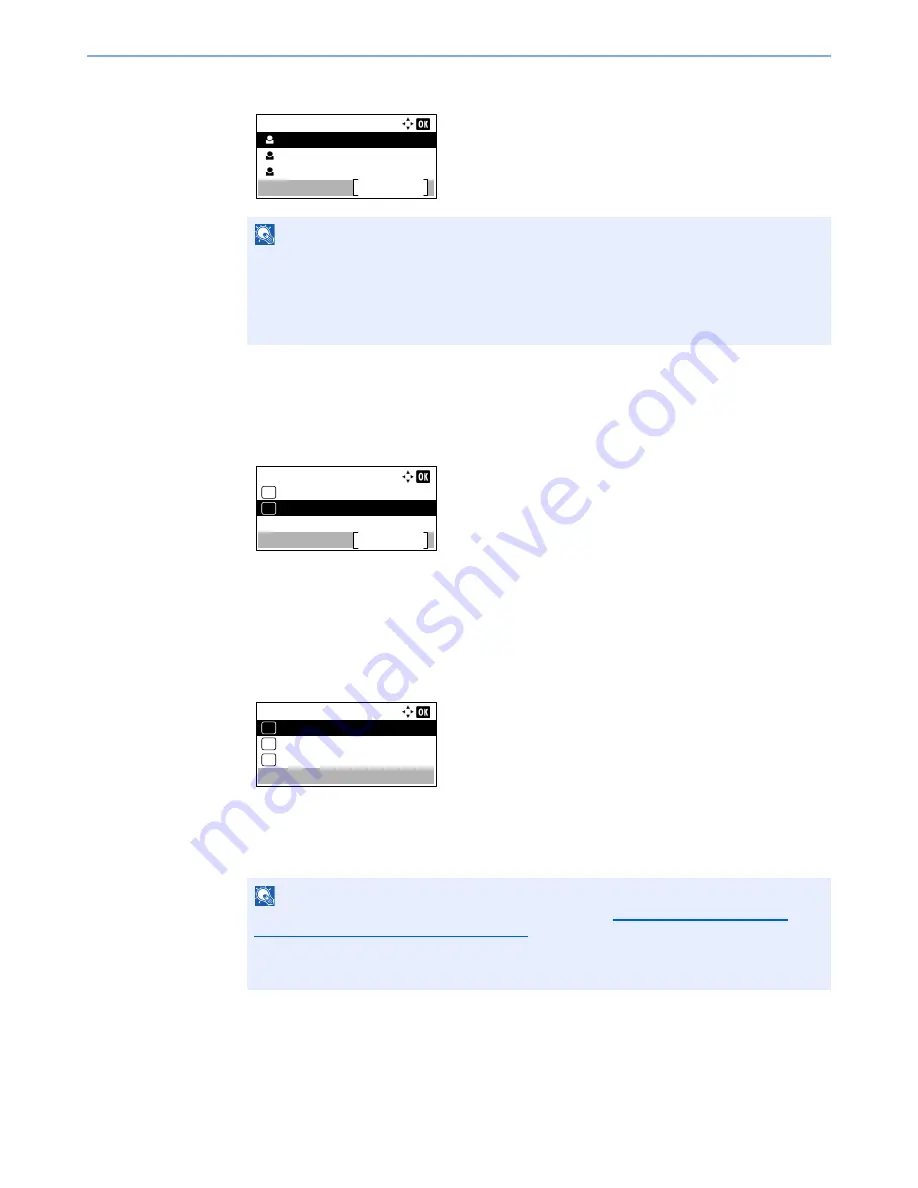
Press the [
▲
] or [
▼
] key to select the destination.
6
Press the [
OK
] key.
Entering Forwarding Destination Directly
1
Press the [
▲
] or [
▼
] key to select [Register].
2
Press the [
OK
] key.
3
Press the [
▲
] or [
▼
] key to select [Address Entry].
4
Press the [
OK
] key.
5
Press the [
▲
] or [
▼
] key to select [FAX], [E-mail], [Folder(SMB)] or [Folder(FTP)].
6
Press the [
OK
] key.
7
Enter the address to be registered as a forwarding destination.
8
Press the [
OK
] key.
NOTE
When selecting the destination, press [Menu] and then [
▲
] or [
▼
] key, select
[Search(Name)], and then press the [
OK
] key. The Search screen is displayed.
When checking details of the destination, press the [
▲
] or [
▼
] key to select the destination
to check details, press [Menu] and then [
▲
] or [
▼
] key, select [Details], and then press the
[
OK
] key. Detailed information is displayed.
NOTE
If [FAX] is selected for the forwarding destination, refer to
Entering the destination fax
number with the numeric keys on page 3-12
to enter the destination.
If [E-mail], [Folder(SMB)] or [Folder(FTP)] is selected for the forwarding destination, refer to
the
Operation Guide
for the machine to enter the address.
Contacts:
Sales Department 1
Menu
Sales Department 2
Sales Department 3
Forward Dest.:
Confirmation
Exit
01
Register
02
Address Entry:
FAX
01
Folder(SMB)
03
02
*
Содержание ECOSYS M3540dn
Страница 1: ...FAX OPERATION GUIDE PRINT COPY SCAN FAX ECOSYS M3540dn...
Страница 213: ......


