14 | kvm-tec
kvm-tec | 15
2. INSTALLATION Of The exTeNder
2. INSTALLATION Of The exTeNder
2.2 MoUNtING oPtIoNs
2.2.1 MoUNtING Pads aNd RUbbER fEEt
The mounting pads and rubber feet can be used to hold the extenders in place and prevents
them from sliding and falling.
to attach the mounting pads or rubber feet:
1. Remove the protection layer from the
mounting pads
or
rubber feet
(G).
2. Attach the
mounting pads
or
rubber feet
(G) to the bottom the units.
2.2.2 MoUNtING KIts (oPtIoNal)
the following mounting kits are available:
Rack Mounting Kit RMK-F - Part No. 6130
The rack mounting kit RMK-F is for mounting kvm-tec Marixline extenders. It consists of a19“
rack shelf and an alu-faceplate.
Rack Mounting Kit RMK-FN - Part No. 6131
The rack mounting kit RMK-FN is for assembling kvm-tec Matrixline extenders. It consists of 19“
Rack Shelf, an alu-faceplate and a power supply.
Rack Mounting Kit RMK-FRN - Part No. 6132
The rack mounting kit RMK-FRN is used to mount kvm-tec Matrixline extenders. It is equipped
with rack shelf, faceplate and 2 power supply units, which are summarized in a redundancy
module.
Under Desk Mounting Kit - Part No. 6135
The Under Desk Mounting kit is for underdesk mounting of the MX extender.
Din Rail Mounting Kit - Part No. 6136
The DIN rail mounting is used for space-saving installation in control cabinets or on DIN rails.
The attachment to the MX extenders is possible in several ways.
2.3 INstallING thE EXtENdER
WaRNING!
Read and understand all safety information before installing the product.
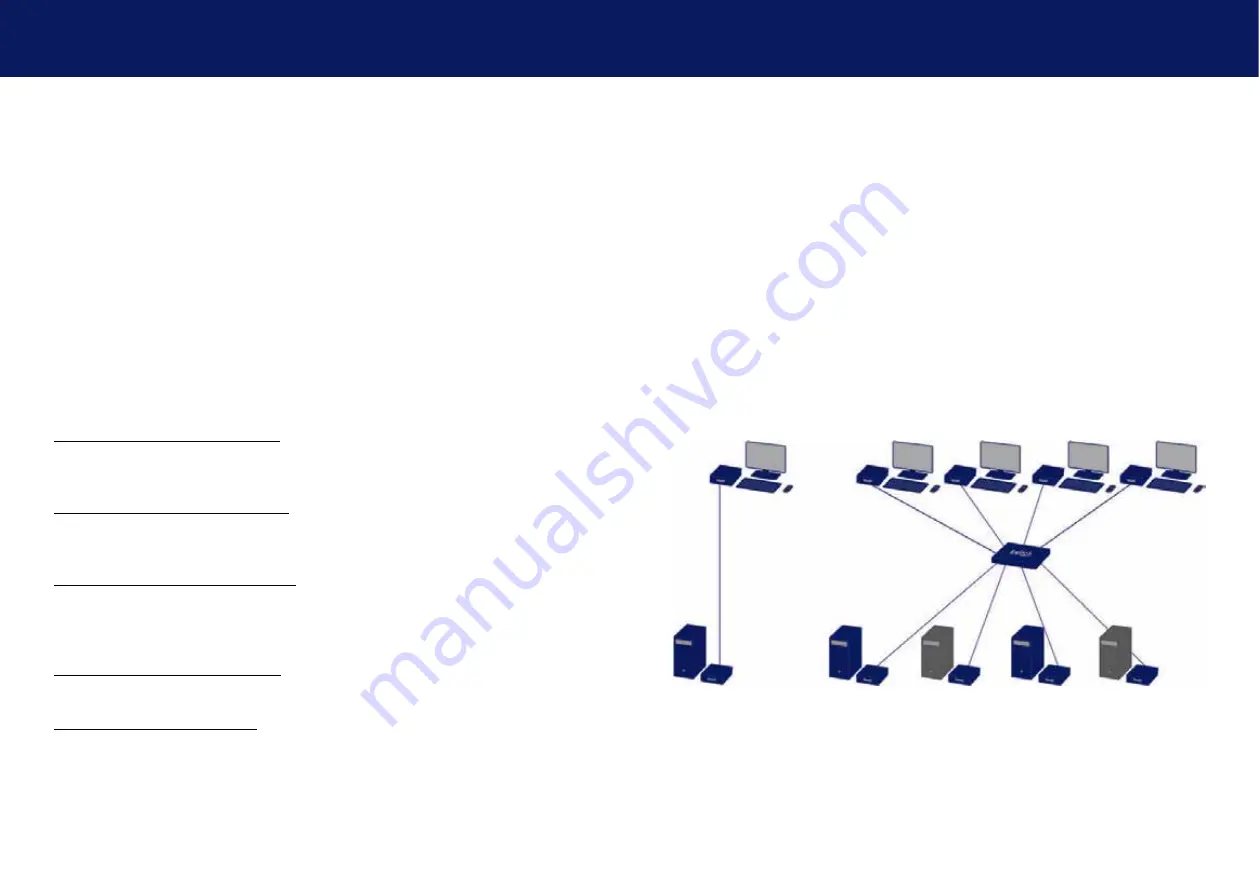
The units can be set up to access one host computer, or to access numerous host computers.
In the case of the latter, an additional Network Switch must be installed. With a Network Switch,
each user can gain quick access to any of the required computers.
point to point connection


