background image

19

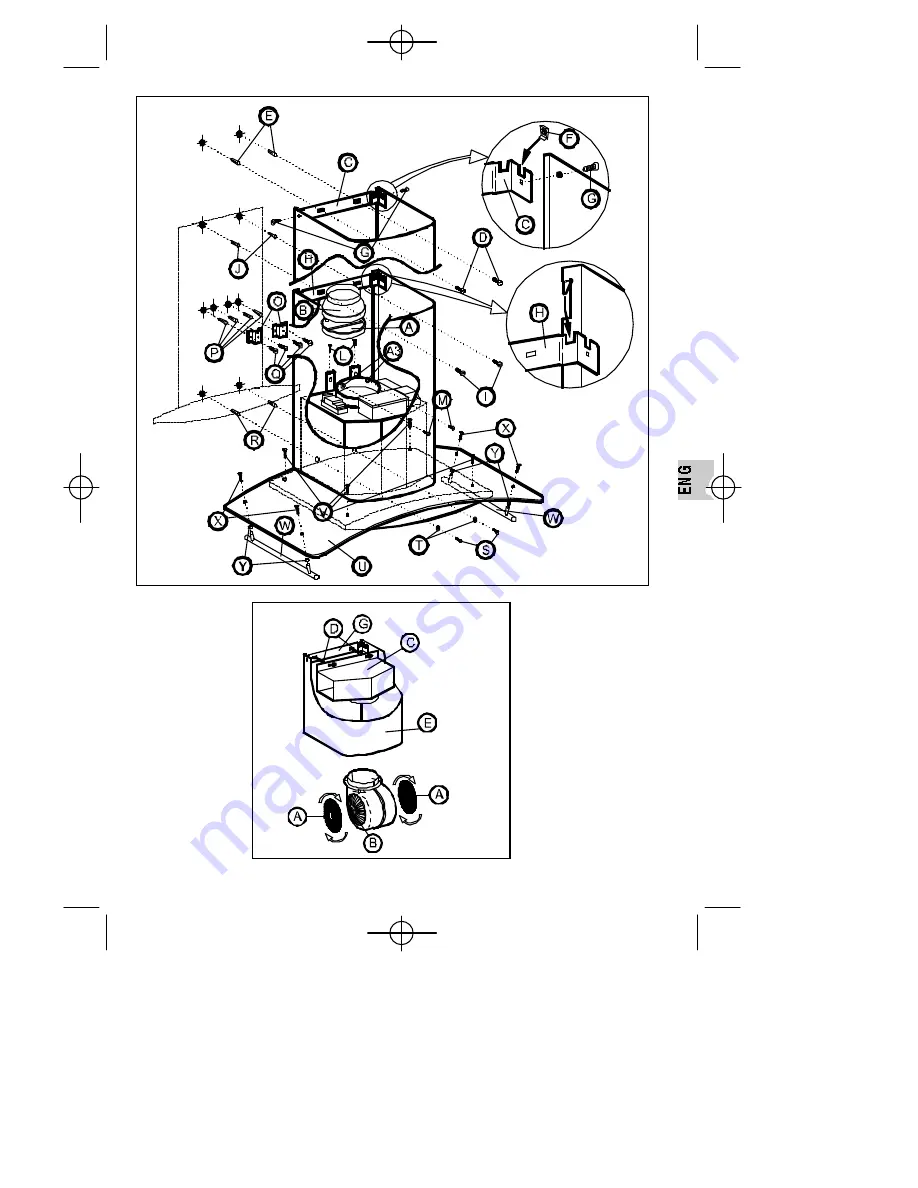
FIG.1

FIG.2

Manual KND.3.qxd  15/10/2002  17:34  Página 19

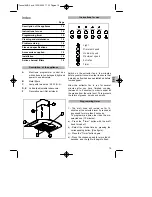
Содержание KD 957.1 GE

Страница 1: ...d installation Instructions d utilisation e avis de montage Instruções de uso com indicações para montagem Istruzioni di uso e di montaggio Bruks och monteringsanvisningar Gebruiksaanwijzing en montagehandleiding Åã åéñéäßïõ ìå ôéò Ïäçãßåó ñÞóåùó KD 957 1 GE Manual KND 3 qxd 15 10 2002 17 33 Página 1 ...

Страница 2: ...fficient ventilation Excessive fat accumulation in the kitchen hood and metal filters is a fire risk and may also cause dripping therefore the inside of the kitchen hood and the metal filters must be cleaned at least once a month The lower part of the kitchen hood must be fitted at least 50 cm over electric hobs and 65 cm over gas or mixed hobs FOLLOW THE MANUFACTURER S MINIMUM RECOMMENDATIONS Nev...

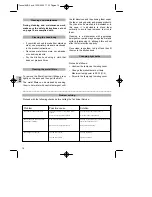
Страница 3: ...extractor fan to run for several minutes after you have finished cooking between 3 to 5 minutes in order to expel all the grease from the outlet duct This prevents the return of grease smoke and smells 1 The draft hood will remain on for 10 minutes at the selected level if pressed at any speed for more than 2 seconds To programme a time other than the pre selected one 10 minutes a Press the Timer ...

Страница 4: ...t its fat retention capacity Once clean leave them to dry off and then fit them onto the kitchen hood Proceed as follows Unscrew the lamp cap trimming cover Change the broken burnt out lamp Maximum lamp power is 20 W G 4 Screw in the lamp cap trimming cover Cleaning and maintenance _________________________________________________________ Problem solving Proceed with the following checks before ca...

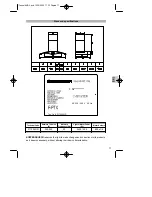
Страница 5: ...l Code Network Tension V Network Frequency Hz Lights Motor Power W Motor Volume 217324ND 220 240 50 2x20 250 800 m 3 h KÜPPERSBUSCH reserves the right to make changes and corrections to its products as it deems necessary without altering their basic characteristics Manual KND 3 qxd 15 10 2002 17 33 Página 17 ...

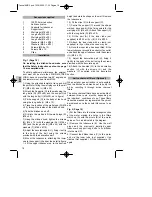
Страница 6: ...he clips F to the support C 11 Centre the support C around the shape marked trace and drill the fixing points for the wall plugs E Ø6 x 30 Attach the support C with the long bolts D Ø4 x 30 12 Fit the part A if the inner tube not supplied is Ø150 or A B if it is Ø120 13 Attach the inner tube with a clamp not supplied to A or B as the case may be 14 Once the inner tube has been fitted fit the lower...

Страница 7: ...19 FIG 1 FIG 2 Manual KND 3 qxd 15 10 2002 17 34 Página 19 ...

Отзывы: