


5
Manual
www.kraun.com
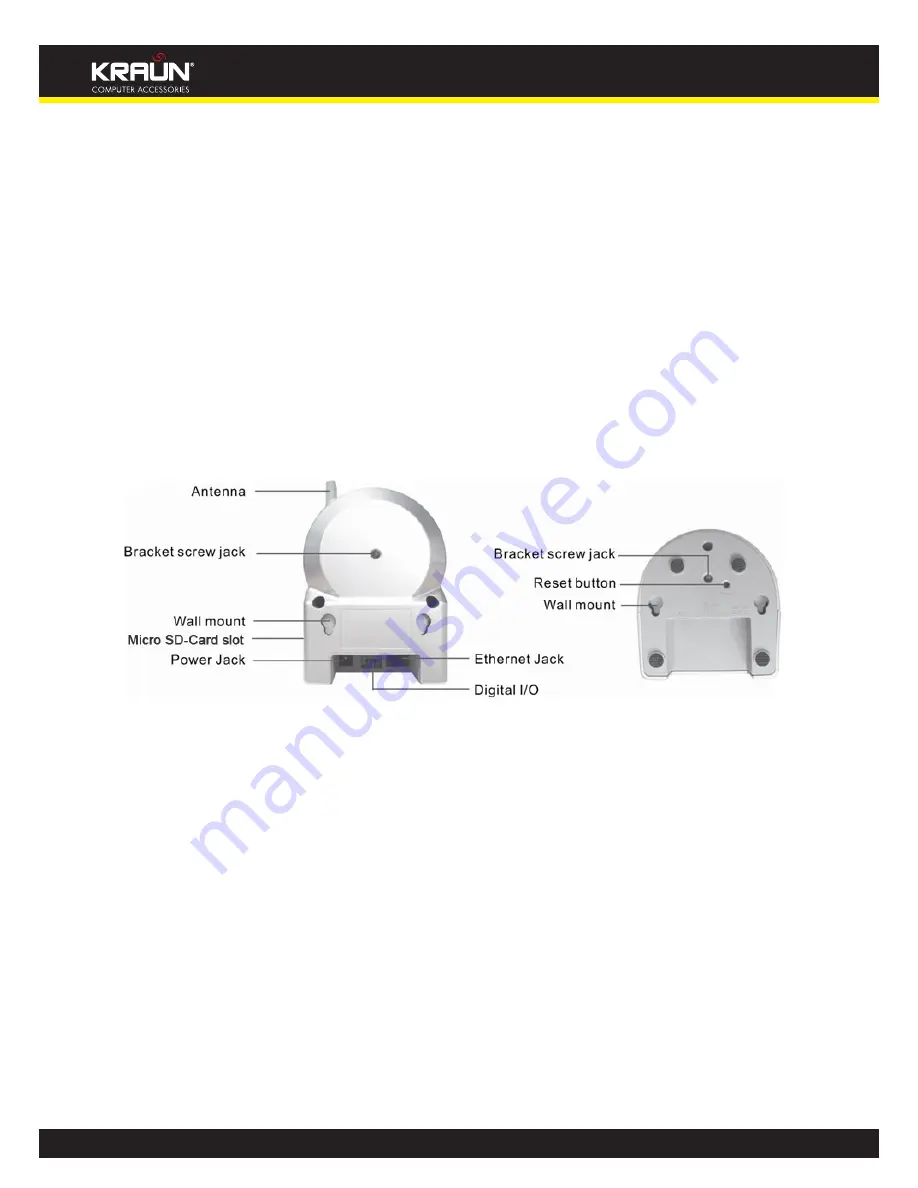
3. Ethernet jack – this is the place to plug in the RJ45 Ethernet cable. When the Ethernet link is ok, the
Ethernet indication LED on the front side will be blue light.
4. Reset button – this is the button to reset the IP CAM to default factory settings. You need to use a
small stick like pencil or tooth stick to press the reset button for more than 3 seconds to enable the
reset function. Usually when you forgot the administrator account, you will probably need to do this
reset action to reset to the default factory settings. Please refer to section 3.19 for more details.
5. Wall mount – this is the place to hang the IP CAM on the ceiling or on the wall.
6. Antenna – this is the 802/11 b/g wireless antenna.
7. Digital I/O : one digital input and one digital output is provided to give users control to alarm speaker
or to signal alarm detection.
8. Micro-SD card slot – for inserting the micro SD-Card. (support up to 16G bytes)
Figure 2-2: Major components in the back panel
2.2. Quick installation and usage
There are only three things that you need to do to see the video from the IP CAM.
1. Connect the IP CAM to the home/office network.
2. Install the KraunView software on the notebook/PC.
3. Key in the ID/password of the IP CAM(from the ID/Password card) on the KraunView, and then you can
see the video.


