Kramer Electronics Ltd.
FC-7P
– Performing Initial Configuration
7
6. Click
Communication
to browse to the Communication page, (see
If you have changed the IP address from the default setting, you must reload the General Info
home page again using the new IP address.
7. Enter the IP address, mask and gateway for static IP addressing and click
Set
. We
recommend that you set a meaningful host name.
8. Click
GPIO Port Settings
to browse to the GPIO Port Settings page, (see
). Here you can configure digital in, digital out and analog in
port parameters.
9. Set the trigger type, voltage levels and status of each port.
10. Click
Save Changes
.
11. Click
Relay Port Settings
to browse to the Relay Port Settings page, (see
). Here you can set the relays on or off.
12. If required, click
Security
) to browse to the Security
page.
13. Click
ON
to activate security.
The user name and password credentials popup appears.
14. Enter the required user name and password. (The default user name is
Admin
and the
password is
Admin
).
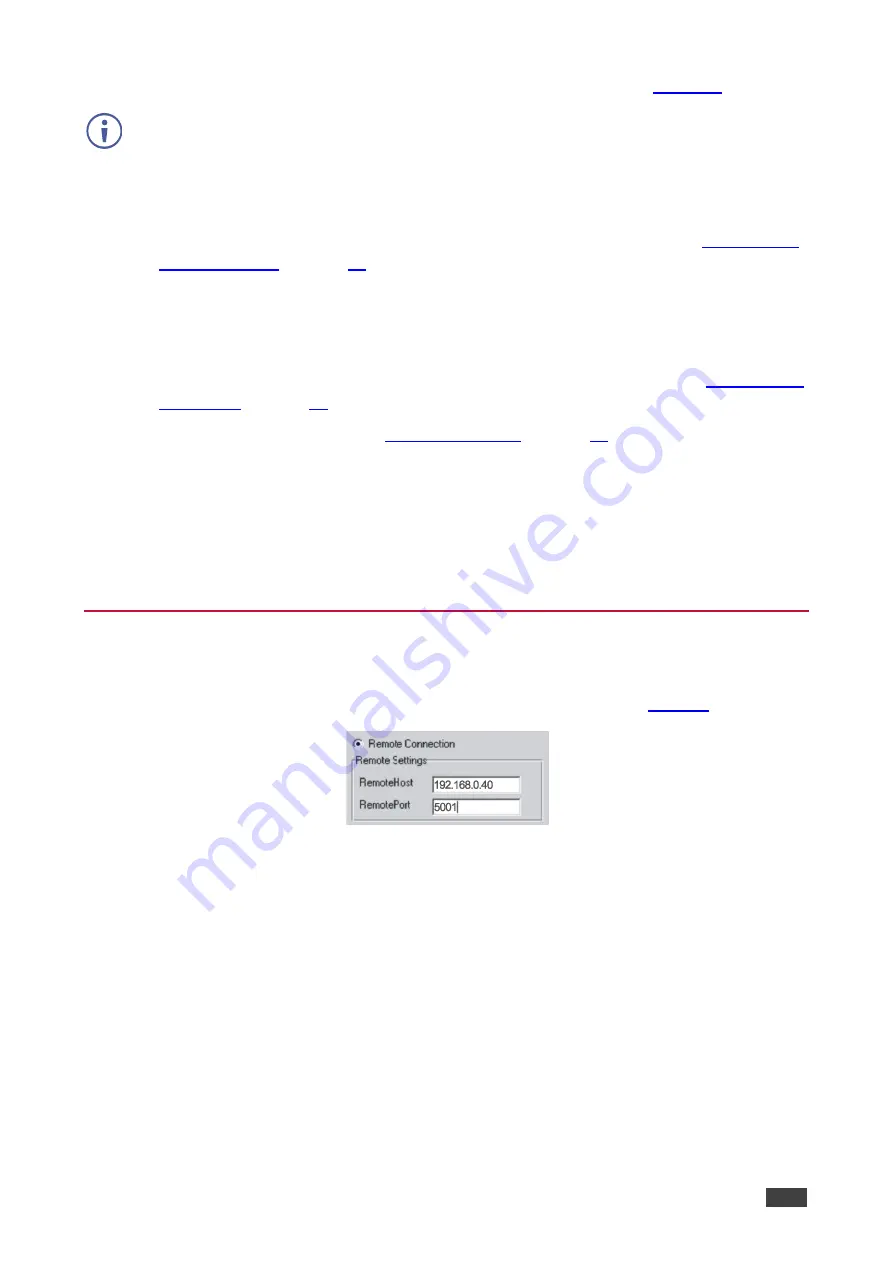
Setting Up an Ethernet Connection on the PC
If the control application can directly connect to the Ethernet driver, select the host IP address
and port number according to your
FC-7P
configuration, as illustrated in
Figure 4: Configuring a Remote Connection
To switch ports on the FC-7P:
1. Select the required output Port using the
+
and
–
Port buttons.
The Data buttons flash and the selected output is displayed on the readout.
2. Select the required input Data connection using the
+
and
–
Data buttons.
The selected Data connection is displayed on the readout and the Take button flashes.
3. Press Take/Lock to save the selection.


