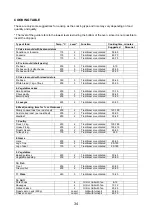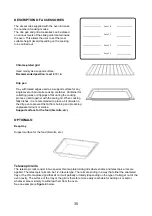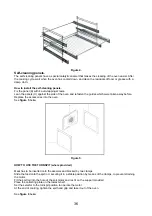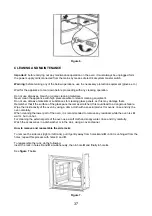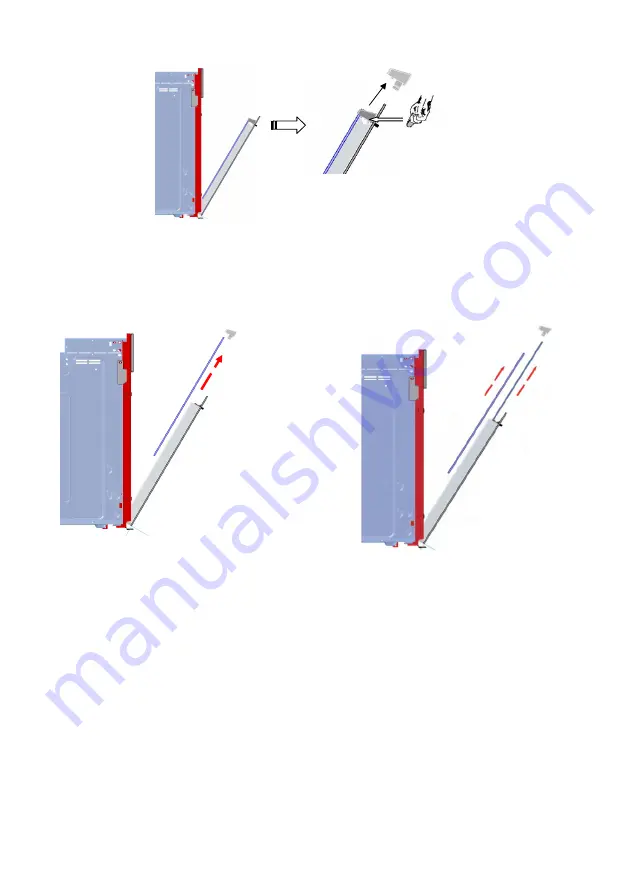
Figure 11.1
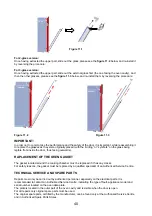
For 2-glass version:
Once having extracted the upper part, slide out the glass, please see the
figure 11.2
below, and re-install it
by reversing the procedure:
For 3-glass version:
Once having extracted the upper part, slide out the external glass first (the one facing the oven cavity), and
then the other glasses, please see the
figure 11.3
below, and re-install them by reversing the procedure:
Figure
11.2
Figure
11.3
IMPORTANT:
In order not to compromise the performance and the safety of the door, it is important, while reassembling it,
to replace the glasses as they were originally placed (with the “writing” or “symbols” on the glass being
legible from inside the door, thus facing outwards).
RAPLACEMENT OF THE OVEN GASKET
The gasket located around the cooking chamber must be replaced if it has any cracks.
For safety reasons, the gasket must be replaced by a qualified specialist of an Authorized Service Centre.
TECHNICAL SERVICE AND SPARE PARTS
Repairs must only be carried out by authorized personnel, especially on the electrical parts. It is
recommended to contact an Authorized Service Centre, indicating the type of fault, appliance model and
serial number located on the oven data plate.
The plate is located in the outer part of the oven cavity and is visible when the door is open.
For all repairs only original spare parts must be used.
The original spare parts, certified by the manufacturer, can be found only at the Authorized Service Centre
and in Authorized Spare Parts Stores.
40
Содержание OKB552CFX
Страница 2: ......
Страница 5: ...Схема встраивания Рис 1 3 ...
Страница 26: ...Installation scheme Figure 1 24 ...
Страница 44: ...12300189430 ...

