ELECTRICAL CONNECTION
Ovens equipped with tri-polar supply cables are constructed to function with alternating current, and with the
voltage and frequency indicated on the
product plate
.
Make sure the voltage matches the one indicated on the
product plate
.
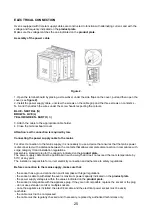
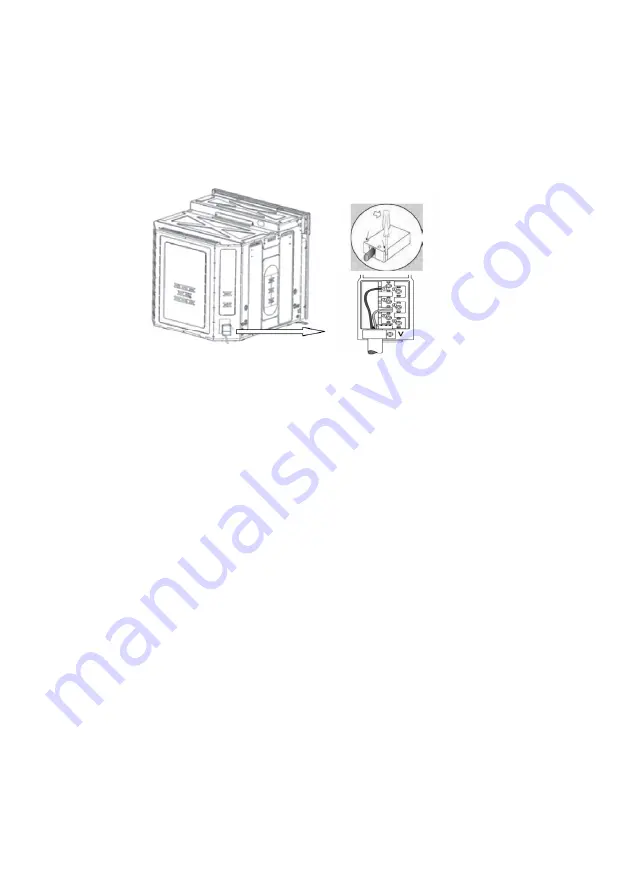
Assembly of the power cable
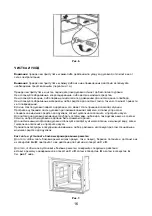
Figure 2.
1. Open the terminal board by placing a screwdriver under the side flaps on the cover, pull and then open the
cover (see
figure 2)
.
2. Install the power supply cable, unscrew the screws on the cable grip and the three screws on contacts L-
N-
╧
and then attach the wires under the screw heads respecting the colours:
BLUE - NEUTRAL (N)
BROWN - LIVE (L)
YELLOW-GREEN - EARTH (
╧
)
3. Attach the cable to the appropriate cable holder.
4. Close the terminal board cover.
Attention: earth connection is required by law.
Connecting the power supply cable to the mains
For direct connection to the mains supply, it is necessary to use a device that ensures that the mains power
is disconnected, with a distance between the contacts that allows complete disconnection in compliance with
surge category III and installation regulations.
Assemble a standard plug for the capacity indicated on the
product plate
.
The power supply cable must be positioned in such a way that it does not exceed the room temperature by
50°C at any point.
The installer is responsible for correct electricity connection and adherence to safety regulations.
Before connection to the mains supply, make sure that:
- the socket has a ground connection and it complies with legal regulations.
- the socket is able to withstand the oven’s maximum power capacity indicated on the
product plate
.
- the power supply voltage is within the values indicated on the
product plate
.
- the socket is compatible with the appliance plug. If they are not compatible, replace the socket or the plug.
- do not use extension cords or multiple sockets.
- once the appliance is installed, the electrical cable and the electrical power socket must be easily
reachable.
- the cable must not be compressed.
- the cable must be regularly checked and if necessary, replaced by authorized technicians only.
25
Содержание OKB552CFX
Страница 2: ......
Страница 5: ...Схема встраивания Рис 1 3 ...
Страница 26: ...Installation scheme Figure 1 24 ...
Страница 44: ...12300189430 ...

