Web Utilities Setting
8
bizhub PRO C6501
8-25
6
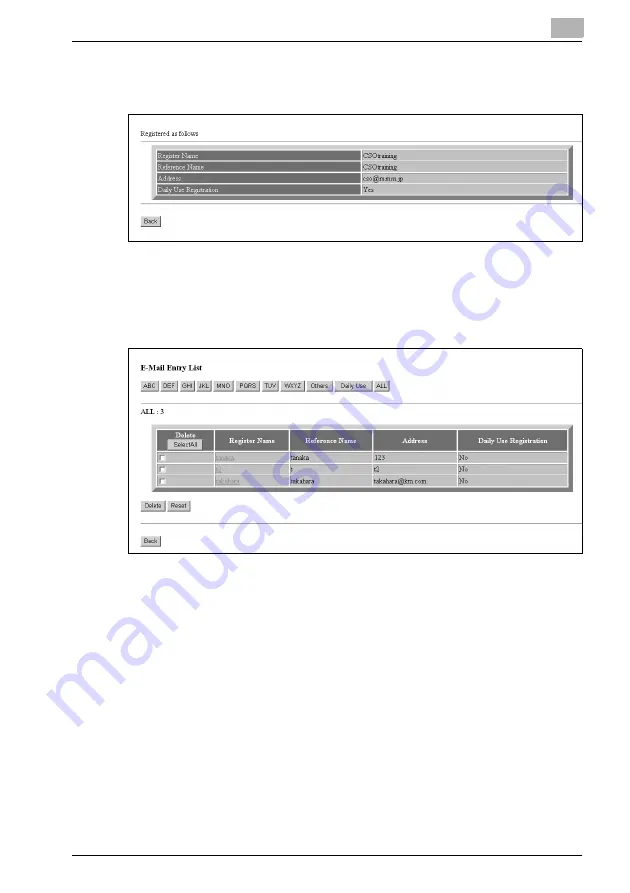
Click on [Registration] to complete the entry.
The registered content will be displayed.
Click on [Back] to return to the Scan Transmission Setting window.
7
Display the Entry List.
Click on [Entry List] of the desired item under the entry box to display
the Entry List.
Click on [Back] to return to the Scan Transmission Setting window.
Содержание bizhub pro C6501
Страница 1: ......
Страница 2: ......
Страница 10: ......
Страница 11: ...1 Introduction...
Страница 12: ......
Страница 19: ...2 Paper Setting...
Страница 20: ......
Страница 24: ...2 Paper Setting 2 6 bizhub PRO C6501 Weight is classified into eight types as shown in the following table...
Страница 37: ...3 Adjustment...
Страница 38: ......
Страница 165: ...4 Utility Screen Outlines...
Страница 166: ......
Страница 194: ......
Страница 195: ...5 User Setting...
Страница 196: ......
Страница 198: ...5 User Setting 5 4 bizhub PRO C6501 2 Touch User Setting The User Setting Menu Screen will be displayed...
Страница 265: ...6 Machine Administrator Setting...
Страница 266: ......
Страница 412: ......
Страница 413: ...7 Touch Screen Adjustment...
Страница 414: ......
Страница 418: ......
Страница 419: ...8 Web Utilities Setting...
Страница 420: ......
Страница 433: ...Web Utilities Setting 8 bizhub PRO C6501 8 15 9 Save Counter Click on Save this table as a file Click on Save...
Страница 442: ...8 Web Utilities Setting 8 24 bizhub PRO C6501 5 Register the E Mail HDD FTP and SMB as required...
Страница 458: ......
Страница 459: ...9 Appendix...
Страница 460: ......
Страница 463: ...10 Index...
Страница 464: ......
Страница 470: ......
Страница 471: ......
Страница 472: ......


