Scanning With the Machine
6-8
Scanning With the Machine
The machine keys can be used to make scans. Scanning is performed with
the scan settings specified in LinkMagic. To change the scan settings, change
the settings in LinkMagic.
In order to perform this operation, the following requirements must be met.
z
This machine is connected to a computer using a USB cable.
z
The TWAIN scanner driver, the printer driver and LinkMagic (Windows
only) are installed on the computer.
z
Either LinkMagic is activated or the LinkMagic icon appears in the
Windows notification area.
The scan data is saved in the folder specified with LinkMagic.
For details on LinkMagic, refer to the Reference Guide on the Documentation
CD/DVD.
"
Before scanning, check that the
Scan
key is lit up in green. If the key
is not lit up in green, press the
Scan
key to enter Scan mode.
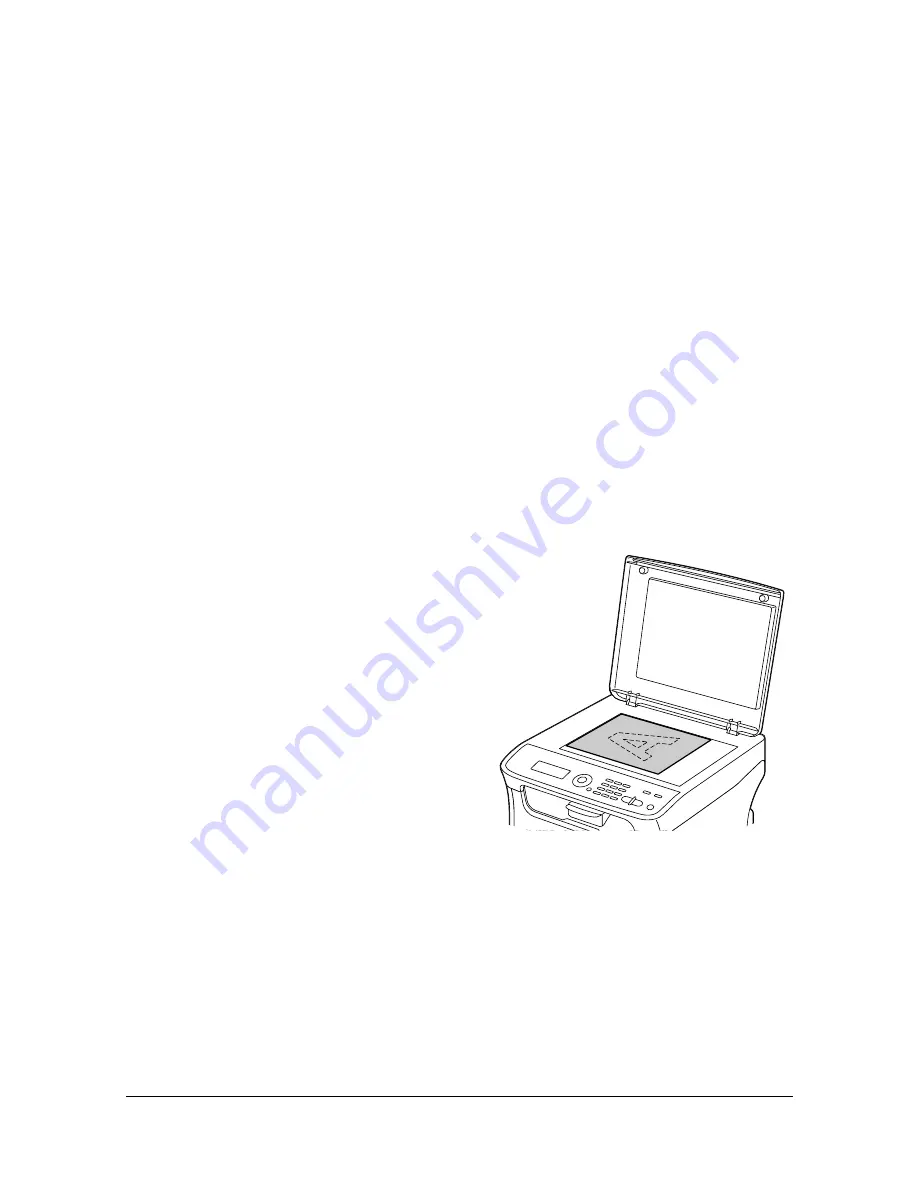
Basic Scanning Operation
1
Position the document to be
scanned.
"
For details on positioning
the document, refer to
“Placing a Document to
be Copied” on page 3-19.
2
Press the
Scan
key to enter
Scan mode.
3
To scan color scans, press the
Start-Color
key. To scan monochrome
scans, press the
Start-B&W
key.
"
If the
Stop
/
Reset
key is pressed while scanning,
JOB CANCEL
appears. To continue scanning, select
NO
. To stop scanning,
select
YES
.
Содержание A0HF011
Страница 1: ...magicolor 1680MF Printer Copier Scanner User s Guide A0HF 9561 00A...
Страница 11: ...Contents x 10...
Страница 12: ...1Introduction...
Страница 16: ...Getting Acquainted with Your Machine 1 5 Front View with Option 1 Dust Cover M 1...
Страница 21: ...Getting Acquainted with Your Machine 1 10...
Страница 22: ...2Control Panel and Configuration Menu...
Страница 42: ...3Media Handling...
Страница 62: ...4Using the Printer Driver...
Страница 70: ...5Using the Copier...
Страница 78: ...6Using the Scanner...
Страница 86: ...7Replacing Consumables...
Страница 107: ...Replacing Consumables 7 22 11 Reconnect the power cord and turn on the machine...
Страница 108: ...8Maintenance...
Страница 116: ...Cleaning the Machine 8 9 Note Do not touch the wires and flat cable shown in the illustration M...
Страница 126: ...9Troubleshooting...
Страница 156: ...10 10Installing Accessories...
Страница 158: ...Appendix...


