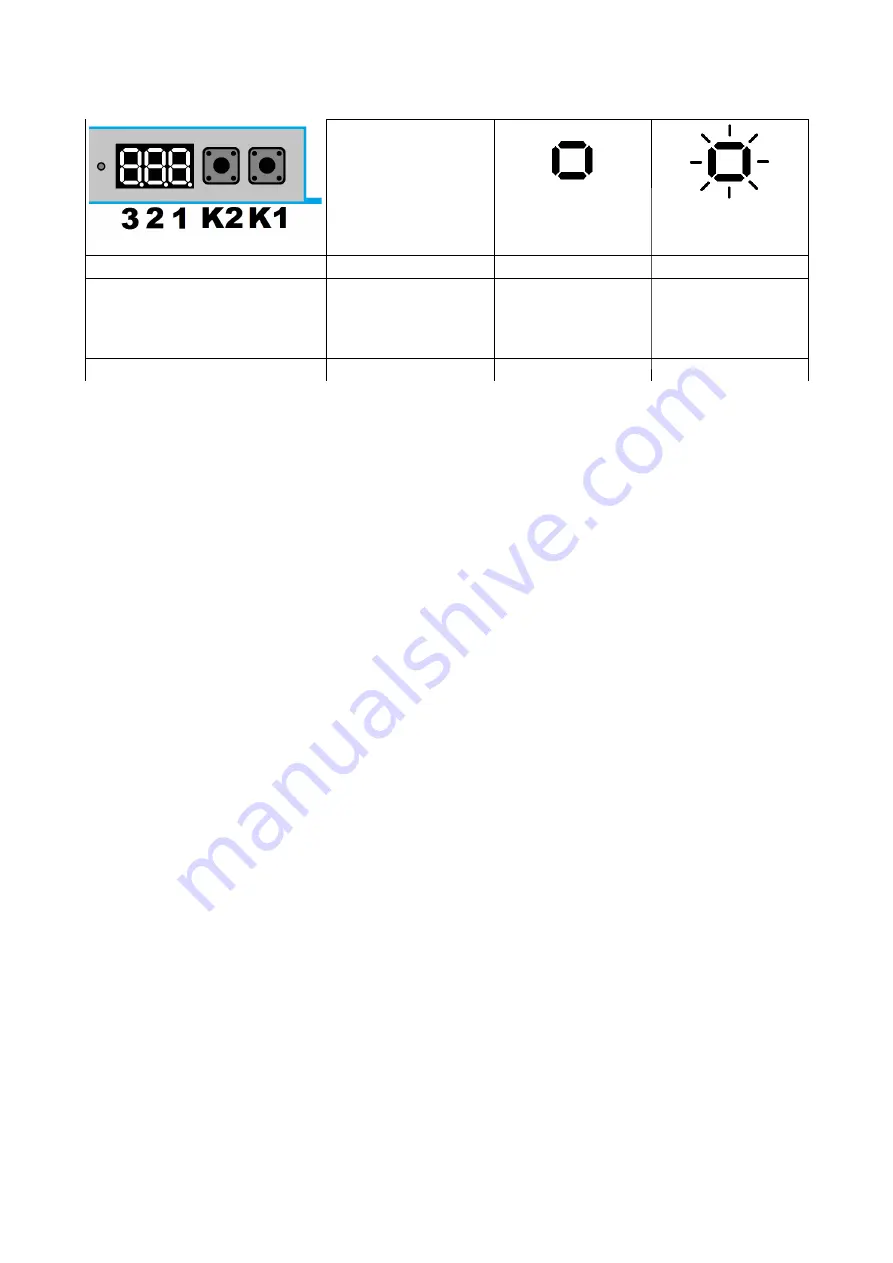
LED Indicators
Function
SOLID
Flashing
LED 3
SOLAR PANEL indicator
Solar Panel Connected
Charging Battery
LED 2
Battery indicator
Battery Connected
Voltage indicator. Will
flash quickly when
voltage is high. Will
flash slowly when
voltage is low.
LED 1
Load indicator
Load ON
Shorted Load
The 3-digit LED display can display battery voltage, load current and other information my
pressing K1. You can also check the currently set operational parameters by pressing K2 to cycle
through the relevant options.
Press K1 to cycle through the various information.
1. Display battery voltage
2. Display load current
3. Display load power
4. Display Temperature
5. Display Core PWM Voltage (Factory use)
Press K2 to cycle through the various current operation parameters
1. U__ Voltage mode
2. P20 No Function, Diagnostic only
3. 1H_ Not applicable
4. 2H_ Not applicable
5. 3H_ Not applicable
6. 4H_ Not applicable
7. 1F_ Runtime after dusk or Always on mode
8. 2F_ Fixed at 0 and cannot be changed
9. 8F_ Factory test mode..
10. 9F Save changed user settings and reboot controller
Safety Precautions
1. Read and understand this instruction manual before use. Always keep a copy of this
manual handy in a convenient location. A pocket is provided on the padded protective
bag for storage of this manual.
2. To reduce the risk of injury, charge only 12V lead-acid batteries or GEL batteries. Other
battery types may be subject to explosion, which can lead to personal injury and
property damage.
3. Always operate the solar panels in a well-ventilated location. Batteries emit explosive
gases, which can be ignited by a spark, cigarette or naked flame such as a cigarette
lighter or matches.
4. Make sure the voltage of the battery being connected is the same as the output voltage
of the solar controller.
5. Make sure the batteries are connected with the correct polarities (positive pole to the
positive pole, negative pole to the negative pole).
6. The battery must be removed from any vehicles when being connected to the solar
controller.
3


