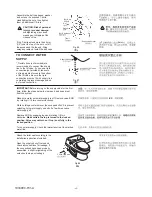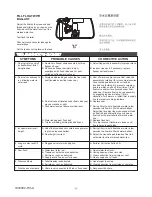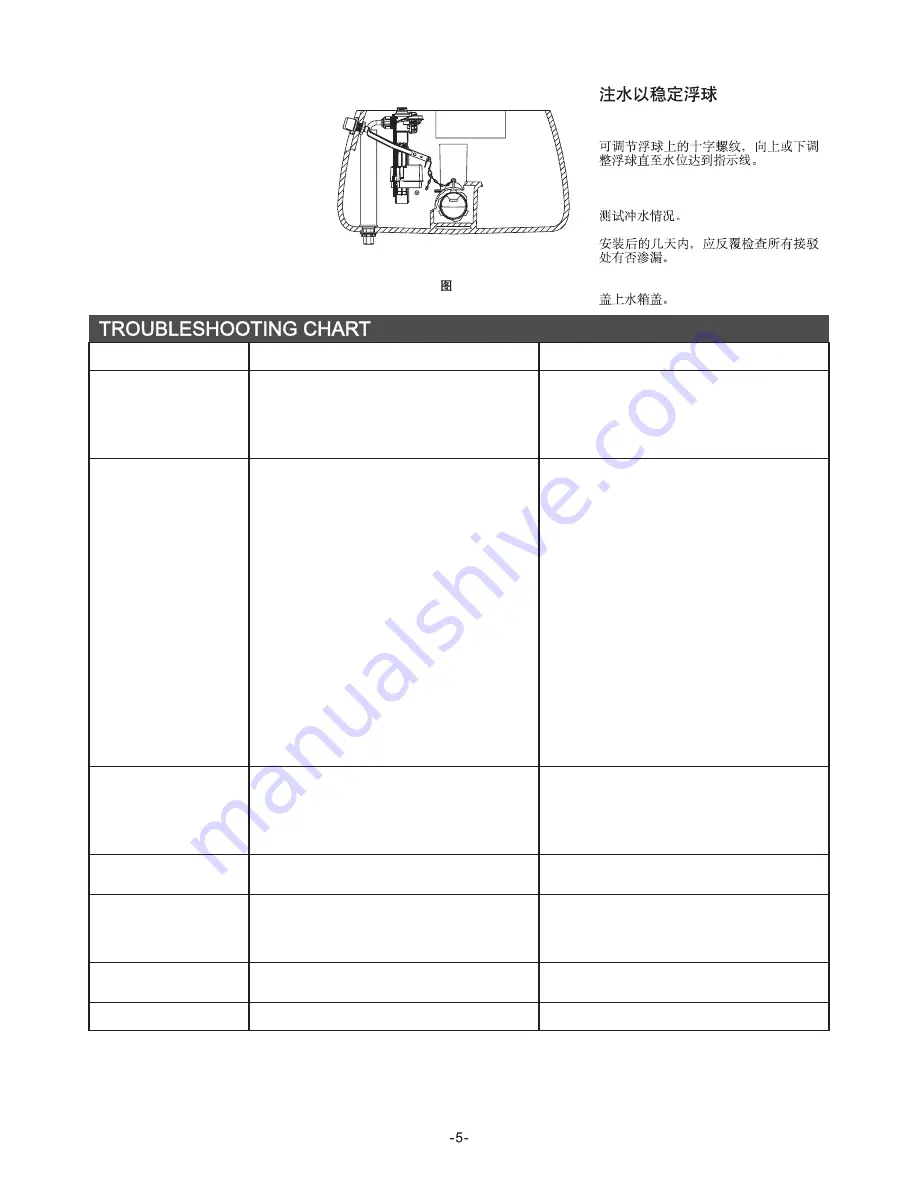
FILL FLOAT WITH
BALLAST
Adjust the float by the cross-shaped
thread and sliding it up or down on the
float rod until the water level is at the
marked water line.
Test flush the toilet.
Check all connections for leakage for
several days.
Set the tank cover in place on the tank.
Fig.#9
9
SYMPTOMS
A. Adjust flapper chain assembly for proper slack.
B. Inspect, clean and, if necessary, replace
flapper ball and/or seat.
PROBABLE CAUSES
CORRECTIVE ACTION
1. Float valve turns on/off
by itself without toilet
being flushed.
A. No slack in flapper chain assembly, holding
flapper off seat.
B. Flush valve flapper ball worn, dirty or
misaligned with flush valve seat; or seat
corroded so flapper will not seal.
A. Shut off water supply; remove float valve cap
assembly by rotating 1/8 turn counterclockwise.
Cover uncapped lower valve unit with an
inverted cup (holding it to prevent overspray),
and turn water on and off a few times. Clean
float valve seal surface (located under float
valve cap). Replace float valve cap assembly
by engaging lugs and rotating 1/8 turn
clockwise. Turn water on. Install filter in supply
line to prevent recurring problems.
B. Replace seal.
C. During fill cycle, hold float under water a few
seconds to allow it to fill with water ballast.
Adjust float by adjust the cross-shaped thread
on float rod and sliding float up or down on
float rod until water level is at marked water
line.
D. Replace flush ball.
E. Turn trip lever nut clockwise to loosen until
trop lever no longer binds.
A. Foreign particles lodged under the float valve
seal (located under float valve cap).
B. Float valve seal (located under float valve cap)
may be cracked or split.
C. Tank water level set above overflow level.
D. Water leaking past flush ball.
E. Trip lever binding, holding flush ball open.
A. During fill cycle, hold float under water a few
seconds to allow it to fill with water ballast.
B. Adjust the cross-shaped thread on float rod
until water level is at marked water line.
A. Valve float cup does not contain enough water
to provide required ballast.
B. Float height incorrect.
4. Long or noisy tank fill
cycle.
A. Perform Corrective Action 2.A.
A. Plugged valve inlet or supply line.
A. Adjust water tank level.
B. Unclog trapway; clean rim holes.
C. Clear obstruction from soil pipe or vent.
D. Open supply shut-off valve.
A. Water level is too low.
B. Trapway or rim holes are obstructed.
C. Soil pipe or vent is obstructed.
D. Supply shut-off valve not fully open.
5. Poor flush.
A. Toilet trapway is obstructed.
B. Soil pipe or vent is obstructed.
A. Use plunger to unclog.
B. Clear obstruction from soil pipe or vent pipe.
6. Toilet overflows.
7. Toilet does not activate.
A. Reconnect the chain.
A. Chain is not connected to lift rod or flush valve.
2. Float valve continues to
run, allowing water to
enter tank.
3. Incorrect water level
height.
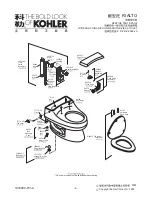
1033004-T01-A

