1025490-2-
A
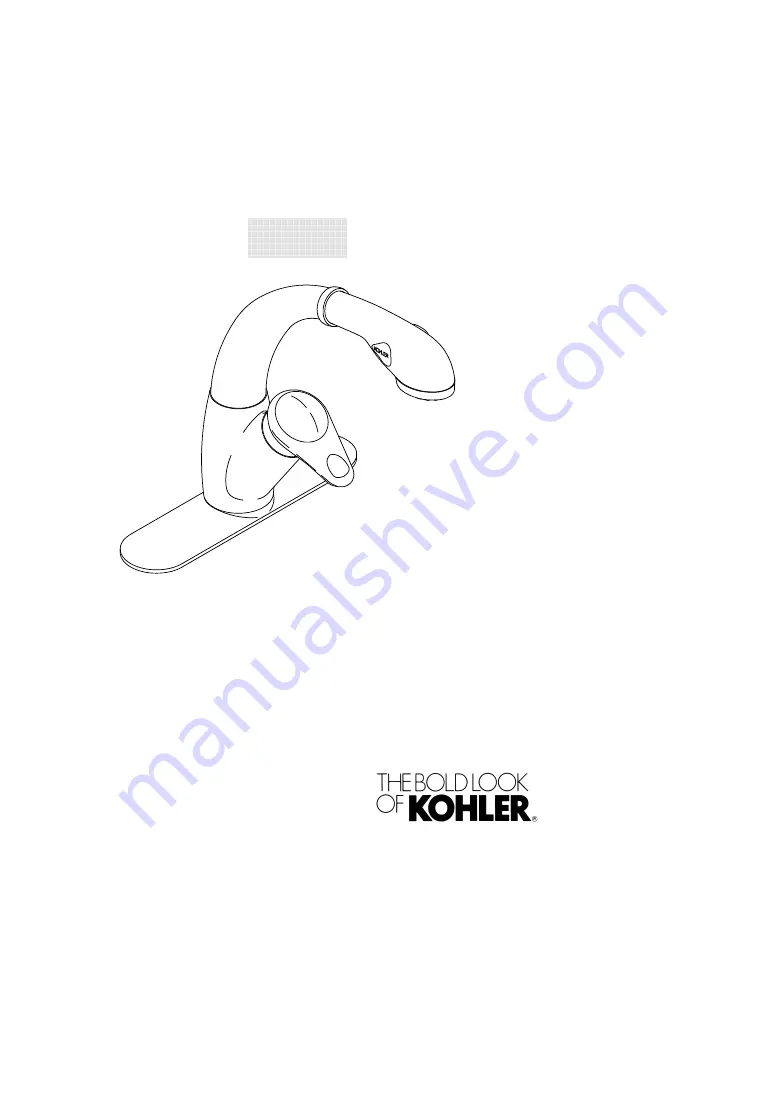
Single-Control Kitchen Faucet
With Pull-Out Spray
Installation Guide
K-6350
Français, Page 8Español, Página 14
Страница 1: ...1025490 2 A Single Control Kitchen Faucet With Pull Out Spray Installation Guide K 6350 Fran ais Page 8 Espa ol P gina 14...
Страница 2: ...please don t hesitate to contact us Our phone numbers and web site are listed on the back cover Thanks again for choosing Kohler Company Before You Begin Observe all local plumbing and building codes...
Страница 3: ...nt and install a 1 2 NPT nipple to the bath elbow The nipple should extend 1 2 1 3cm beyond the finished wall Apply plumbers putty or other sealant to the inlet end of the spout according to the putty...
Страница 4: ...escutcheon spacer and O ring are not required Slide the rubber washer over the faucet tubing and hose Insert the faucet tubing and hose into the hole For 3 hole installations Apply a ring of plumbers...
Страница 5: ...heon on the sink to obtain the desired alignment Tighten the nut securing the faucet to the sink Use a ratchet wrench with 7 16 deep socket for best access NOTE The weight must be installed to act as...
Страница 6: ...tall the sink following the sink manufacturer s instructions Connect the supply tubes to the supply stops Left is hot right is cold Tighten all connections 5 Installation Checkout Ensure that all coup...
Страница 7: ...of the temperature stop tab top edge on the mounting nut with a marker or pencil Lift the indexer and top disc just enough to clear the valve splines and to allow rotation NOTE Each spline notch is an...
Страница 8: ...as nous contacter Nos num ros de t l phone et adresse Internet sont au verso Merci encore d avoir choisi un produit KOHLER Avant de Commencer Respectez tous les codes locaux de plomberie et de b timen...
Страница 9: ...nch it sur la tige filet e et installez un adaptateur de 1 2 NPT L adaptateur doit d passer de 1 2 1 3 cm au del du mur termin Appliquez un ruban d tanch it sur la tige filet e ou un produit semblable...
Страница 10: ...a rosace calles d espacement et joint torique ne sont pas n cessaire Glissez la rondelle en caoutchouc sur le tuyau est le flexible du robinet Ins rez le tuyau du robinet et le flexible dans le trou I...
Страница 11: ...e l vier pour obtenir l alignement d sir Serrez l crou fixant le robinet l vier Pour un meilleur acc s utilisez une cl et un douille de 7 16 REMARQUE Les poids doivent tre install s de fa on stopper l...
Страница 12: ...rs Installez l vier en suivant les instructions du fabricant Raccorder les tuyaux d arriv e d eau aux robinets d arr t Gauche est chaude Droite est froide Serrez tous les raccords 5 V rification de l...
Страница 13: ...de la but e bord sup rieur sur l crou d assemblage avec un feutre ou un crayon papier Soulevez suffisamment l indexeur et le disque sup rieur pour d gager les cannelures et permettre la rotation REMA...
Страница 14: ...n contactarnos Nuestros n meros de tel fono y nuestra p gina web se encuentran en la solapa posterior Gracias nuevamente por escoger a Kohler Antes de Comenzar Cumpla con todos los c digos locales de...
Страница 15: ...sellador de rosca e instale un niple de 1 2 NPT en el codo del ba o El niple debe sobresalir unos 1 2 1 3cm de la pared acabada Siguiendo las instrucciones del fabricante aplique la masilla de plomer...
Страница 16: ...y el empaque de anillo O ring Deslice la arandela de goma por la tuber a y la manguera de la grifer a Inserte la tuber a y la manguera de la grifer a en el orificio En las instalaciones de tres orifi...
Страница 17: ...ue obtenga la alineaci n deseada Apriete la tuerca para fijar la grifer a al fregadero Utilice una llave de trinquete con un casquillo de 7 16 para tener mejor acceso NOTA La pesa debe instalarse para...
Страница 18: ...Conecte los tubos de suministro a las llaves de paso El lado izquierdo corresponde al agua caliente y el derecho al agua fr a Apriete todas las conexiones 5 Verifique la instalaci n Aseg rese de que t...
Страница 19: ...la posici n actual del tope de control de la temperatura borde superior Levante el graduador y el disco superior lo suficiente como para despejar las ranuras y permitir la rotaci n NOTA Cada ranura r...
Страница 20: ...1025490 2 A Kohler Co 20 E2003 Kohler Co 1025490 2 A USA 1 800 4 KOHLER Canada 1 800 964 5590 Mexico 001 877 680 1310 kohler com...