1. Before connecting your USB device to the TV, please back up your files to
prevent them from damage or loss of data.
2. A USB disk must be formatted when first used for PVR. Any existing data
on the disk will be lost during the formatting process. Please back up your
disk if you do not want to lose this data. It is recommended that you use a
dedicated disk for PVR use only. Do not disconnect disk or power during
formatting.
3. Do not modify PVR files on a PC.
Note: Make sure your USB device is compatible with the TV and able to support
PVR recording.
•
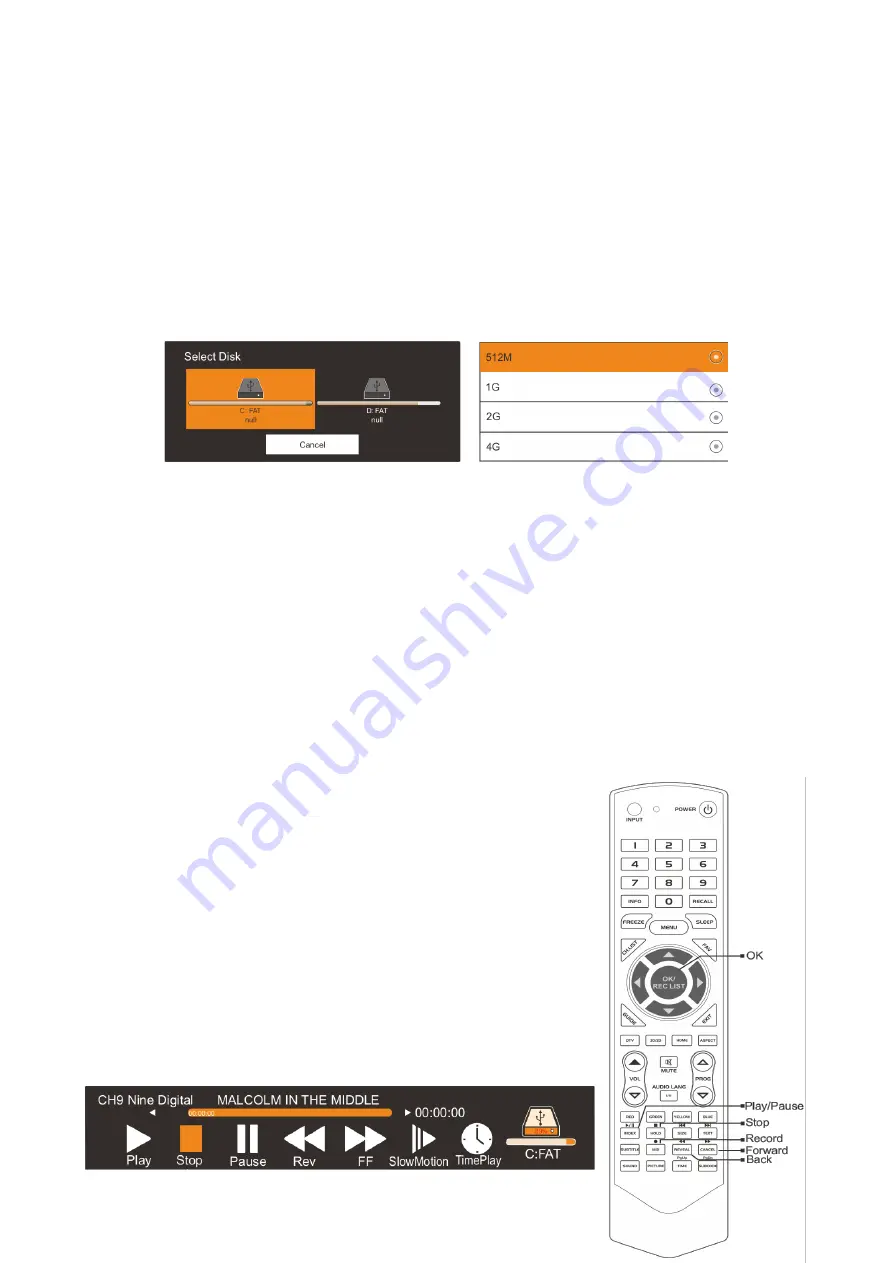
Select Disk
: Press the “OK” button to enter the submenu and press / to
◀ ▶
choose the disk to use for PVR.
•
Time Shift Size
: Press the “OK” button to enter the submenu and press /
▲ ▼
to choose the file size.
•
Format
: Press the “OK” button to enter the format submenu. The disk
must be formatted when first used for PVR. Do not disconnect disk or turn
power off during formatting. When formatting your disk, a progress bar
will appear on the display.
NOTE: The larger your device the longer it will take to format. The device
may take many minutes to format. This is not a malfunction, please wait
for the formatting to finish.
•
Speed Check
: Test your disk speed.
PVR Guide
If the disk for PVR is ready, the programs can be recorded
in DTV mode.
Time shift
In DTV mode, press /
►
ll
button to pause the DTV
program, then press it again to continue playing. The
length of time a program can be paused depends upon
the setting in the PVR File System. Press “EXIT” to stop
the time shift.
Press the PLAY button to continue playing the program
from the point where it was paused.
NOTE: Time Shift will stop if you change channels, change
inputs or go into standby mode while in Time Shift mode.
30
Содержание KALED55SMTZA
Страница 1: ......
Страница 3: ...Music 36 Movie 36 PIP 37 USB Support Character 38 Troubleshooting 39 2...
Страница 10: ...Remote Control 9...
Страница 11: ...10...
Страница 35: ...34...
Страница 36: ...35...


