Kogan KADCAXXUSBA Скачать руководство пользователя страница 20


20 


continue play 


Fast Backward

To fast backward play video file 


Fast Forward


To fast forward play video file 


Mute

To close sound, click again to restore. 


Volume Adjust


Drag the slider to adjust volume, Left and Right arrow on keyboard equalized 


Stop Play


Stop playing current video file 


Snapshot


Save current video as BMP or JPG image File is default named as snapshot time 

and saved into C:\My Pictures folder. You also can open "Snap Setting" option in 

"Options" dialog, set snapshot saving directory, image format, and select rename 

after snapshot or not, detailed operation please refer to "Playback Setting" page 


Play List

Click to pop-up sub panel below main panel, default list the record file 

under record directory, from which you can select the needed item to play. 
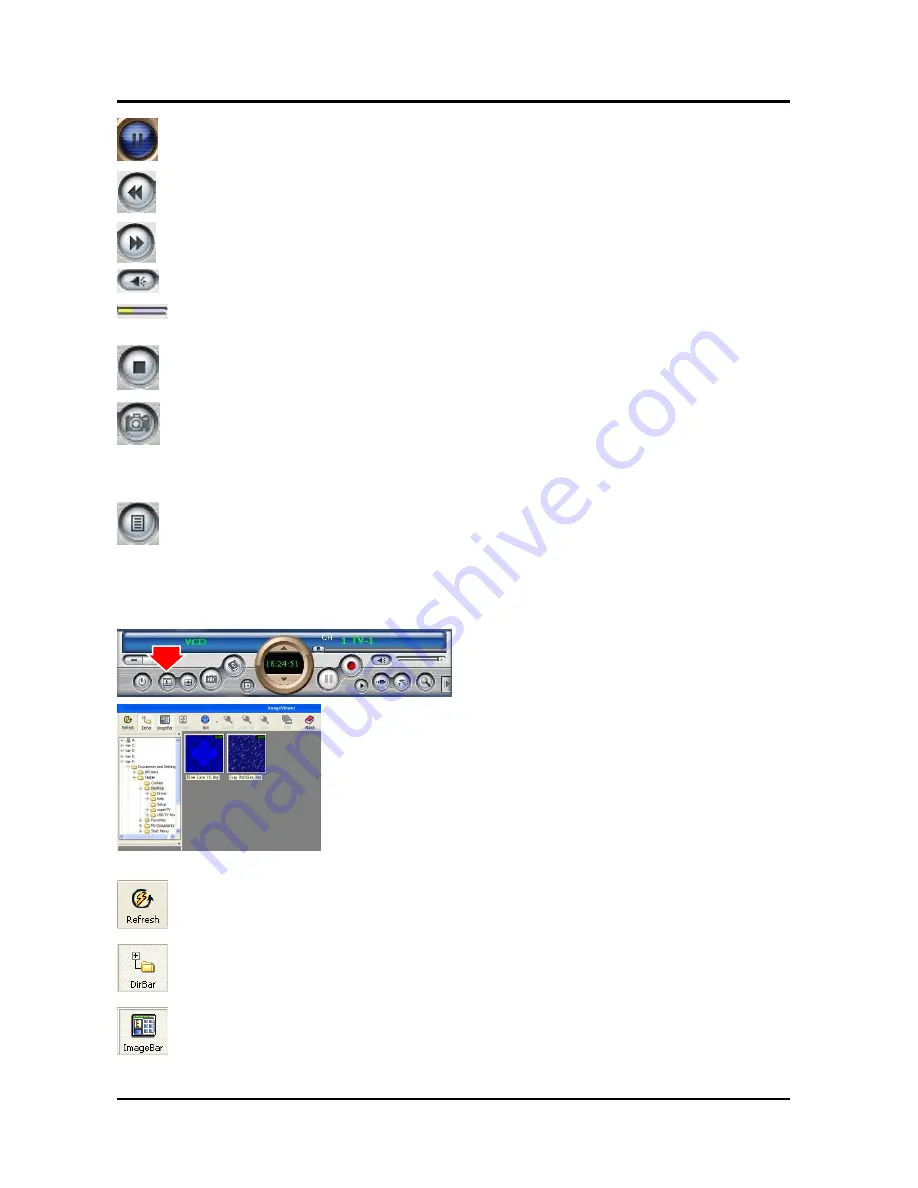
 

3.4 Browse Image 


Click the “Browse Image” to retrieve the 
saved pictures. 


You can use the “Browse Image” software to 
control picture zoom in/out, or rename. 

The top toolbar contains many function buttons for you to easily operate: 


Refresh

:


To renew display snapshot image in current folder.   


Path Pan

el


Show/Hide path panel on the left of window, which is for you to easily browse 

and select folder.   


Image Pan

el


Show/Hide image panel on the left of window, through which you can easily 

preview snapshot image.   

Содержание KADCAXXUSBA

Страница 1: ...KADCAXXUSBA USER MANUAL...

Страница 2: ...odified or altered unless such repair modification of alteration is authorized in writing by us or 2 the serial number of the product is defaced or missing Products and corporate names appearing in th...

Страница 3: ...g Started 5 2 1 Hardware Installation 5 2 2 Device Driver Installation 5 2 3 Install the DirectX 10 2 4 Install the Utility software 11 Chapter 3 Launch the Program 16 3 1 Running the for the first ti...

Страница 4: ...to Digital Video Converter USB Cable 1 2 System Requirements Intel Pentium IV 2 0 GHz CPU or better processor Minimum 256 MB memory Minimum 1GB hard disk space available VGA and with DirectDraw drive...

Страница 5: ...n the CD ROM drive Assuming that the Video Converter is properly installed to the computer s USB host then follow the on screen installation guide below Device driver installation for Windows XP Home...

Страница 6: ...ideo Converter setup CD into the CD ROM or DVD ROM Driver Utilities setup screen will appear Click Setup Driver button 3 Wait Installation Wizard copying necessary driver files onto your system 4 Clic...

Страница 7: ...ver is installed and started open the Device Manager Utility right after the installation Go to Control Panel double click System click on Hardware tab click on Device Manager double click the Sound v...

Страница 8: ...message Found New Hardware dialogue box will appear on the screen Click Cancel button to close Found New Hardware window 2 Insert the USB TV box setup CD into the CD ROM or DVD ROM Driver Utilities se...

Страница 9: ...ure the driver is installed and started open the Device Manager Utility right after the installation Go to Control Panel double click System click on Hardware tab click on Device Manager double click...

Страница 10: ...ndows Vista 32bit 64bit Follow the installation steps below to install MS DirectX 1 Insert the installation CD into the CD ROM drive The setup screen will automatically appear 2 Click the DirectX butt...

Страница 11: ...ed before hitting the Finish button 2 4 Install the USB TV Box Utility software 1 Install TV application on Windows XP Home Professional Edition 1 Insert the installation CD into the CD ROM drive The...

Страница 12: ...12 4 Click Next button to start the USB TV Box Installation 5 Make sure the Complete button is selected then click Next 6 Click Install button to install the software...

Страница 13: ...13 7 Please wait a moment 6 Click Finish button NOTE We recommend restarting your computer right after the Installation Wizard 2 Install TV application on Windows Vista 32bit 1 Click Setup Utility...

Страница 14: ...14 2 Please select language then click Next 3 Click Next button to start the USB TV Box Installation 4 Make sure the Complete button is selected then click Next...

Страница 15: ...15 5 Click Install button to install the software 6 Please wait a moment 7 Click Finish to restart your computer NOTE We recommend restarting your computer right after the Installation Wizard...

Страница 16: ...16 Chapter 3 Launch the Video Converter Program 3 1 Running the USB Video Converter for the first time Click Start move your mouse to Programs USB TV Box then click USB TV Box...

Страница 17: ...to full screen display 2 Browse Image 3 Snapshot still image 4 Video format select 5 Video Audio record 6 Movie Player 7 Source Switch click it to select Video In or S Video In 8 Volume control Adjust...

Страница 18: ...the Playback button to Play the recording Video 1 Select the Video Source and Video Source Standard Notes If you cannot hear any audio please check the audio device 2 Select the Record Format from dro...

Страница 19: ...el to restore display Setting Click to pop up setting dialog you can test the video playback detailed operation please refer to Playback Setting page Browse Image To launch image browse window and bro...

Страница 20: ...ter snapshot or not detailed operation please refer to Playback Setting page Play List Click to pop up sub panel below main panel default list the record file under record directory from which you can...

Страница 21: ...Zoom in To magnify current image Match Zoom You can select the matched display mode in the right dropped box Full Size Shows image at 100 magnification Fit Image Magnifies image to fit screen or wind...

Отзывы: