Kodak RVG 6100 Скачать руководство пользователя страница 9

9

Using the full resolution 

By default images are displayed at a reduced size to allow you to
view several images at a time. To increase the visible details in the
image window, do the following:
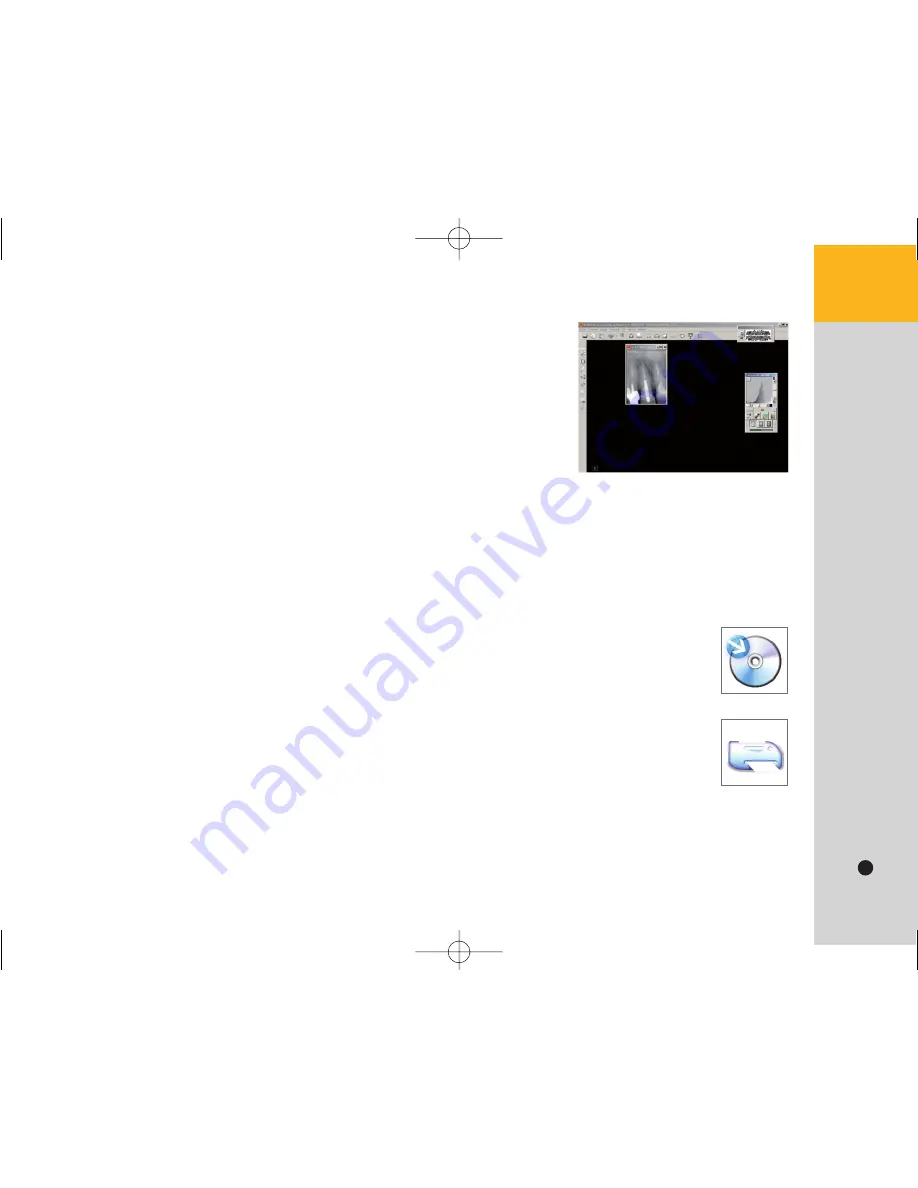
• To display the image at 100% or 1:1, double-click the image, or right-click the image and select

Full Screen Actual Size

• To revert the initial size, double-click the image or right-click the image and select Exit Full Screen Mode.
• To display the image at 200% or 2:1, press the space bar when at 100%, or right-click the image

and select Full Screen Space.

• To revert to the actual size, press the space bar or right-click the image ans select Exit Full Screen Mode.

Saving images 

Images are saved when you exit the imaging window. The software prompts you to save
each image. You can also save it by clicking on the toolbar. When you save the image,
you can specify a tooth number and add comments..

Printing images

You can print images on any printer connected to the computer. Comments attached to
the image will automatically be printed with it.

Sharing images

Images can be easily shared in their native format or any  standard format. Click in the toolbar, in
File/Send To. To share the images in their native format, please send to the Kodak dental imaging
software viewer (File/Send Viewer). 

Guide_RVG6100_5100_GB  21/08/06  14:31  Page 9

Содержание RVG 6100

Страница 1: ...KODAK RVG 6100 Digital Radiography Systems Quick Start Guide Guide_RVG6100_5100_GB 21 08 06 14 31 Page 1 ...

Страница 2: ...ent the RVG 6100 sensor must be thoroughly disinfected Remove the hygienic protective sheath and thoroughly clean the sensor with a disinfecting wipe Never immerse the connector located on the other end of the cable nor the remote control Never place the sensor and or remote control in an autoclave as this could result in serious damage to the system The cable needs to be cleaned with precaution W...

Страница 3: ...ion on the toolbar Check that the RVG icon in your toolbar is red If the icon is not red check that the sensor is properly connected to the computer If not disconnect and reconnect the RVG sensor 2 Cover the sensor with a disposable sheath and place the sensor on the applicable positioner Guide_RVG6100_5100_GB 21 08 06 14 31 Page 3 ...

Страница 4: ...0 40 0 12 0 18 0 24 4 Adult with RVG 1 or 2 Suggested times Your preferences 0 11 0 15 0 24 0 075 0 11 0 15 Child with RVG 0 Tips Use the dose indicator to correctly determine the exposure time for your generator If the image is too dark or if the dose indicator is displayed in red and towards the right of the band reduce the exposure settings If the image is too light or if the dose indicator is ...

Страница 5: ...side Do not hesitate to compress the mucous membranes to properly frame the apical area The patient can then relax the tongue to allow the sensor to fit naturally For premolars and incisors move the sensor towards the center of the mouth by compressing the tongue when the mouth closes to relax the muscles For a maxillary image 1 Insert the sensor maintaining it horizontally 2 Turn the sensor upwar...

Страница 6: ... the image displays vertically as if an image of a tooth from the lower dental arch was acquired You now have 90 seconds to take the X ray image 7 Trigger the X ray emission The image will automatically be displayed on your computer screen 6 a either clicking on the RVG icon on the software toolbar b or pressing on F2 on the keyboard c or using the button on the sensor remote control Guide_RVG6100...

Страница 7: ... teh Kodak dental imaging software Managing image contrast The contrasts can be managed after image acquisition in a simple and automatic way using the Perio Endo and DEJ buttons to enhance the different zones of interest Endo Dentine Enamel Junction Perio Filters and main tools Image contrast Guide_RVG6100_5100_GB 21 08 06 14 31 Page 7 ...

Страница 8: ...d detecting caries and fracture To use this tool click on the icon then click and hold the mouse button on the image Relief filter can be used to distinguish and compare between similar shades of grey Measurement tool to calculate the distance between points in the images Calibrate the tool before measuring CAUTION measurements taken on an X ray image always contain a certain degree of uncertainty...

Страница 9: ...the actual size press the space bar or right click the image ans select Exit Full Screen Mode Saving images Images are saved when you exit the imaging window The software prompts you to save each image You can also save it by clicking on the toolbar When you save the image you can specify a tooth number and add comments Printing images You can print images on any printer connected to the computer ...

Страница 10: ...tives are available to guide and help you in choosing the imaging solution best suited to your dental practice Please feel free to contact us at your earliest convenience Eastman Kodak Company 2006 KODAK RVG are trademarks of Eastman Kodak Company Guide_RVG6100_5100_GB 21 08 06 14 31 Page 10 ...

Отзывы: