. . . . . . . . . . . . . . . . . . . . . . . . . . . . .
6-14
Accessing Camera Images
G
Navigating Through Images
As described earlier in the chapter, you can scroll through images by
using the scroll bar at the right of the image area.
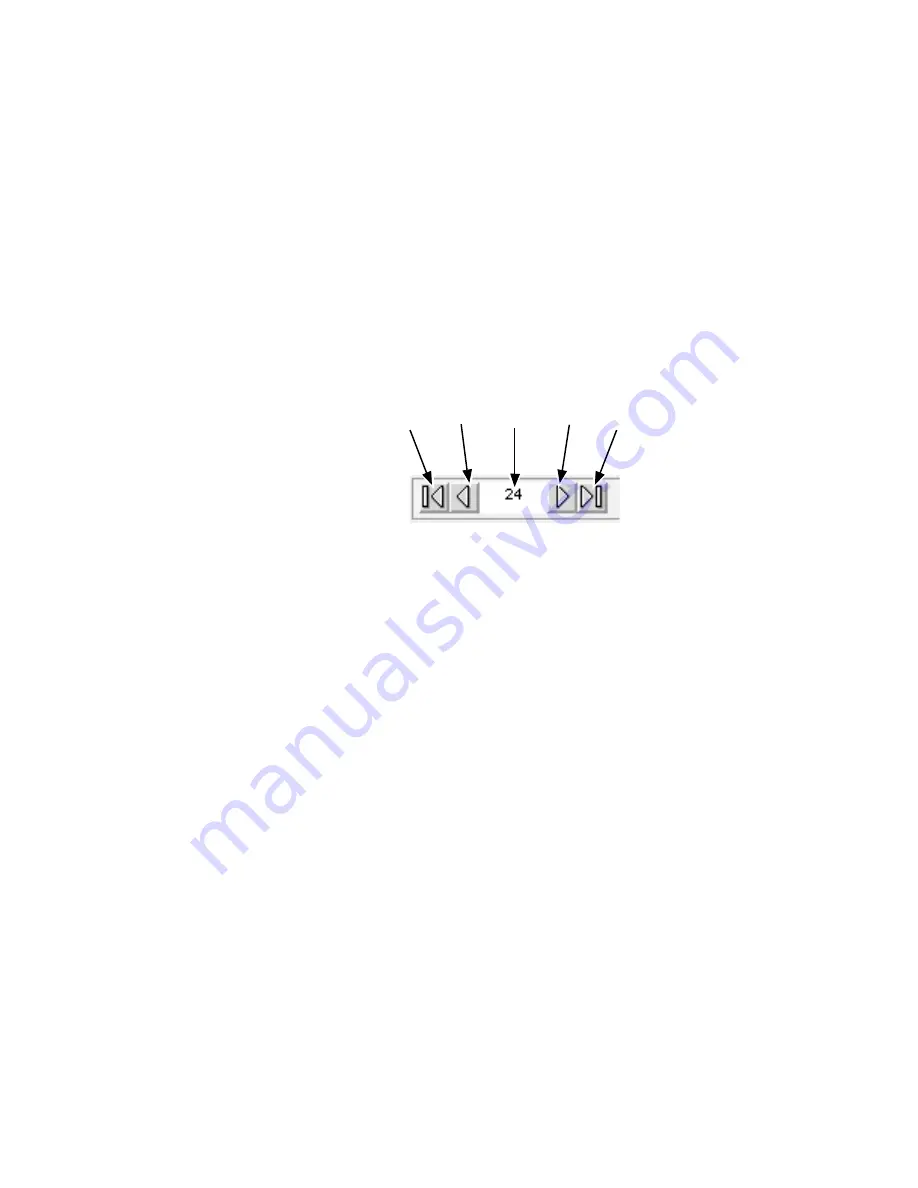
In addition, the driver provides a navigation bar with four control icons
and a center edit area in which you enter an image number to “go to” that
image.
The four icons mean, from left to right, navigate to the:
first
image,
previ-
ous
image,
next
image, and
last
image. Typing a number into the “go to”
edit box in the middle of the navigation bar and pressing the Return key
moves you to that numbered image.
Navigating through a Contact Sheet
When viewing images in C
ONTACT
S
HEET
, as you have been in this chapter,
clicking icons in the navigation bar produces different results depending
on the number of images selected.
One or No Images Selected
1. If more than one image is selected, deselect them now, and select a
single image in the middle of the contact sheet.
2. Click the “first” icon; the first of all of your images is selected.
3. Click the “next” icon several times; the selected image changes,
moving consecutively to the “next” image with each click.
First
Previous
Go To
Next
Last


