KODAK EASYSHARE CD22
Digital Camera
Extended user guide
www.kodak.com
For interactive tutorials:
www.kodak.com/go/howto
For help with your camera:
www.kodak.com/go/cd22support
Страница 1: ...KODAK EASYSHARE CD22 Digital Camera Extended user guide www kodak com For interactive tutorials www kodak com go howto For help with your camera www kodak com go cd22support ...
Страница 2: ...Eastman Kodak Company Rochester New York 14650 Eastman Kodak Company 2010 All screen images are simulated Kodak EasyShare Max and Pulse are trademarks of Eastman Kodak Company 4H7160_en ...
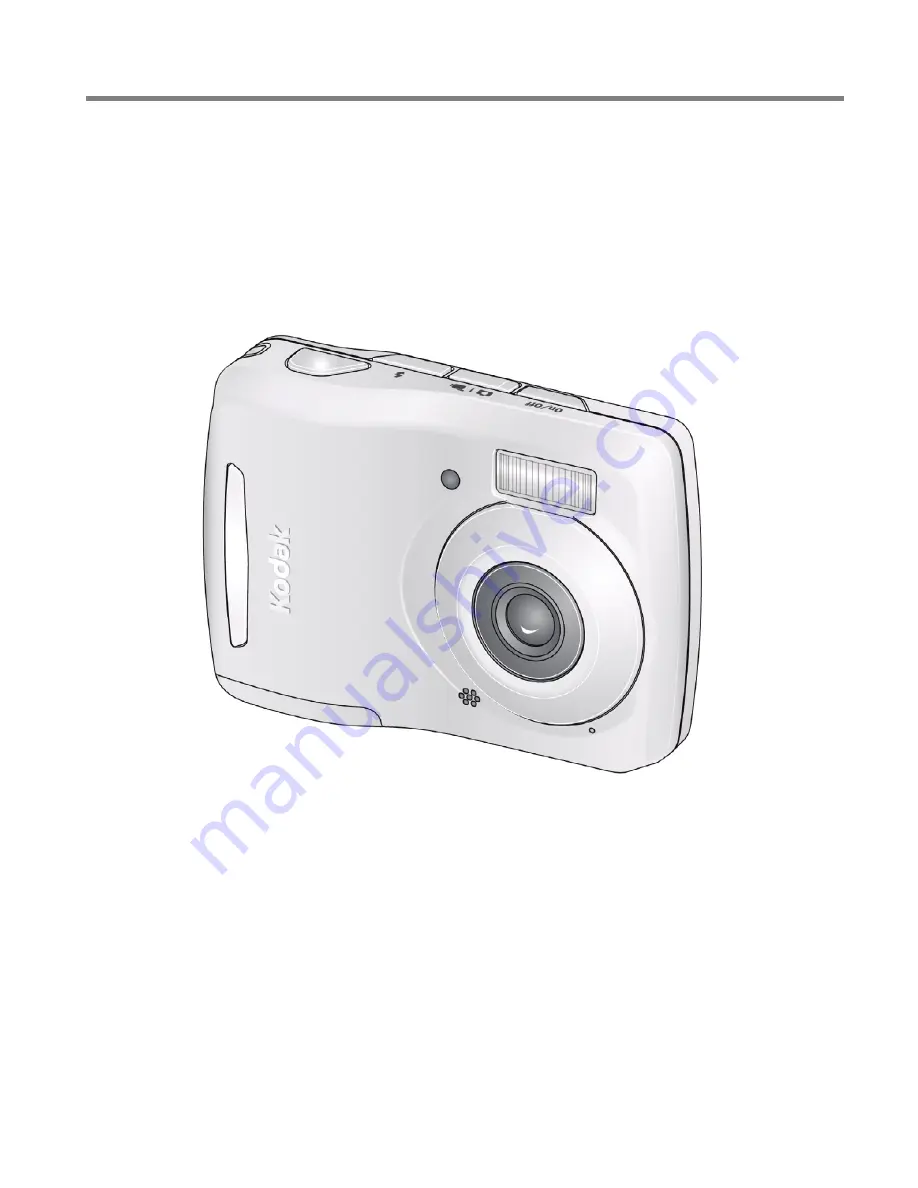
Страница 3: ...Product features www kodak com go support i Front view IMPORTANT Your camera offers a built in Help system See page 35 Lens Beeper Flash Self timer Video light Microphone ...
Страница 4: ...ack view IMPORTANT Your camera offers a built in Help system See page 35 OK Wide Angle Telephoto Digital zoom Battery compartment SD SDHC Card slot Tripod socket LCD Share Power Mode Flash Shutter Info Strap post Delete USB port A V Out Review Menu ...
Страница 5: ...on 6 Using the digital zoom 6 Using the flash 7 Using different modes 8 Using shortcuts 10 Using the self timer 11 3 Sharing pictures videos 12 Sharing through social networks 12 Tagging pictures videos with keywords 14 Marking pictures videos for emailing 15 4 Reviewing and editing 16 Reviewing pictures videos 16 Deleting pictures videos 16 Viewing pictures videos in different ways 18 A smarter w...
Страница 6: ...up menu 29 6 Transferring printing pictures 31 Printing pictures 32 Marking your pictures for print 34 7 Troubleshooting 35 Getting help from your camera 35 Troubleshooting 36 Getting help on the Web 39 8 Appendix 40 Camera specifications 40 Care and maintenance 42 Upgrading your software and firmware 42 Storage capacities 42 Important safety instructions 43 Battery replacement battery life 44 Lim...
Страница 7: ...www kodak com go support 1 1 Setting up your camera Attaching the strap Loading the AA batteries Purchase extra batteries for your special event www kodak com go cd22accessories ...
Страница 8: ...Turning on the camera Setting the language and date time NOTE To change language in the future use the Setup Menu see page 29 to change current field for previous next field OK to accept At the prompt press OK to change OK to accept Language Date Time ...
Страница 9: ...SD or SDHC Card to conveniently store more pictures videos CAUTION A card can only be inserted one way forcing it may cause damage Inserting or removing a card while the camera is on may damage the pictures the card or the camera Purchase accessories www kodak com go cd22accessories 1 Turn off the camera 2 Insert a card until it clicks 3 Turn on the camera ...
Страница 10: ...l the LCD displays Auto then press OK 2 Compose the picture 3 Press the Shutter button all the way down Taking a video 1 Press the Mode button then until the LCD displays Video then press OK 2 Press the Shutter button all the way down then release it To stop recording press and release the Shutter button again To review and work with videos see page 16 Mode Mode ...
Страница 11: ...ys the picture or the first frame of a video NOTE Audio is captured during video recording Audio can be heard when the video is played on a computer or when the camera is connected to a TV see page 22 To review pictures videos anytime see page 16 Delete the current picture video OK Play pause a video While a picture video is displayed you may ...
Страница 12: ... See page 10 Using the digital zoom 1 Use the LCD to frame your subject 2 To zoom in press Telephoto T To zoom out press Wide Angle W The zoom slider shows the zoom level on the LCD 3 Take the picture NOTE You may notice decreased image quality when using digital zoom Purchase extra batteries for your special event www kodak com go cd22accessories Battery level Capture mode Pictures time remaining...
Страница 13: ...ires Auto When the lighting conditions require it Fill Flash On Every time you take a picture regardless of the lighting conditions Use when the subject is in shadow or is backlit when the light is behind the subject NOTE Not available in Auto mode Red eye Reduction Preflash A preflash fires shrinking the eye pupil before the picture is taken Off Never Flash button ...
Страница 14: ...ure taking it offers excellent image quality and ease of use You can choose the best picture size and aspect ratio for your needs just press the Menu button and choose Picture Size Video Capturing video with sound Audio can be heard when the video is played on a computer or when the camera is connected to a TV see page 4 Scene Point and shoot simplicity when taking pictures in practically any situ...
Страница 15: ...rtraits of people Sport Action pictures Flower Close ups of flowers or other small subjects in bright light Sunset Subjects at dusk Backlight Subjects that are in shadow or backlit Children Action pictures of children in bright light Manner Museum Quiet occasions like a wedding or lecture Flash and sounds are off For best results place the camera on a steady surface or tripod Beach Bright beach sc...
Страница 16: ...k access to the most popular capture and review functions 1 Press the Info button The shortcuts appear To hide the shortcuts again press 2 Press to access functions like Exposure Compensation and Self timer You ll see different functions in different modes 3 Press to choose a setting Press to show hide shortcuts Shortcuts ...
Страница 17: ... button Press to choose Self timer then press OK 2 Press to choose a Self timer setting 10 Seconds A picture is taken after a 10 second delay so you have time to get into the scene 2 Seconds A picture is taken after a 2 second delay 2 Picture Timer The first picture is taken after a 10 second delay A second picture is taken 8 seconds later 3 Compose the scene Press the Shutter button all the way d...
Страница 18: ...s 3 Press to choose a social networking site then press OK A check mark appears Repeat this step to choose more sites You can press OK again to remove a check mark 4 Press to choose Done then press OK The picture is displayed with the Share icon When you transfer the picture to your computer it will be uploaded to the networking site s that you chose Tip Do you upload pictures to the same sites ea...
Страница 19: ...sses and KODAK PULSE Digital Frames You can add edit or delete email addresses and KODAK PULSE Digital Frames on your camera 1 In Review press the Share button Press to choose Manage Email Addresses or Manage Frames then press OK 2 To add an email address or frame press to choose Add Email or Add Frame then press OK Use the on screen keyboard to make the addition See page 14 Example JohnDoe domain...
Страница 20: ...ess to choose Keyword Tag then press OK 3 Press to choose an existing keyword or New Keyword see Using the keyboard to add a new one then press OK 4 Press to add keywords to other pictures When finished press to choose Done then press OK To return to picture taking mode press the Review button Using the keyboard The keyboard appears when you need it 1 Press to choose a letter then press OK 2 When ...
Страница 21: ...button 3 Press to find an email address then press OK To mark other pictures videos with the same address press then press OK To send the pictures videos to more than one address repeat this step To return to picture taking mode press the Review button When you transfer the marked pictures videos to your computer the software prompts you to send the pictures videos For other software applications ...
Страница 22: ...ideo Press OK to pause resume During playback Press to play at 2X speed press again for 4X Press to reverse at 2X speed press again for 4X NOTE Audio can be heard when the video is played on a computer or when the camera is connected to a TV see page 22 Deleting pictures videos 1 Press the Review button 2 Press for previous next picture video 3 Press the Delete button 4 Follow the screen prompts N...
Страница 23: ...3 Press to choose Protect then press OK 4 Press to choose Protect then press OK A check mark indicates that the picture video is protected Pressing OK again removes the check mark Press to protect other pictures videos or press to choose Done then press OK Press the Menu button to exit the menu IMPORTANT Your camera offers a built in Help system See page 35 CAUTION Formatting internal memory or an...
Страница 24: ... The camera shows the last picture video that was taken 2 Press the Wide Angle W button to view pictures videos as thumbnails Press it again to see more smaller thumbnails To view all pictures videos choose the All tab To sort by favorites date or keywords press and choose the appropriate tab 3 To see a single picture video press to choose it Then press the Telephoto T button To select multiple pi...
Страница 25: ... Angle W button to view pictures by thumbnail or choose View Thumbnails shortcut 3 Press to choose the All Date Favorite or Keyword tab 4 Press to choose a picture or picture stack then press OK Press Telephoto T see pictures in a stack or to see an individual picture Press Wide Angle W to see thumbnails or picture stacks To return to picture taking mode press the Review button Keywords Favorites ...
Страница 26: ...nderstanding the review icons For more about shortcuts see page 10 Email Favorite Print number of prints Protected Picture Video number Upload Video duration Select picture video Battery level Keyword tag Keyword tag View thumbnails Play video Shortcuts ...
Страница 27: ... choose the Review tab 3 Press to choose Slide Show then press OK 4 Press to choose Preview Slide Show then press OK Each picture video is displayed once To interrupt the slide show press OK IMPORTANT Your camera offers a built in Help system See page 35 Play a slide show loop When you turn on Loop the slide show is continuously repeated 1 On the Slide Show menu press to choose Loop then press OK ...
Страница 28: ...n use an A V cable may be sold separately NOTE To control the audio portion of a video use the TV or TV remote control volume controls Ensure that the Video Out setting NTSC or PAL is correct see page 29 The slide show stops if you connect or disconnect the cable while the slide show is running Image quality on a television screen may not be as good as on a computer monitor or when printed Purchas...
Страница 29: ...red portion of the picture remains 1 Press the Review button then to find a picture to crop 2 Press the Menu button then to choose the Edit tab Choose Crop then press OK 3 Press Telephoto T to shrink the crop area or Wide W to enlarge it Press to move the crop box When satisfied with the crop box press OK 4 Follow the screen prompts The picture is cropped The original is saved Cropped pictures can...
Страница 30: ... picture suitable for a 4 x 6 inch 10 x 15 cm print 1 Press the Review button then to find a video 2 Press the Menu button then to choose the Edit tab Choose Make Picture then press OK 3 Follow the screen prompts A picture is created The original video is saved To return to picture taking mode press the Review button IMPORTANT Your camera offers a built in Help system See page 35 Video Picture ...
Страница 31: ...d frames Manual Choose the first and last frames the camera chooses 7 equally spaced frames A 9 up picture is created To return to picture taking mode press the Review button Trimming a video You can remove an unwanted start or end from a video saving only the desired portion 1 Press the Review button then to find a video 2 Press the Menu button then to choose the Edit tab Choose Trim then press O...
Страница 32: ... can now print transfer delete etc the selected pictures Copying pictures videos You can copy pictures videos from a card to internal memory or from internal memory to a card Copy pictures videos 1 Press the Review button then to find a picture You can also use multi select See Selecting multiple pictures videos 2 Press the Menu button then to choose the Edit tab 3 Press to choose Copy then press ...
Страница 33: ...r turn off the camera 1 Press the Menu button 2 Press to choose a tab Capture Video for the most common picture and video taking settings Setup for other camera settings 3 Press to choose a setting then press OK 4 Choose an option then press OK Using the capture tab Settings More information Picture Size Choose a picture resolution See Camera Specifications starting on page 40 Self timer Choose Se...
Страница 34: ...lor Mode Choose color tones Unavailable in Video and Auto modes See Camera Specifications starting on page 40 White Balance Choose your lighting condition Auto Automatically corrects white balance Ideal for general picture taking Daylight For pictures in natural lighting Tungsten Corrects the orange cast of incandescent light bulbs Ideal for indoor pictures under tungsten or halogen lighting witho...
Страница 35: ...n Date Time Set date and time LCD Brightness Choose LCD brightness during picture video capture High Power Brighter LCD uses more battery power Power Save Dimmer LCD uses less power Share Button Settings Choose what is displayed when the Share button is pressed in Review Show or hide Individual social networking sites E mail addresses all or none KODAK Digital Frames all or none Video Out Choose t...
Страница 36: ...s revert to their factory defaults Reset Startup Application Resets camera to startup mode to allow KODAK Software download Format CAUTION Formatting deletes all pictures videos including those that are protected Removing a card during formatting may damage the card Memory Card Deletes everything on the card formats the card Cancel Exits without making a change Internal Memory Deletes everything i...
Страница 37: ... page 30 Turn on the camera 3 Use the KODAK Camera USB Cable Micro B 5 Pin to connect camera to computer Use only the cable included with this camera 1 Turn off the camera After the software is installed follow the prompts to transfer pictures and videos to your computer 2 If the KODAK Software Downloader doesn t run find and launch it here WINDOWS OS in My Computer MAC OS on your Desktop Make sur...
Страница 38: ...logo is displayed followed by the current picture and menu If no pictures are found a message is displayed If the menu turns off press any button to redisplay it 2 Choose a printing option then press OK Current Picture Press to choose a picture Tagged Pictures If your printer is capable print pictures that you marked for printing Index Print Print thumbnails of all pictures This option requires on...
Страница 39: ...nce and add borders to your pictures Store pictures and share them with family and friends Have prints photo greeting cards frames and albums delivered to your door Printing from an optional SD or SDHC Card Automatically print tagged pictures when you insert your card into a printer with an SD SDHC Card slot See your printer user s guide for details Make prints at an SD SDHC Card capable KODAK Pic...
Страница 40: ...3 Press to choose Print then press OK 4 Press to choose the number of copies Optional You can apply a print quantity to other pictures Press for previous next Repeat this step until the desired print quantity is applied to each picture 5 Press OK To return to picture taking mode press the Review button IMPORTANT Your camera offers a built in Help system See page 35 ...
Страница 41: ...amera offers a built in Help system It describes every setting for every menu choice If you learn nothing else about your camera learn how to use on camera Help Turning on camera Help Press the Menu then make a menu choice Scroll through a Help topic Press the Info 1 button 2 button ...
Страница 42: ... another picture Pictures remaining number does not decrease after taking a picture Continue taking pictures The camera is operating normally The camera estimates the number of pictures remaining after each picture is taken based on picture size and content Flash does not fire Check the flash setting and change as needed see page 7 NOTE The flash does not fire in all modes Memory card is almost or...
Страница 43: ... card Only SD or SDHC Cards are supported Cannot find the desired picture video To view pictures on a card or in internal memory see page 16 Status Solution Slide Show does not run on an external video device Adjust the camera Video Out setting see page 29 Make sure the external device settings are correct See the device s user guide Computer does not communicate with the camera Turn off the camer...
Страница 44: ...hind the subject Move so that the distance between you and the subject is within the effective flash range See Camera Specifications starting on page 40 Picture is too light Reposition the camera to reduce the amount of available light Turn the flash off see page 7 Move so that the distance between you and the subject is within the effective flash range See Camera Specifications starting on page 4...
Страница 45: ...software www kodak com go cd22downloads See online demonstrations of your camera www kodak com go howto Register your camera www kodak com go register Chat email write or phone Kodak Chat not available in all languages www kodak com go contact Download and get Help with other KODAK Software www kodak com go camerasw Download KODAK EASYSHARE Software www kodak com go easysharesw or see Help in EASY...
Страница 46: ...mage storage 1 MB equals one million bytes Taking lens f 4 5 35 mm equivalent 38 mm Lens protection Built in Digital zoom 5X continuous Shutter speed 1 8 1 1400 seconds Long time exposure 0 5 8 seconds ISO speed Auto 80 250 Manual 80 100 200 400 800 1000 Exposure compensation 2 0 EV with 1 3 EV step White Balance Auto Daylight Tungsten Fluorescent Open Shade Electronic Flash Auto flash Auto Fill R...
Страница 47: ...lor Low Color Black White Sepia Sharpness modes Sharp Normal Soft Video capture 4 GB maximum VGA 640 x 480 30 fps Communication with computer USB 2 0 full speed PIMA 15740 protocol via KODAK Camera USB Cable Micro B 5 Pin Video output NTSC or PAL Microphone Yes Beeper Yes PICTBRIDGE support Yes Power KODAK MAX Alkaline Batteries AA KODAK Ni MH Rechargeable Digital Camera Batteries AA KODAK Ni MH R...
Страница 48: ...act a dealer of KODAK Products for more information For digital camera disposal or recycling information contact your local authorities In the US go to the Electronics Industry Alliance site at www eiae org or Kodak at www kodak com go cd22support Upgrading your software and firmware Download the latest versions of KODAK Software and the camera firmware the software that runs on the camera Go to w...
Страница 49: ...ou have questions If using this product in an airplane observe all instructions of the airline When removing the batteries allow them to cool they may be hot Follow all warnings and instructions supplied by the battery manufacturer Use only batteries approved for this product to avoid risk of explosion Keep batteries out of the reach of children Do not allow batteries to touch metal objects includ...
Страница 50: ... see the Power section in Camera specifications page 40 Extending battery life Charge Ni MH batteries when they are nearly depleted Dirt on the battery contacts can affect battery life Wipe the contacts with a clean dry cloth before loading batteries in the camera Battery performance is reduced at temperatures below 41 F 5 C When using your camera in cold weather carry spare batteries and keep the...
Страница 51: ... for the remaining warranty term of the original Product or 90 days after the date of repair or replacement whichever is longer Limitations This warranty does not cover circumstances beyond Kodak s control This warranty does not apply when failure is due to shipping damage accident alteration modification unauthorized service misuse abuse use with incompatible accessories or attachments such as th...
Страница 52: ...anty is communicated to the purchaser in writing by a Kodak company no warranty or liability exists beyond any minimum requirements imposed by law even though defect damage or loss may be by negligence or other act Regulatory compliance FCC compliance and advisory This equipment has been tested and found to comply with the limits for a Class B digital device pursuant to Part 15 of the FCC Rules Th...
Страница 53: ...Electronic Equipment Battery disposal Canadian DOC statement DOC Class B Compliance This Class B digital apparatus complies with Canadian ICES 003 Observation des normes Classe B Cet appareil numérique de la classe B est conforme à la norme NMB 003 du Canada CE Hereby Eastman Kodak Company declares that this KODAK Product is in compliance with the essential requirements and other relevant provisio...
Страница 54: ...clock setting 2 color mode 28 computer connect camera 31 transfer to 31 connector USB A V 22 copy pictures card to memory 26 memory to card 26 to computer 31 cropping pictures 23 customize camera 29 D date setting 2 deleting during quickview 5 from internal memory 16 from SD SDHC Card 16 protecting pictures videos 17 displaying slide show 21 disposal recycling 42 download KODAK Software 31 downloa...
Страница 55: ...K EASYSHARE Software upgrading 42 KODAK Software download 31 Kodak Web sites 35 L language 30 LCD brightness 29 reviewing pictures 16 reviewing videos 16 LCD brightness 29 lens cleaning lens 42 loading battery 1 SD SDHC Card 3 locate pictures 19 long time exposure 28 29 M magnify a picture 18 maintenance camera 42 make picture from video 24 manner museum 9 marking for email 15 memory inserting car...
Страница 56: ...deo 16 power camera 2 printing from a card 33 optimizing printer 35 order online 33 PICTBRIDGE 32 tagged pictures 33 protecting pictures videos 17 Q quickview using 5 R recycling disposal 42 regulatory information 46 repair 39 reset camera 30 reviewing pictures video as you take them 5 deleting 16 LCD 16 protecting 17 slide show 21 running slide show 21 S safety 43 scene modes SCN 9 SD SDHC Card i...
Страница 57: ...tions camera 40 strap 1 T taking pictures videos 4 television slide show 22 text entering 14 time setting 2 timer shutter delay 11 tips battery guidelines 44 care maintenance 42 transfer pictures 31 trash can deleting 5 trimming a video 25 troubleshooting 35 turning camera on and off 2 typing 14 U undelete undo 17 upgrading software firmware 42 URLs Kodak Web sites 35 USB transfer pictures 31 V vi...
Страница 58: ...52 www kodak com go support Index white balance 28 Z zoom 6 ...