background image


27 

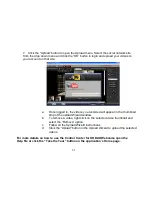
5. 

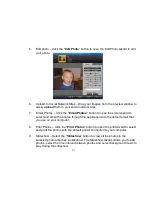
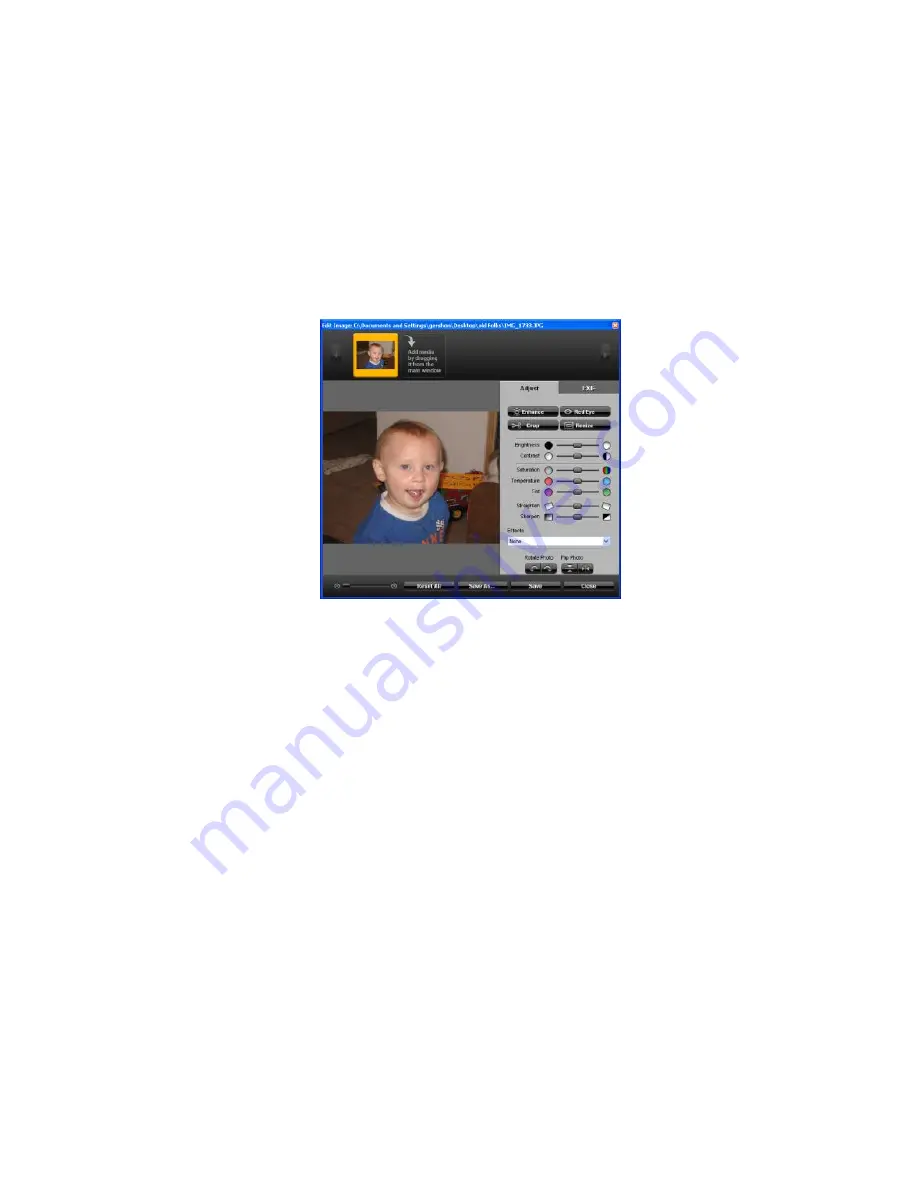
Edit photo 

– Click the “

Edit Photo

” button to open the Edit Photo wizard to edit 

your photo. 


6. 

Upload to Social Network Sites 

– Drag your images from the preview window to 

easily 

upload 

them to your social network sites. 


7. 

Email Photos 

– Click the “

Email Photos

” button to open the email wizard to 

select and email the photos through the application with the default email that 
you use on your computer. 
 

8. 

Print Photos 

– Click the “

Print Photos

” button to open the print wizard to select 

and print the photos with the default printer connected to your computer. 


9. 

Slideshow 

– Select the “

Slideshow

” button to view all the photos in the 

selected photo album as a slideshow. The Slideshow wizard allows you to add 
photos, select the time interval between photos and select background music to 
play during the slideshow. 

Содержание 16037

Страница 1: ...rademarks of Eastman Kodak Company used under license 2009 Sakar International Inc All rights reserved WINDOWS and the WINDOWS logo are registered trademarks of Microsoft Corporation All other tradema...

Страница 2: ...for MACINTOSH 4 A Quick Look at your KODAK Webcam 5 Using your KODAK Webcam 6 Install the Control Center for KODAK Webcams Software 8 Using the Control Center for KODAK Webcams Software 11 Connect mod...

Страница 3: ...f your KODAK Webcam Important Notice This KODAK P310 Webcam HD is Plug Play on WINDOWS and MACINTOSH OS compatible computers see Minimum System Requirements section and does not require a separate dri...

Страница 4: ...ized Movie Maker application for creating your own movies with special effects from your videos and photos What your package includes KODAK Webcam with built in USB cable Control Center for KODAK Webc...

Страница 5: ...guration WINDOWS VISTA or 7 800MHz processor and 512 MB of system memory 20GB hard drive with at least 15GB of available space Support for Super VGA graphics Available USB Interface CD ROM drive QUICK...

Страница 6: ...5 A Quick Look at your KODAK Webcam...

Страница 7: ...2 0 slot on your computer 2 Your KODAK Webcam will power on and the LED will light up 3 The first time you plug your webcam into the computer wait a few moments for the computer to recognize your KODA...

Страница 8: ...ed with an automatically focusing lens It will continuously adjust itself to maintain correct focus 9 If you need to change the webcam settings Brightness Contrast Hue etc to suit your capture environ...

Страница 9: ...installation CD from the computer until the software installation is complete You must be connected to the internet to install and run the Control Center for KODAK Webcams software 1 Insert the instal...

Страница 10: ...cams to launch the installer 3 On MAC Click the icon to install the Control Center for KODAK Webcams 4 If you do not have internet access at the time of inserting the CD ROM connect to the internet an...

Страница 11: ...xt to continue 10 On PC only Let the Control Center for KODAK Webcams installer create the folder to where the program will be installed and then click Install 11 Please wait while the application con...

Страница 12: ...purchased Note The P310HD does not support the Parental Control feature Easily access and utilize all the applications you use on your computer from one Control Center Connect Click on the Connect bu...

Страница 13: ...ck the Record button at the bottom of the screen Take Snap Shots Click the Take Snap Shot button on the Control Center for KODAK Webcams main menu The application will open to the Webcam Tab Take Snap...

Страница 14: ...ndow allows you to launch and automatically enable the following Instant Messenger IM and VOIP applications that support your Webcam SKYPE AOL INSTANT MESSENGER GOOGLE TALK YAHOO MESSENGER WINDOWS Liv...

Страница 15: ...ct view mode The application in compact view mode remains active while the 3rd party software is in use Compact View Mode on PC Compact View Mode on MAC 5 The Brightness Contrast and Color Intensity c...

Страница 16: ...K Webcams Main Menu to open the application to the Monitor mode The image of what the webcam sees appears in the preview window Use the Display control on the right of the preview window to adjust the...

Страница 17: ...cial effects to create gray scale sepia or invert effects Select the effect you want from the special effects drop down menu Face Detection The face detection tracking function is used to allow the ca...

Страница 18: ...n image Motion Detection In the Record Video mode the webcam can be set to automatically activate the record feature if it senses movement Video Settings Click the Video Settings button to open the Vi...

Страница 19: ...control frequency according to your region The Resolution size of the image as it appears on the preview screen can also be changed 1 Click to open the Resolution dropdown menu on the bottom left cor...

Страница 20: ...ttom left corner of the application You can record videos at variable resolutions Note The default resolution setting for the KODAK P310 Webcam HD is 1280 720 HD pixels 3 Select the video compression...

Страница 21: ...ons except 2048 1536 and 1600 1200 where the fps is 13 4 Click the Record button on the bottom right of the preview window to start recording your video The video counter will begin to count up The Re...

Страница 22: ...ed will appear in the thumbnail strip of the upload Wizard window b To remove a video right click on the selected video thumbnail and select the Remove option c Follow all the Upload Wizard instructio...

Страница 23: ...ired Brightness Contrast Color Intensify and Special Effects options as desired see instructions in Monitor section 3 Select the photo resolution you want from the Resolution drop down list on the bot...

Страница 24: ...B 2 0 4 Click the Snapshot button on the bottom of the preview window to take the snapshot Note After clicking the Snapshot button you need to hold the pose for 3 seconds This is the delay time that i...

Страница 25: ...mail button to open the Email Wizard Follow all the instructions to select and email the photos that appear on the thumbnail strip To remove a photo from the strip right click on the selected photo an...

Страница 26: ...open the Help file or click the Take the Tour button on the application s Home page Manage mode Select the Manage button on the Main Menu or click the Manage tab in the application to open the Manage...

Страница 27: ...e the photos on your computer into albums 2 View the photos in Thumbnail or Full Size in the preview window 3 Rotate the photos with the click of a button 4 Import Photos Click the Import Photos butto...

Страница 28: ...nd email the photos through the application with the default email that you use on your computer 8 Print Photos Click the Print Photos button to open the print wizard to select and print the photos wi...

Страница 29: ...the videos in Thumbnail Details or Full Size in the preview window 3 Import Videos Click the Import Videos button to select and import videos from your computer to the application 4 Get Videos from c...

Страница 30: ...Maker button to open this custom built Movie Maker application to edit and create your own movies with the videos and photos that you have on your computer For more details on how to use the Control C...

Страница 31: ...e of purchase What Is Not Covered By Warranty Damages or malfunctions not resulting from defects in material or workmanship and damages or malfunctions from other than normal use including but limited...

Страница 32: ...y the party responsible for compliance could void the user s authority to operate the equipment NOTE This equipment has been tested and found to comply with the limits for a Class B digital device pur...

Страница 33: ...crophone Lens Auto Focus F2 8 f 3 85mm 4P Depth of field 10cm to infinity Video Format AVI PC and MOV MAC Photo Format JPEG Flicker Control Frequency None 50Hz 60Hz Video Frame rate 30 frames per seco...

Страница 34: ...cation 2 From the Video Source dropdown menu select the KODAK Webcam from the list 3 From the Audio Source dropdown menu select the Audio Device option to select the KODAK Webcam s built in microphone...

Отзывы: