


Digital Camera >>
28-EN
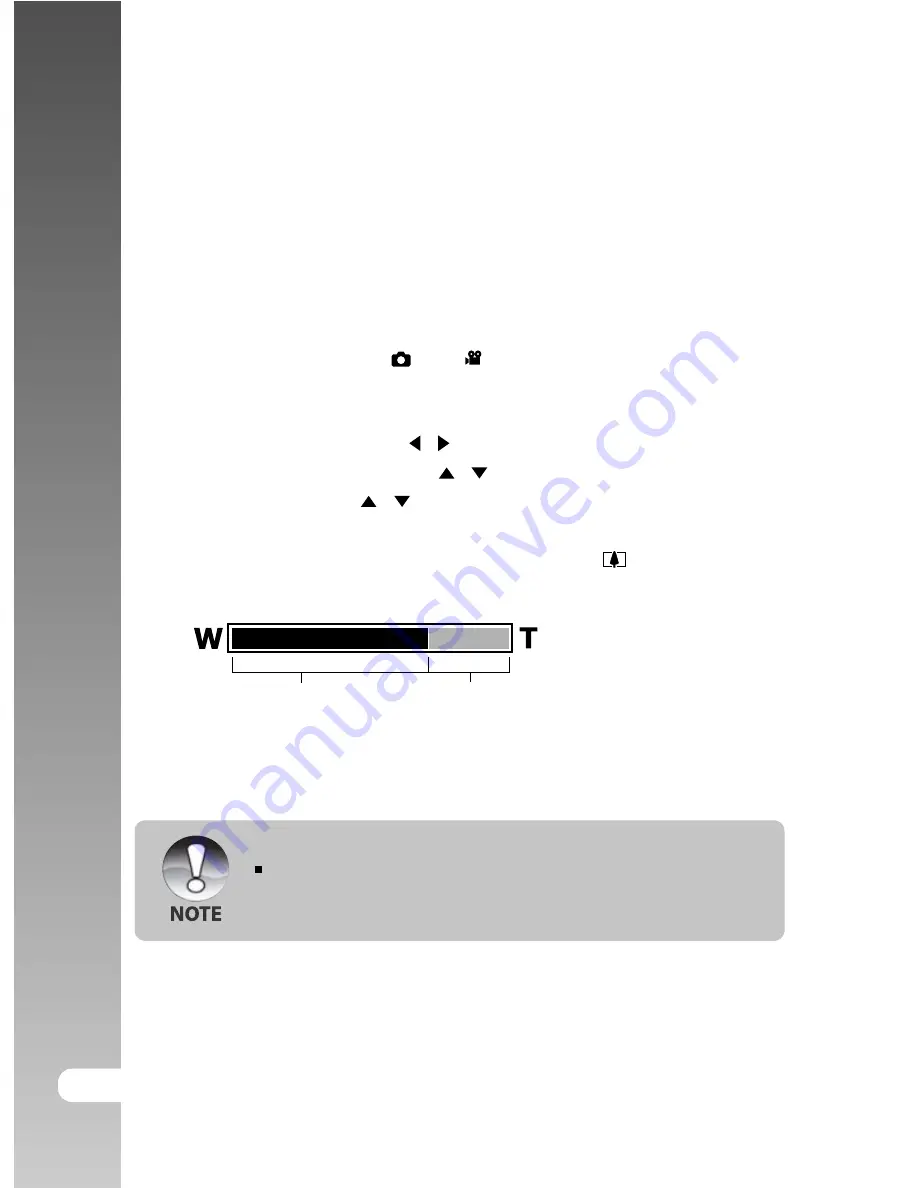
Using the Digital Zoom
Using a combination of 3 times optical zoom and 4.0 times digital zoom permits
zoom photography of up to 12 times to suit the subject and the distance. The
digital zoom is a compelling feature, the more an image is enlarged (zoomed),
the more pixelated (grainier) the image will appear.
1. Slide the mode switch to [
] or [
].
2. To enable the digital zoom:
a. Press the
MENU
button.
b. Select [Function] with the / buttons.
c. Select [Digital Zoom] with the / buttons, and press the
SET
button.
d. Select [On] with the / buttons again, and press the
SET
button.
e. Press the
MENU
button to exit from the menu screen
f. To activate the digital zoom, press and hold the
button completely
until the image on the LCD monitor expands.
3. Press the shutter button to capture a “zoomed” image.
The zoom setting is automatically cancelled by either turning the camera
off or the activation of the Auto OFF function.
Digital zoom 1X to 4X
Optical zoom 1X to 3X


