10
OPERATING INSTRUCTIONS
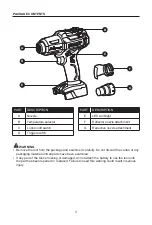
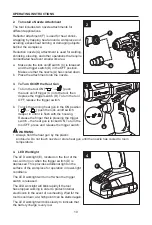
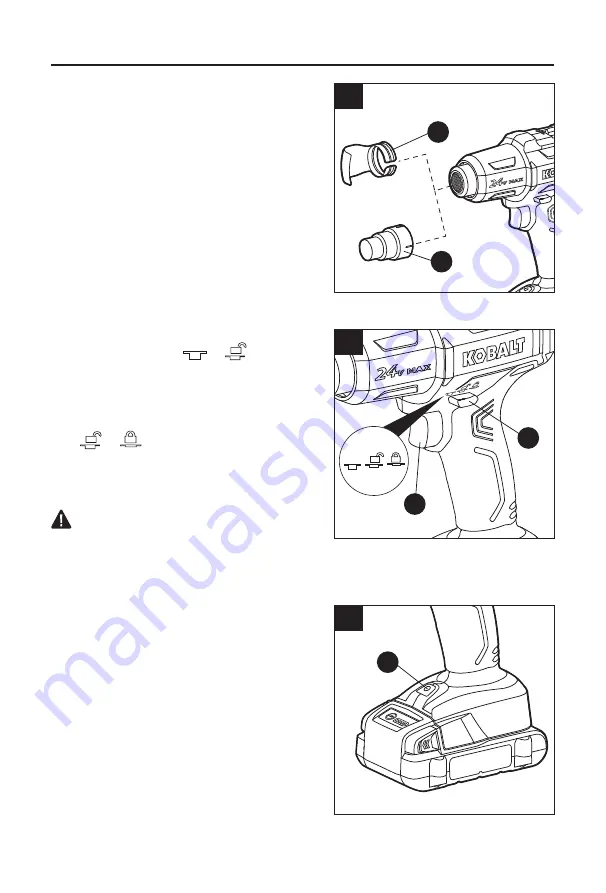
2. To Install a Nozzle Attachment
The tool includes two nozzle attachments for
different applications.
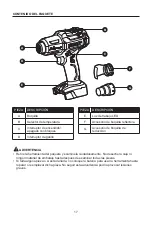
Reflector attachment (F) is used for heat shrink-
wrapping by trapping heat around a workpiece and
avoiding excess heat burning or damaging objects
behind the workpiece.
Reduction nozzle (G) attachment is used for welding,
shrinking, sleeving, and other operations that require
concentrated heat over small work area.
a. Make sure the lock on/off switch (C) is released
and the trigger switch (D) in the OFF position.
Make sure that the nozzle (A) has cooled down.
b. Place the attachment onto the nozzle.
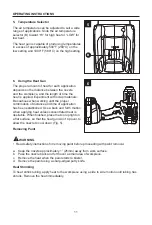
3. To Turn On/Off the Heat Gun
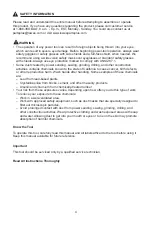
a. To turn the tool ON [
→
] push
the lock on/off trigger (C) into the tool, then
depress the trigger switch (D). To turn the tool
OFF, release the trigger switch.
b. To lock the running heat gun in the ON position
[
→
] push the lock on/off switch
deeper in until it is flush with the housing.
Release the finger that is pressing the trigger
switch – the heat gun is locked ON. To turn the
tool OFF, press and release the trigger switch.
WARNING
• Always hold the heat gun by the plastic
enclosure. Do not touch nozzle or store heat gun until the nozzle has cooled to room
temperature.
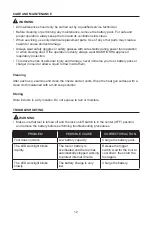
4. LED Worklight
The LED worklight (E), located on the foot of the
tool, will turn on when the trigger switch (D) is
depressed. This provides additional light on the
surface of the workpiece for operation in lower-light
conditions.
The LED worklight will turn off when the trigger
switch is released.
The LED worklight will blink rapidly if the tool
has stopped working in order to protect internal
electronics in the event of overheating. Wait for the
tool to cool down, at which point it can be started again.
The LED worklight will blink slowly to indicate that
the battery charge is very low.
4
E
3
C
D
2
F
G

