V. Operation
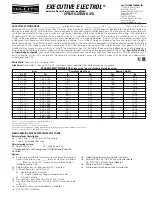
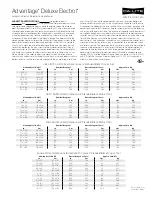
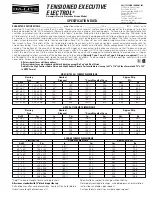
Dimensions
Specifications
Additional information
MPN
KPS-501
KPS-502
51.18x67.72x.02in 59.06x78.74x.02in
Screen dimensions
(HxWxD)
Maximum screen size
(Diagonal)
Viewing area height
Viewing area width
Aspect ratio
Weight
Operation type
Mount type
Color
Screen material
Gain
Viewing angle
Fire retardant
Remote control (motorized)
Wall and ceiling
White
Outside PVC layers, internal cloth layer
1.1
100°
Yes
Warranty
One year
86in
100in
4:3
120in
48.03in
55.91in
68.90in
65.75in
76.77in
94.09in
15.65lb
17.86lb
21.38lb
KPS-503
72.05x96.03x.02in
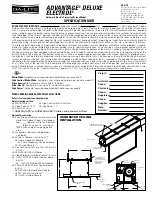
Measure distance on the wall or ceiling, and mark the mounting spots.
Drill the holes, and insert the proper anchors or expansion screws to secure the mount firmly
onto the surface.
Depending on the configuration chosen, carefully hang the screen from the metal hooks or
fasten the screws firmly into the wall at both ends of the case.
After mounting the screen, proceed to install the controller switch using the supplied hardware.
To do so, follow the steps illustrated below:
3.
4.
5.
6.
Plug the controller switch into an AC wall outlet and finish by installing the battery inside the
remote.
7.
To open the screen, press the down button on the remote or controller switch. The mecha-
nism will stop automatically when fully deployed.
To close the screen, press the down button on the remote or controller switch. The screen will
stop automatically when fully retracted.
Variable height settings can be selected using the controller switch or the remote. During
operation, simply press the stop button to lock the rewind mechanism at the desired position.
1.
2.
3.
VI. Technical specifications
1
2
3
4


