

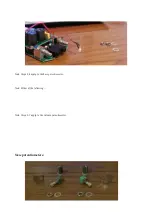

3. Unscrew the nuts and remove the washers from the bass and volume potentiometers.
Note: Steps 3,4 apply to the bass potentiometer.
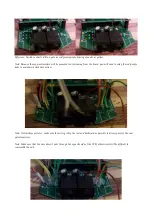
3. Apply the soldering iron to the two brace solders and use leverage to free it from the PCB.
Note: Either of the following...
4.a) Apply the soldering iron to the three potentiometer solders and gently pull the potentiometer and
bracing from the PCB.
4.b) Flex the potentiometer back and forth to weaken/break the pins then use the soldering iron to remove
what remains.
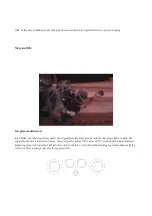
Note: Steps 5-7 apply to the volume potentiometer.
5. Apply the soldering iron to the two brace solders and use leverage to free it from the PCB.
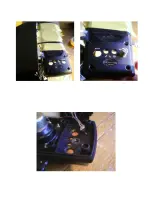
6. There are several small clasps that hold the body of the potentiometer together. Using the flathead
screwdriver, pry them back.
7. Gradually disassemble the potentiometer. Remove what you can by hand, then use either method 4.a or
4.b for the rest, section by section.
New potentiometers:


