Separate Bass Management Settings
for Stereo
You can set up a separate bass-management scheme for Stereo mode,
including a different crossover frequency. While the Stage One is in Stereo
mode, enter the Advanced Menu and select the SpkrConfig STEREO menu.
Configure the speakers for Stereo mode as Large or Small. Now you can go
to the Crossover Setup menu to select a crossover frequency for Stereo
mode. This is useful if, for example, you want to run large front speakers full-
range for home theater listening but set a low crossover point for low-frequen-
cy fill from the subwoofer in stereo listening.
Analog Input Level
Separate input level adjustments are available for each analog input. You can
reach them from the Setup page on the remote control. Pressing the Input
Gain +/- will bring up the analog input level adjustment. Choose a dynamic
passage from the analog source and turn the analog input gain up until
Clipping is indicated in the top left-hand corner of the front-panel display. Turn
the gain down again in half-decibel steps until the clipping indicator goes off.
Separate Video Input Switching
The Stage One allows for separate selection of audio and video input
sources. A Separate Video Switching page is available from the remote con-
trol’s Adjustments page. Selecting any of the available inputs will switch to the
video signal for that input while leaving the audio input as previously selected.
System Lock
In certain situations it may be desirable to "lock" the system. Once you have
your Stage One set up the way you want it, you can prevent accidental alter-
ations by locking it, which prevents permanent changes to channel balances
or the Advanced Menus. When locked, the Stage One will not let anyone into
the Setup or Advanced Menus. (On-the-fly level and balance adjustments are
still permitted, but these settings are not saved.)
To lock the Stage One (or unlock it if it is already locked), turn the preamp off.
Then press the front-panel Enter and Mute buttons simultaneously, and while
keeping these buttons depressed, press the Power button. This will toggle the
Stage One between Locked (indicated by a capital L in the front-panel dis-
play) and Unlocked (indicated by a capital U in the front panel-display) mode.
Once you have the processor in the correct mode, you can release all but-
tons. The mode indication will remain on the front panel display until you turn
the Stage One on again.
Front/Rear Balance
You can adjust front-to-rear balance temporarily by pressing the Up and Down
buttons on the remote. (This option is available only in modes that use the
surround channels.) Shifting the balance toward the surround channels using
the Down button will reduce the volume of the front channels. Moving the bal-
ance toward the front channels using the Up button will lower the volume of
the surround channels. This is a temporary adjustment, so the next time a
mode is loaded, the balance will be reset to the center position. If you find that
you must continually readjust the front-to-rear balance, it may indicate that
your default channel levels are not set properly.
Left/Right Balance
You can temporarily adjust the left/right balance in Stereo mode using the Left
and Right buttons on the remote control. Moving the Balance toward the left
will lower the volume of the right channel. Moving the Balance toward the right
will lower the volume of the left channel. This is a temporary adjustment, so
the next time a mode is loaded, the balance will be reset to the center posi-
tion. If you find that you must constantly adjust the balance, it may indicate
that your default channel levels are not set properly.
ADVANCED MENUS
Enter the Advanced Menus by pressing the Advanced Menu button on the
remote. Use the Up and Down buttons to scroll through the menu list. Press
the OK button to enter the desired menu when it appears on the bottom line
of the front-panel display. Use the Left and Right buttons to adjust settings.
Once you have edited a particular menu setting, pressing Menu or the OK
button again will bring you back to the Advanced Menu selection screen, and
pressing Advanced Menu will exit the Advanced Menus. (The Advanced
Menus can also be accessed from the front panel by using the Stage
Manager and Enter button.)
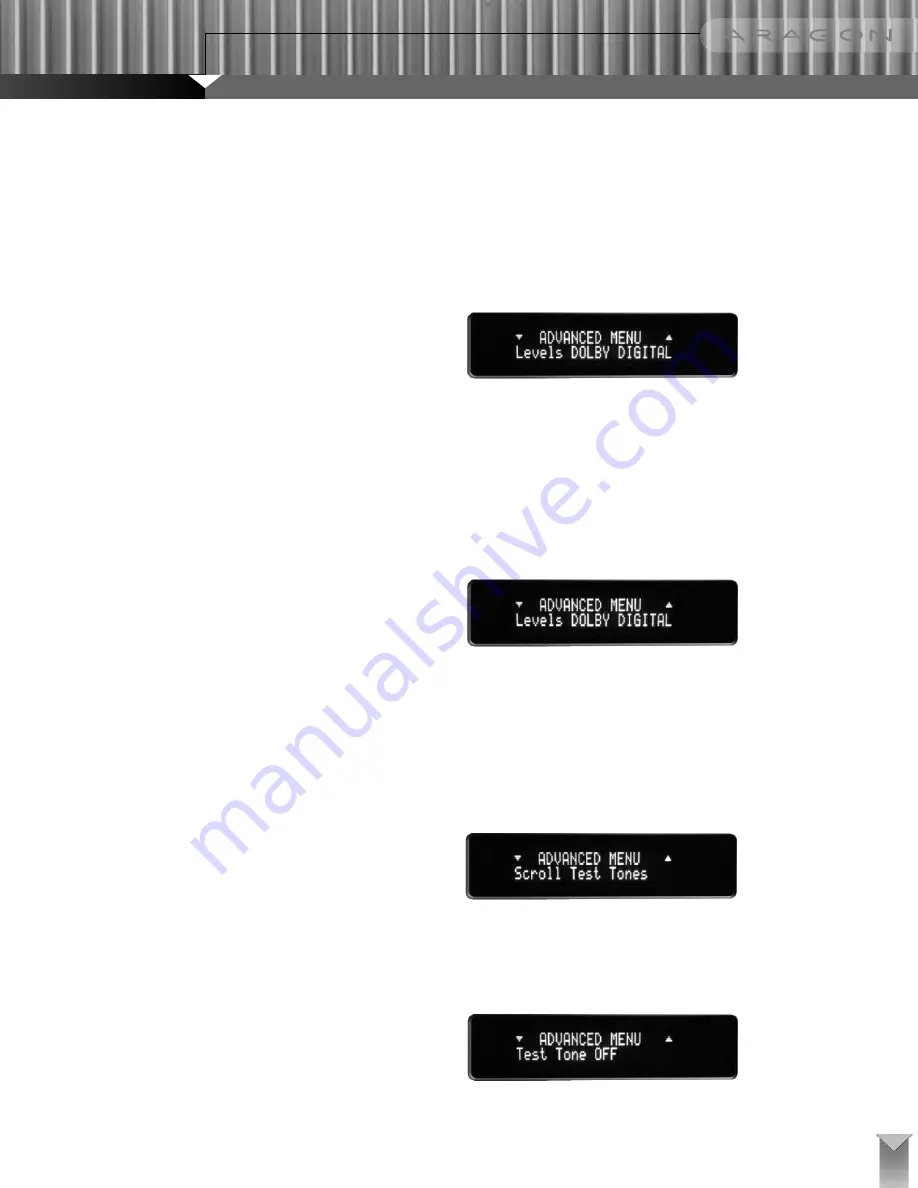
Levels
The initial setup procedure defines a single channel balance for all modes.
Although this setting should be correct for most of the basic surround modes,
you can trim the balances individually for each mode from this menu. Once
set for a particular mode, customized channel levels will be loaded automati-
cally whenever that mode is selected. It should be noted that changing levels
in this menu will only change the settings for that particular mode and will
not affect the levels for other modes as they were set in the initial setup
procedure.
Scroll Test Tones
The default setting is No, which will cause the calibration signal to stay in a
particular channel until you tell it to change. Setting this to Yes will cause the
calibration signal to rotate from channel to channel every two seconds when
you are in the Level Settings menu.
Test Tone OFF
The default setting is No. If you set this to Yes, there will be no calibration sig-
nals when you enter the Setup Mode. This enables you to use test signals
from an external source for channel balancing.
27
Содержание Aragon Stage One
Страница 1: ...THX ULTRA2 SURROUND PREAMPLIFIER STAGE ONE...
Страница 30: ...30 STAGE ONE THX SURROUND PREAMPLIFIER...


