Testing the Towfish Electronics
4-9
4.
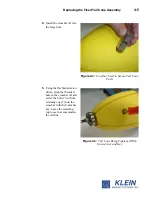
Position the post with the threaded hole to the top, and thread the jacking screw
into the post with the long, unthreaded section entering the feed-thru.
5.
Tighten the jacking screw to push the electronics into the pressure housing. Stop
when flush.
6.
Thread the washer and nut onto the jacking screw and hand tighten.
7.
Replace the nose cone.
4.7
Testing the Towfish Electronics
Remove the towfish electronics as described in “Removing the Towfish
Electronics” on page 4-7 and place the electronics in a position so that you can
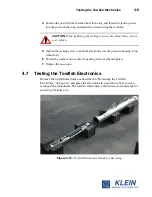
reconnect the transducers. The towfish electronics is shown removed and ready for
servicing in Figure 4-12.
CAUTION
When tightening the jacking screw as described below, do not
over tighten.
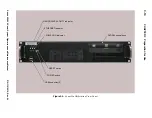
Figure 4-12:
Towfish Electronics Ready for Servicing
Содержание 5000 V2 Series
Страница 24: ......
Страница 48: ......
Страница 62: ......
Страница 73: ...A 3 Figure A 1 Cable Length vs Towfish Depth Graph 1...
Страница 75: ...A 5 Figure A 3 Cable Length vs Towfish Depth Graph 3...
Страница 77: ...A 7 Figure A 5 Cable Length vs Towfish Depth Graph 5...
Страница 78: ......
Страница 82: ......
Страница 88: ......
Страница 92: ......
Страница 95: ...E 3...
Страница 97: ...E 5...
Страница 99: ...E 7...
Страница 101: ...E 9...
Страница 103: ...E 11...
Страница 105: ...E 13...
Страница 107: ...E 15...
Страница 109: ...E 17...
Страница 111: ...E 19...


