


38
IT
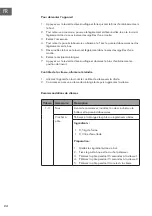
UTILIZZO
1
Premere la leva di sbloccaggio e alzare il braccio di azionamento verso
l’alto.
2
Per montare la terrina inserirla nella base.
3
Fissare la terrina ruotandola leggermente in senso antiorario finché non fa
clic.
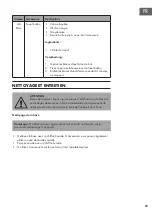
Nota:
Non utilizzare mai la terrina senza il coperchio paraspruzzi, perché
gli alimenti potrebbero fuoriuscire.


