F
EA
TURES
AND
O
PERA
TION
17
Continued…
3.
Using a
5
⁄
32
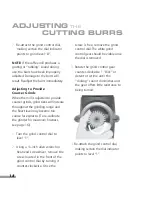
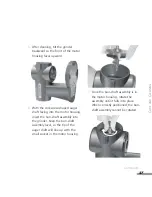
-inch allen wrench or
hex-head screwdriver, remove the
screw located in the front of the
grind control dial by turning it
counter-clockwise. Hold the grind
control dial so that it does not
rotate as the screw is removed.
Once the screw is free, remove
the grind control dial.
The white grind
control gear
should be visible once the grind
control dial is removed.
4.
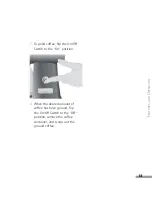
Turn on the mill by flipping the
On/Off Switch to the “On”
position.
5.
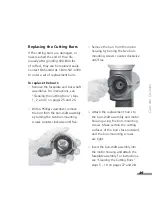
Rotate the grind control gear
clockwise 1 “click” or detent at a
time until you hear the burrs
touching one another – when they
touch, the burrs will make a distinct
“rubbing” or grating sound.
6.
When the burrs are touching, turn
the grind control gear counter-
clockwise 1 “click” or detent. The
grating or “rubbing” sound will
stop. Turn off the mill by flipping
the On/Off Switch to the “Off”
position. The mill is now calibrated
to provide maximum fineness.

