7
Refrigerator Doors
Handle Removal (Architect
®
Series)
(Graphics are included later in this section.)
1.
Using a
³⁄₃₂
in. Allen wrench, loosen the 2 set screws located
on the side of each handle.
2.
Pull handle straight out from the door. Make sure you keep
screws for reattaching handles.
Handle Removal (Panel Series)
IMPORTANT:
■
Remove door from refrigerator before removing handle.
■
You must remove handles to remove decorator panels or to
reverse the door swing.
1.
Using a Phillips screwdriver, remove top door cap.
2.
Tap bottom edge of refrigerator door handle upward with a
rubber mallet.
3.
Handle will slide up approximately
³⁄₄
in. (19.05 mm) and
release from door.
Handle Replacement (Panel Series)
1.
Make sure bottom door cap is installed.
2.
Align handle notches with metal mounting tabs on side of
door. Slide handle down until it locks.
3.
Tap top of handle with a rubber mallet to ensure snug fit.
4.
Using a Phillips screwdriver, reinstall top door cap.
Freezer Drawer Removal
(Graphics are included later in this section.)
1.
Open freezer drawer to full extension.
2.
Remove all articles from baskets.
3.
Slide top wire basket out to full extension and lift out to
remove.
4.
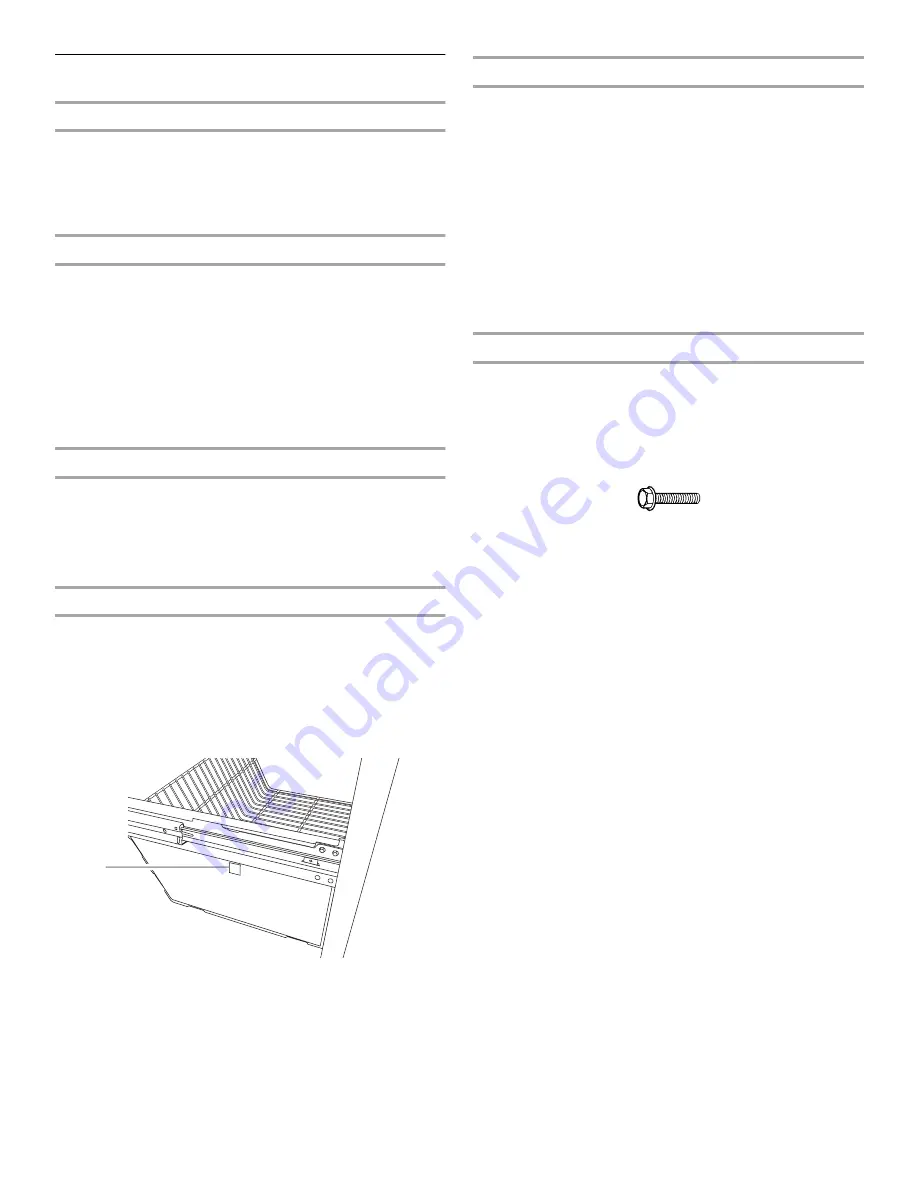
Remove the bottom wire basket by pressing the release
button on each side and lifting the basket from the rail guides.
5.
Remove the Phillips screw (on some models) from each side
of drawer rail assembly (see Graphic 6-1).
NOTE:
Do not remove hex-head screws from rail assembly.
6.
Lift front handle of freezer drawer to disengage drawer rail
hooks from interior rail assembly. Lift drawer out.
Freezer Drawer Replacement
IMPORTANT:
Two individuals may be required to complete this
procedure.
1.
Extend both interior rail assemblies to full length on each side
of cabinet.
2.
Locate notches in both interior rail extensions (see
Graphic 6-2).
3.
Align tabs on outside edge of drawer rail assemblies with
notches in both rail extensions.
4.
Insert tabs into notches (see Graphic 6-3).
5.
Replace the Phillips screws (on some models) on both rail
extensions (see Graphic 6-1).
6.
Replace bottom basket by placing basket into rail guides.
7.
Slide top basket into upper compartment.
Door and Hinge Removal
IMPORTANT:
■
Before you begin, turn the refrigerator control OFF, unplug
refrigerator or disconnect power. Remove food and any
adjustable door or utility bins from doors.
■
All graphics referenced in the following instructions are
included later in this section after “Final Steps.”
⁵⁄₁₆
" Hex-Head Top Hinge Screw
Tools Needed:
⁵⁄₁₆
in.,
³⁄₈
in.,
¹⁄₄
in. hex-head socket wrench, No. 2
Phillips screwdriver, and a flat-head screwdriver.
1.
Keep the refrigerator door closed until you are ready to lift it
free from the cabinet.
NOTE:
Provide additional support for the refrigerator door
while the hinges are being moved. Do not depend on the door
gasket magnets to hold the door in place while you are
working.
2.
Remove the parts for the top hinge as shown in Top Hinge
Graphic. Lift the refrigerator door free from the cabinet.
3.
Remove the parts for the bottom hinge as shown in the
Bottom Hinge Graphic.
1. Release button
1
Содержание Bottom-Freezer Refrigerator
Страница 26: ...26 Notes ...


