INSTALLATION INSTRUCTIONS
FOR BUILT IN STEAK AGER:
FRONT VENTING STEAK AGER ONLY.
1. “Built in” Steak Ager are front venting but are not designed to be fully integrated behind a
joinery door.
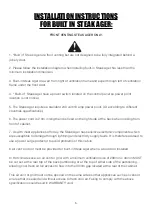
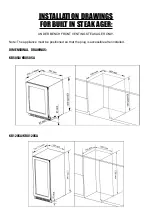
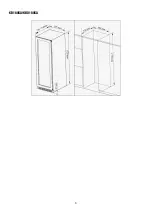
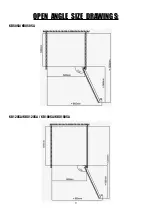
2. Please follow the installation diagram when installing built-in Steak Ager. No less than the
minimum installation dimension.
3. Built-in Steak Ager draw air from right of ventilation frame and expel through left of ventilation
frame under the front door.
4. “Built-in” Steak Ager have a power switch located on the control panel so power point
location is not critical.
5. The Steak Ager requires a standard 240 volt/10 amp power point. (Or according to di
ff
erent
countries specifications).
6. The power cord is 2.0m in length and is fixed on the right side at the back when looking from
front of cabinet.
7. As with most appliances of today, the Steak Ager has sensitive electronic components which
are susceptible to damage through lightning and electricity supply faults. It is therefore advised to
use a power surge protector to avoid problems of this nature.
8.Air vent on door must be provided for built-in Steak Ager when a wood door installed.
In Hot climate zone, an air vent or grid, with a minimum ventilation size of 200mm x 40mm MUST
be cut out at the rear top of the back partitioning or at the top of either side of the partitioning,
allowing cool fresh air full access to flow into the 30mm gap located at the rear of the cabinet.
This air vent or grid must not be opened on the same side as other appliances such as ovens or
an area that is sealed and without access to fresh cool air. Failing to comply with the above
specifications could result in WARRANTY void.
6


