


DPU202
User Manual
- 6 -
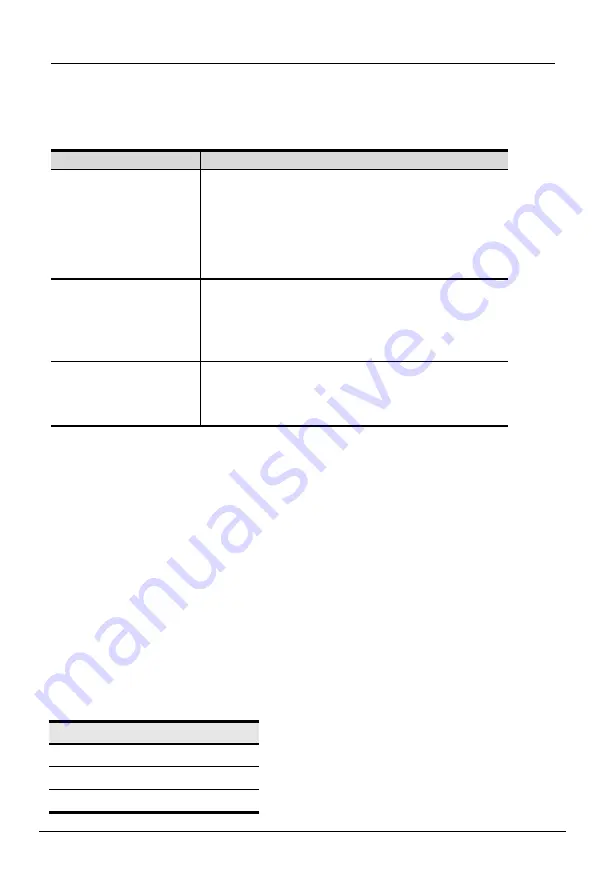
Required equipment
Refer to the table below to prepare the equipment and cables required for the
configuration.
DPU202
Console
A DisplayPort monitor
An USB mouse
An USB keyboard
Microphone and Speaker
Computer
(The following
equipment is required
on each computer)
A DP port
An USB Type-A port
Audio and Microphone Ports
Cable
To ensure video quality, we recommend only
using the KVM cable included in the device
package.
Notice:
1. To ensure that the computer's operating system is supported. For more information, see
Operating Systems.
2. The display effect of the monitor is affected by the quality of the computer's graphics
card. High-quality computers are recommended.
3. The quality of the monitor is affected by the quality of the cable. We recommend a total
length of no more than 3.3 meters from the source to the display (1.5 meters between the
computer and the KVM switch. The distance between the KVM switch and the display is 1.8
meters). If you need additional cables, please contact us.
Operating system
The supported operating systems are shown in the following table:
OS
windows
Linux
Mac


