Installing Both N108xA and N1010A FlexDCA on a PC
2
N108xA-Series Getting Started
15
Step 4. Connect N1010A FlexDCA to the 86100D
1
On the 86100D, click
Help
>
About
and locate the System Information field in the dialog box. Scroll the
field to view the
Computer Name
entry. You can also obtain the computer name from the Windows
System properties.
2
Record the Computer Name (host name) as you will need this name later in this procedure.
86100D Computer Name: ________________________
3
Close the About dialog box.
4
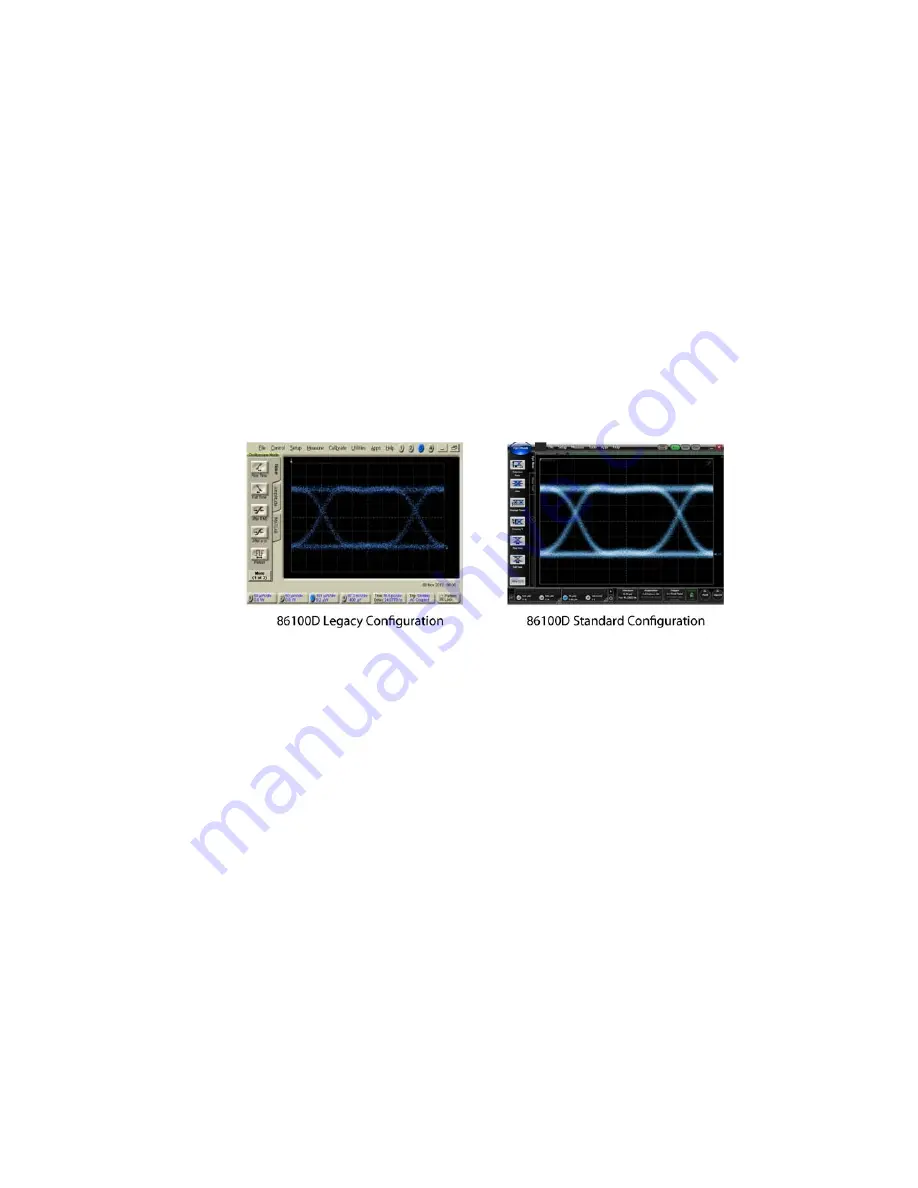
Do the following steps to place the 86100D in Legacy configuration:
a
Click
File
>
Exit
on the 86100D’s user interface.
b
On the Windows Start menu, click
All Programs
> Keysight
FlexDCA
>
Legacy UI
.
Figure 7
86100D User Interfaces
5
On the PC, start the N1010A FlexDCA application.
6
When FlexDCA starts, if the Extended Module Configuration dialog box is displayed, click
Setup
. If the
dialog box does not open, click
Setup
>
DCA Connection Setup
.
7
In the FlexDCA Connection Setup dialog box, select Connect Using
LAN
.
Содержание N108 A Series
Страница 1: ...Keysight N108xA Series IEEE 802 3 Ethernet KR CR Compliance and Debug Application Getting Started...
Страница 63: ...Installing N108xA on the 86100D 4 N108xA Series Getting Started 63 Figure 62 86100D HSLIP protocol Connection...
Страница 78: ...78 N108xA Series Getting Started 4 Installing N108xA on the 86100D...


