background image

2

_en


Connect front sensor 

eTouch Dispensa / Convoy Premio 

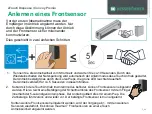
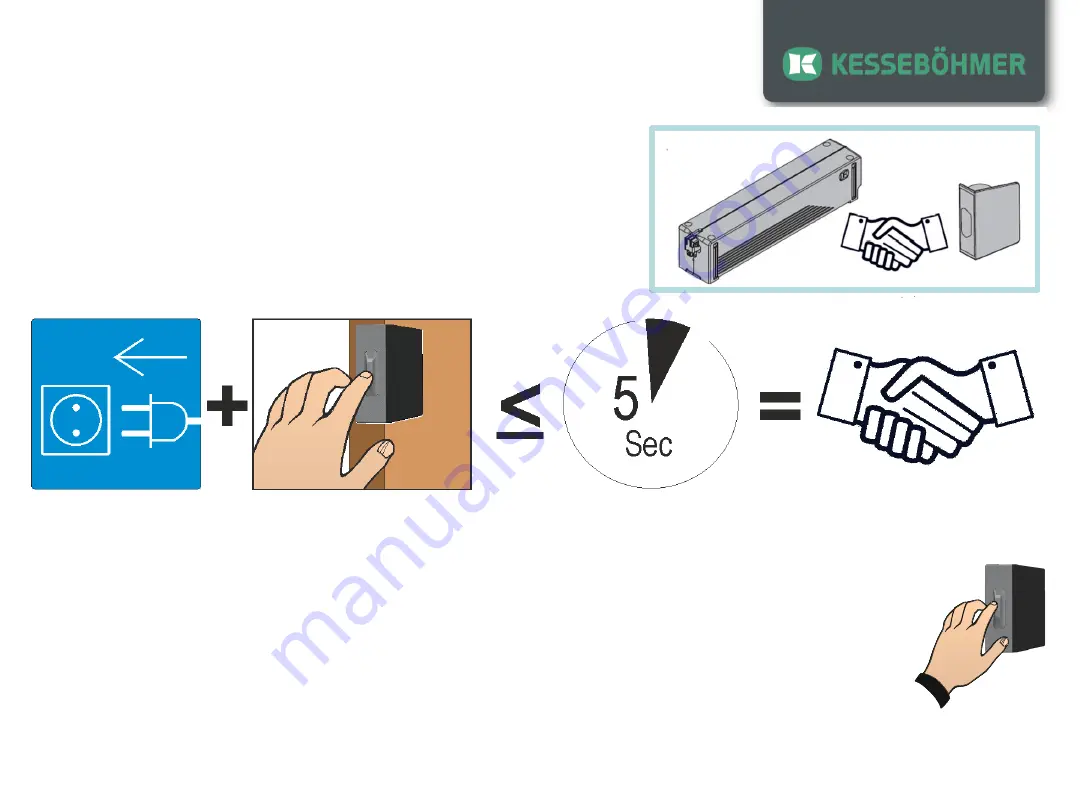
1.

Unplug the power unit from the power supply and wait for about 10 seconds. By switching on the mains
voltage, the connecting mode of eTouch drive is started automatically. The drive confirms this by three
short beeps, the green LED lights up.
The drive remains for about 5 seconds in this mode

2.

Once the eTouch drive is in connecting mode, front sensors can be connect. To this
purpose, press briefly on the rubber-membrane of the front sensor with your finger within
the 5 second connecting mode. The drive acknowledges this with a beep. The rack moves
backwards and forward again. The actuated front sensor is now connected.

Before first use, the sensor and the motor unit 
must be connected. Only by this connection, the 
drive and the front sensor can communicate 
securely with each other. 

If another front sensors are connected, the process is repeated from #1 to the other 
sensors. A maximum of 7 front sensors could be connected to one eTouch system. 

This is done in two easy steps: 

Содержание CONVOY Premio

Страница 1: ...den Schrank angelernt Lernen Sie in diesem Fall den unbeabsichtigt angelernten Sensor wie nachfolgend beschrieben ab Bitte benutzen Sie zur Montage der Antriebseinheit und des Frontsensors die dem Pro...

Страница 2: ...lernt werden Hierzu reicht eine Bet tigung der Schaltmembran des Frontsensor mit dem Finger innerhalb der 5 sek ndigen Anlernphase Der Antrieb quittiert dies mit einem Piep Die Zahnstange f hrt zur ck...

Страница 3: ...der eTouch Antrieb im An Auslernmodus befindet k nnen bereits angelernte Frontsensoren wieder abgelernt werden Hierzu reicht eine Bet tigung der Schaltmembran des Frontsensor mit dem Finger innerhalb...

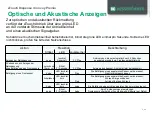
Страница 4: ...h nach 5 Sekunden beendet oder sobald ein Frontsensor bet tigt wird 5 Sekunden nach Anlegen der Netzspannung ohne Bet tigung eines Frontsensors zur ck und 10mm vor Blinkt 1 Sekunde 3 X Piep Anlernmodu...

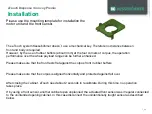
Страница 5: ...nsor was irregular connected to the unintended opening cabinet In this case disconnect the unintentionally taught sensor as described below Please use the mounting template for installation the motor...

Страница 6: ...connect To this purpose press briefly on the rubber membrane of the front sensor with your finger within the 5 second connecting mode The drive acknowledges this with a beep The rack moves backwards...

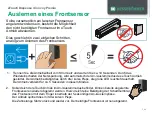
Страница 7: ...Once the eTouch drive is in dis connecting mode front sensors can be disconnect To this purpose press briefly on the rubber membrane of the front sensor with your finger within the 5 second connectin...

Страница 8: ...pps atumatically after 5 seconds or a front sensor opperates 5 seconds after connecting to power supply without pressing front sensor backward and 10mm forward LED flashes 1 second 3 X Beep Leave Conn...

Отзывы: