24
MENU SETUP
WHAT IS A MENU?
Many functions on this transceiver are selected or
configured via a software-controlled Menu instead of
physical controls on the transceiver. Once familiar with
the Menu system, you will appreciate the versatility it
offers. No longer is the number and complexity of
features restricted by the physical controls and
switches on the Front Panel.
MENU ACCESS
The following procedure explains how to check or
change any of the Menu items.
1
Press
[MENU]
.
2
Turn the
M.CH/VFO.CH
control to select the desired
Menu No.
3
Press
[UP]
, or
[DOWN]
, or Mic
[UP]
, or Mic
[DWN]
to change the current selection for this Menu item.
4
Press
[MENU]
or
[CLR]
to exit Menu mode.
•
If the power is switched OFF before this step is
completed, the selection just made will be
canceled.
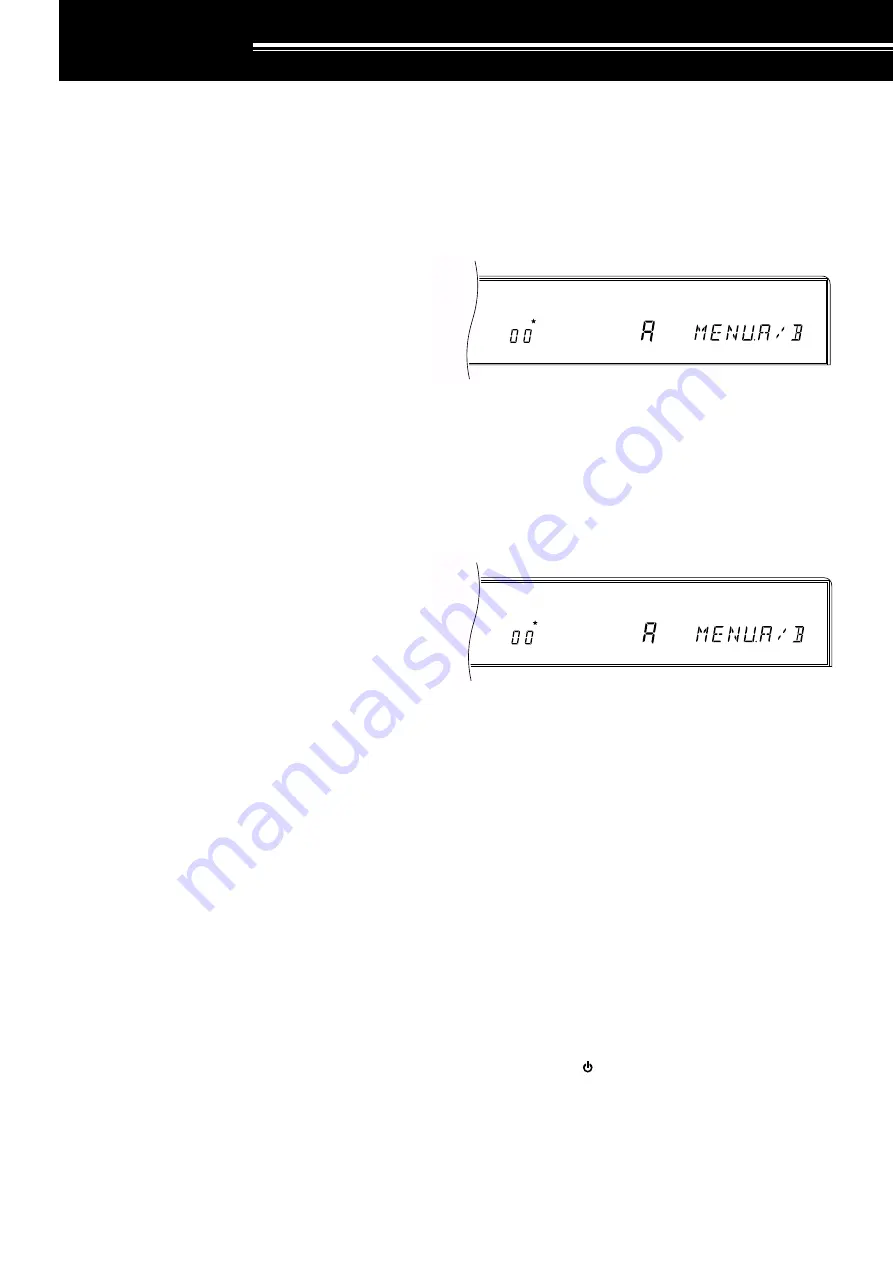
MENU A/ MENU B
The TS-870S has two menus. These menus are called
Menu A and Menu B. The menus contain identical
functions; however, each menu can be configured
independently.
For example, you may enjoy two different kinds of
operating activities but you like to configure the
transceiver differently for each activity. Menu A could
be configured with one set of transmit signal
characteristics, DSP settings, programmable buttons,
frequency steps, etc. Menu B could be configured
completely differently. By switching from Menu A to
Menu B, you could instantly change Menu
configuration and button assignment to suit your
current operating style. Or, two operators may share a
single transceiver. By dedicating one Menu per
operator, each would always enjoy the best
configuration.
With a little thought, you can determine the best setups
for each Menu for your personal situation. Once you’ve
decided your strategy, select via Menu No. 00
(MENU.A/B) the Menu that you want to set up first.
Then use the information in this chapter and on the
referenced pages to configure your ultimate operating
environments.
QUICK MENU FUNCTION
The Quick Menu function complements the Menu A/B
selection capability by allowing you to create your own
customized but abbreviated Menu. Copying Menu
items to the Quick Menu has no effect on the Menu.
You should add only those Menu items to the Quick
Menu that you use frequently.
■
Programming the Quick Menu
1
Press
[MENU].
2
Turn the
M.CH/VFO.CH
control to select the
desired Menu No.
3
To add the selected Menu item to the Quick
Menu, press
[M.IN]
.
•
The star lights indicating that the item has
been added to the Quick Menu.
•
Each press of
[M.IN]
toggles the item into or
out of the Quick Menu.
4
Press
[MENU]
or
[CLR]
to exit Menu mode.
■
Using the Quick Menu
1
Press
[MENU]
.
2
Press
[1MHz]
.
•
“MHz” lights.
3
Turn the
M.CH/VFO.CH
control to select the
desired Quick Menu No.
•
If the Quick Menu has not been programmed
yet (see previous section), then turning the
M.CH/VFO.CH
control causes an alarm to be
emitted (either “CHECK” in Morse code or a
triple beep).
4
Press
[UP]
, or
[DOWN],
or Mic
[UP]
, or
Mic
[DWN
] to change the current selection for
this Quick Menu item.
5
Press
[MENU]
or
[CLR]
to exit Quick Menu
mode.
TEMPORARY MENU RESETTING
This convenient function allows you to temporarily reset
all Menu items to their factory default selections. This
can be useful to verify whether a Menu setting is
causing undesirable operation.
1
Press
[CLR]+[ ]
to temporarily reset all Menu items
to factory default values.
•
The “MENU” indicator flashes.
2
To change all Menu items back to your own
programmed values, switch OFF the transceiver,
then switch it back ON.
AGC
AUTO
MENU
A B
MHz
AGC
AUTO
MENU
A B
Содержание TS-870S
Страница 104: ......


