27
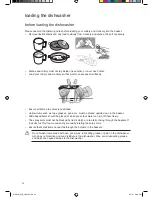
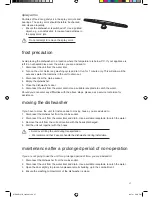
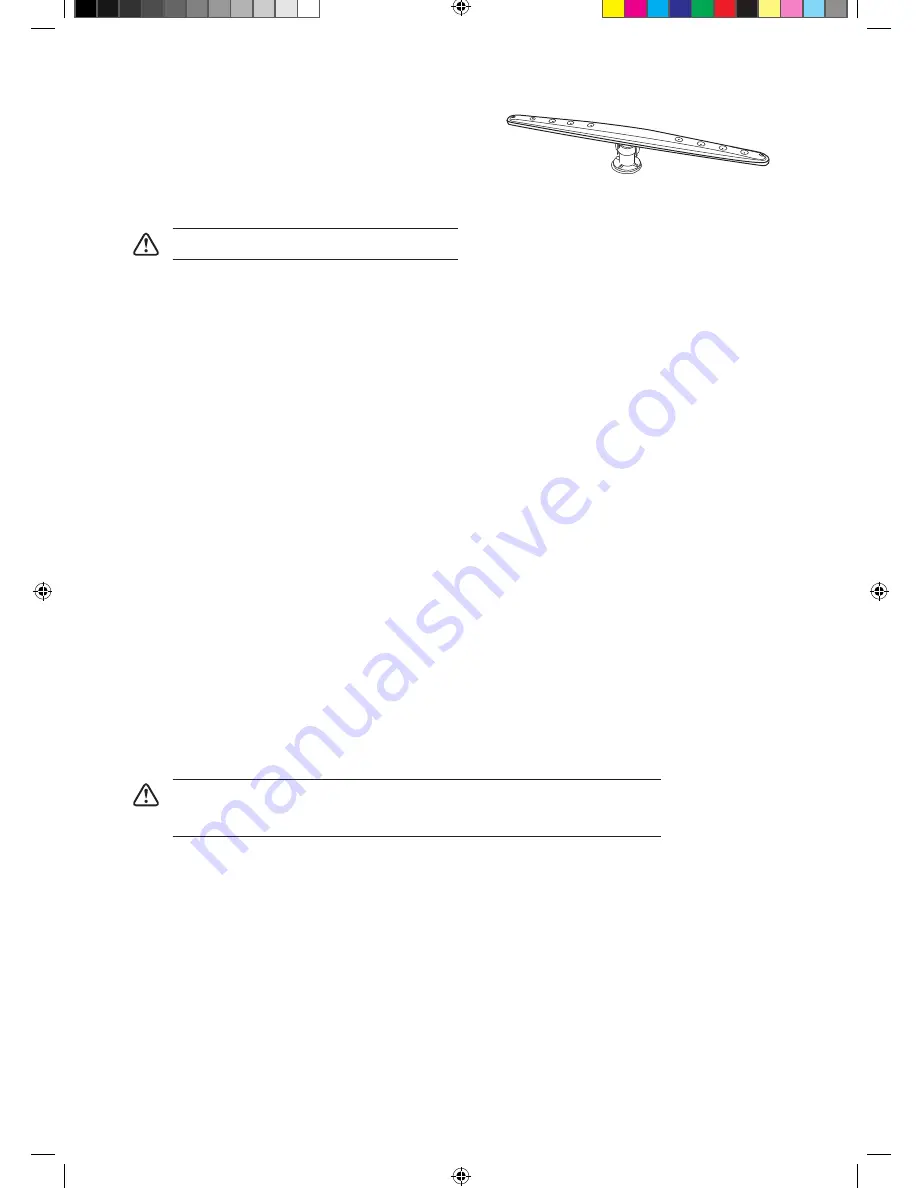
spray arms
Particles of food can get stuck in the spray arm jets and
bearings. The spray arms should therefore be checked
and cleaned regularly.
•
Ensure the dishwasher is switched off. Use a pointed
object, e.g. a cocktail stick, to loosen food particles in
the spray arms’ jets.
frost precaution
Avoid placing the dishwasher in a location where the temperature is below 0°C. If your appliance is
left in an unheated place over the winter, you are advised to:
1. Disconnect the unit from the water inlet.
2. Turn on the unit. Select any washing cycle and let it run for 1 minute only. This will allow all the
excessive water that remains in the unit to drain out.
3. Disconnect from the mains socket.
4. Empty the dishwasher.
5. Close the dishwasher’s door.
6. Disconnect the unit from the water drain. Use a suitable receptacle to catch the water.
Should you encounter any difficulties with the above steps, please ask a service technician for
assistance.
moving the dishwasher
If you have to move the unit, for instance due to moving house, you are advised to:
1. Disconnect the dishwasher from the mains socket.
2. Disconnect the unit from the water inlet and drain. Use a suitable receptacle to catch the water.
3. Remove the unit from the current location with the hoses discharged.
4. Pull the unit out together with the hoses.
maintenance after a prolonged period of non-operation
If you are not going to use the unit for a prolonged period of time, you are advised to:
1. Disconnect the dishwasher from the mains socket.
2. Disconnect the unit from the water inlet and drain. Use a suitable receptacle to catch the water.
3. Open the door slightly to prevent unpleasant smells building up in the compartment.
4. Ensure the washing compartment of the dishwasher is clean.
Do not attempt to remove the spray arms.
•
Avoid over tilting the unit during transportation.
•
We recommend that 2 people handle the dishwasher during installation.
KID60S10_IB_110426.indd 27
4/27/11 5:48 PM
Содержание KID60B10
Страница 1: ...Dishwasher KID60S10 installation instructions manual KID60S10_IB_110426 indd 1 4 27 11 5 46 PM ...
Страница 2: ...KID60S10_IB_110426 indd 2 4 27 11 5 46 PM ...
Страница 34: ...KID60S10_IB_110426 indd 34 4 27 11 5 48 PM ...
Страница 35: ...KID60S10_IB_110426 indd 35 4 27 11 5 48 PM ...

