- 7 -
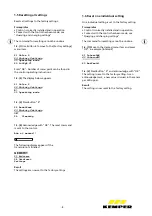
1.3. (6)
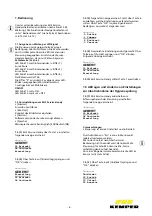
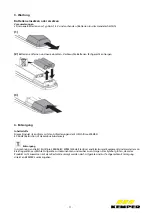
After making the settings
Exit contact with the control. To do so, aim the
Service-Handy at the control sensor, move with
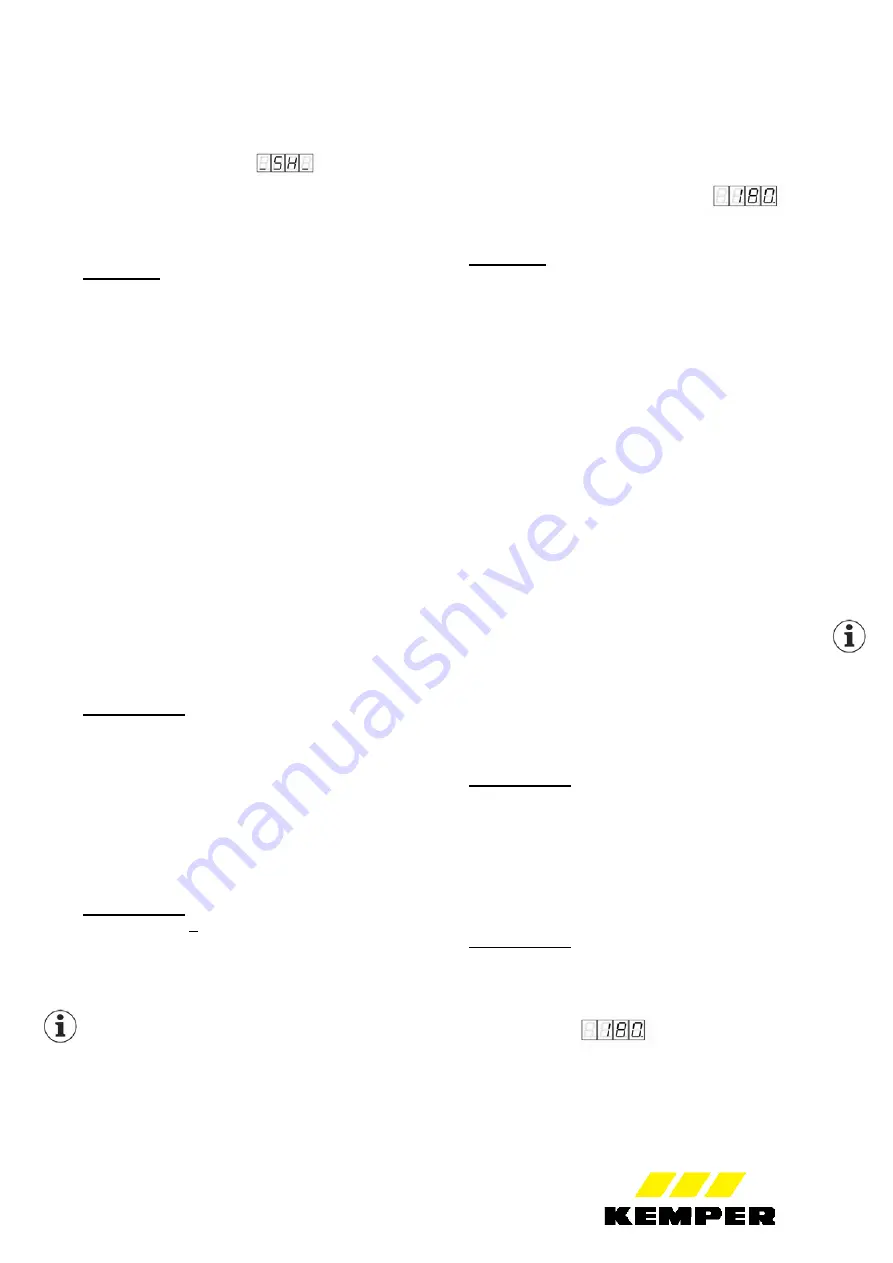
Button 6 to menu item [ON/OFF] and press "OK" until
the hygienic flushing display shows the runtime until
the next flushing
e.g. (180 hours)
Display:
HygFlushing
00 ON/OFF
01 Back
02 Command
If contact is not exited, the control remains inactive
for ten minutes until it independently ends the
contact.
1.3. (7)
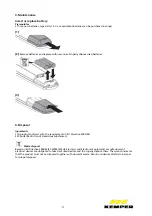
Switch off the KHS Service-Handy using Button
1
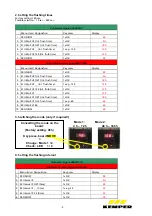
1.4. Setting the flushing times
1.4.1 to 1.4.5: See steps in 1.3.1 to 1.3.3
1.4. (4)
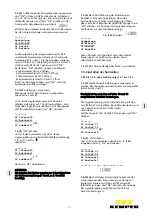
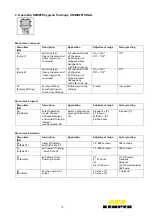
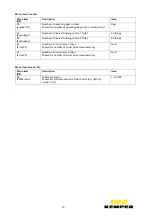
The settings can now be made. The menu
items are listed by number.
(see Pages 4 and 5).
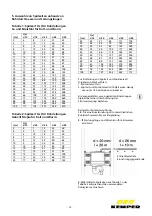
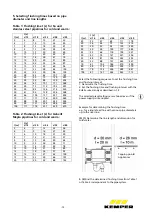
Specify the flushing times in accordance with the
tables on pages 10 and 11.
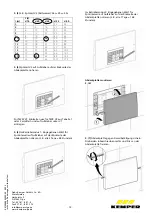
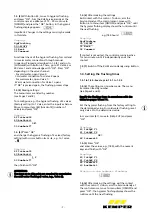
Set the hygienic flushing from the factory setting to
the determined value. For cold water flushing, reset
only Valve 2 to the determined value
In menu item (41), move to [IntSpZ V2] and press
"OK"
Display:
40 IntSpZ V1
41 IntSpZ V2
OK?
42 IntervalZ
1.4. (5)
Press "OK"
and enter the values, e.g., (180), with the numeric
keys and finish with "OK".
Display:
40 IntSpZ V1
41 IntSpZ V2
42 IntervalZ
43 AnzVentil
Display on the hygienic flushing:
1.4. (6)
After making the settings, exit the contact
with the control. To do so, aim the Service-Handy at
the control sensor, move to menu item [ON/OFF] and
press "OK"; the hygienic flushing display shows the
runtime until the next flushing
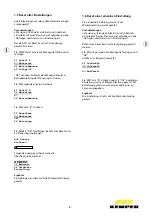
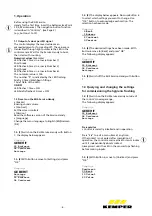
1.3. (3)
With Button 40, move to hygienic flushing
and press "OK". Aim the KHS Service-Handy at the
control sensor at a distance of 10 - 30 cm, move to
[ON/OFF] and press the "OK" button; in the hygienic
flushing display appears:
Important: Changes in the settings can only be made
in this state.
Display:
HygFlushing
00 ON/OFF
01 Back
02 Command
Functional check of the hygienic flushing for cold and
/ or warm water connections through manual
triggering: Proceed as described in 1.3.(3 ) and go to
[Command] with Button 6. There, go to 21 Valve 2 or
20 Valve 1 and acknowledge with "OK". Press "OK"
depending on the valve channel:
- For cold water, open Valve 2:
Cold water connection for Valve 2 opens
- For warm water, open Valve 1:
Warm water connection for Valve 1 opens
If "OK" is pressed again, the flushing process stops.
1.3.(4)
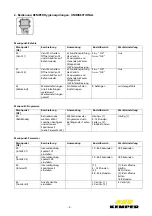
Making settings:
The menu items are listed by number.
(see Pages 7 and 8).
To reconfigure, e.g., the hygienic flushing of 2 valves
(Factory setting) to 1 Valve, enter the inputs as below.
Move to menu item (43) [AnzVentil] (number of
valves) and press "OK"
Display:
42 IntervalZ
43 AnzVentil
OK?
50 SumBetrT?
1.3. (5)
Press
"OK"
and change the hygienic flushing of 2 valves (factory
setting) with cursor button
►
or
◄
, e.g. to 1 valve
=
1
Display:
42 IntervalZ
43 AnzVentil
1
2
50 SumBetrT?
then finish with "OK"
ATTENTION:
The steps up to this point are required to commission
the cold water flushing (1 valve, e.g., Valve 2).

