14
Interval Timer
Interval Timer
Interval Timer
Interval Timer Chart:
Chart:
Chart:
Chart: This chart is only used for escape function I.
ASCII character
ASCII character
ASCII character
ASCII character
(HEX Value)
(HEX Value)
(HEX Value)
(HEX Value)
Interval selected
Interval selected
Interval selected
Interval selected
?
(3F)
Prints current setting
@
(40)
OFF
A
(41)
5 seconds
B
(42)
15 seconds
C
(43)
30 seconds
D
(44)
1 minute
E
(45)
2 minutes
F
(46)
5 minutes
G
(47)
15 minutes
H
(48)
30 minutes
I
(49)
1 hour
J
(4A)
2 hours
K
(4B)
4 hours
L
(4C)
6 hours
M
(4D)
8 hours
N
(4E)
12 hours
O
(4F)
24 hours
For additional explanations on these settings see Interval Timer Section.
Installing Paper and Ribbon in the Keltron LC Series Printer
Installing the Paper
Installing the Paper
Installing the Paper
Installing the Paper
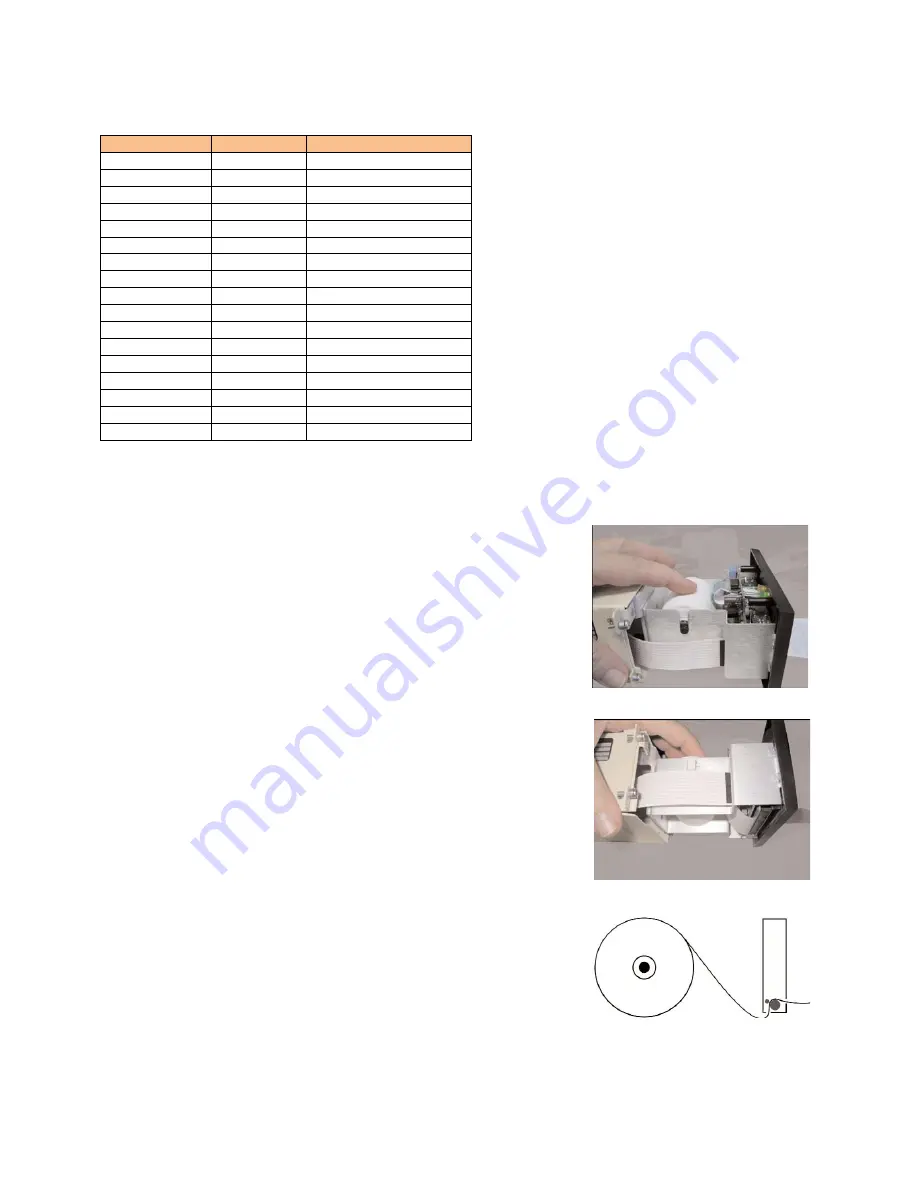
Note: the printer power must be ON to install paper. When the printer
is out of paper, the yellow DTR/EOP" LED will blink. Please see figures
3, 4 and 5 for the next steps:
1.
If there is paper in the printer, pull the remaining paper
through the printe r mechanism in the forward direction.
2.
Remove the empty roll and remove the plastic supply spindle
and place it nearby for re-use.
3.
Insert the plastic supply spindle into a new roll of paper, and
orient it so that the paper comes off the roll over the top and
towards you. Put the supply roll back in the supply roll bracket,
again ensuring proper orientation.
4.
Ensure that the paper path is free and clear and that the paper
roll moves freely.
5.
Pull the paper down and loop it back up into the printer
mechanism opening.
6.
Press and hold the <FEED> switch until paper comes through
the front of the mechanism.
7.
Remove any slack in the paper roll so that the paper will
continue to flow smoothly when the printer is closed. Return the
printer to service.
8.
When the Keltron printer is out of paper it will automatically be
placed offline. When you properly install a new roll of paper,
press the <SLCT> button and the printer will resume printing.
Figure
Figure
Figure
Figure 3
3
3
3
Figure
Figure
Figure
Figure 4
4
4
4
Figure
Figure
Figure
Figure 5
5
5
5


