In this appendix:
Introduction .................................................................................. 1
Line fuse replacement ................................................................. 1
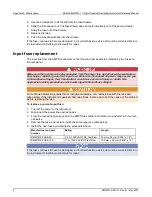
Input fuse replacement ................................................................ 2
Lithium battery ............................................................................. 3
Front-panel display ...................................................................... 3
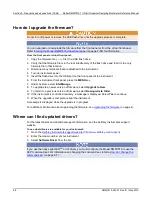
Upgrading the firmware ............................................................... 4
Introduction
The information in this section describes routine maintenance of the instrument that can be performed
by the operator.
Line fuse replacement
A fuse located on the Model DMM7510 rear panel protects the power line input of the instrument.
Disconnect the line cord at the rear panel and remove all test leads connected to the
instrument before replacing the line fuse. Failure to do so could expose the operator to
hazardous voltages that could result in personal injury or death.
Use only the correct fuse type. Failure to do so could result in injury, death, or instrument
damage.
Use a 5 x 20 mm slow-blow fuse rated at 250 V, 1 A.
To replace the fuse, you will need a small flat-bladed screwdriver.
Perform the following steps to replace the line fuse:
1. Power off the instrument.
2. Remove all test leads connected to the instrument.
3. Remove the line cord.
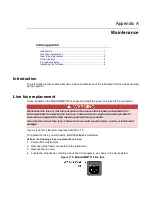
4. Locate the fuse drawer, which is above the AC receptacle, as shown in the figure below.
Figure 170: Model DMM7510 line fuse
Appendix A
Maintenance


